
This post may contain affiliate links. Please read my affiliate policy.
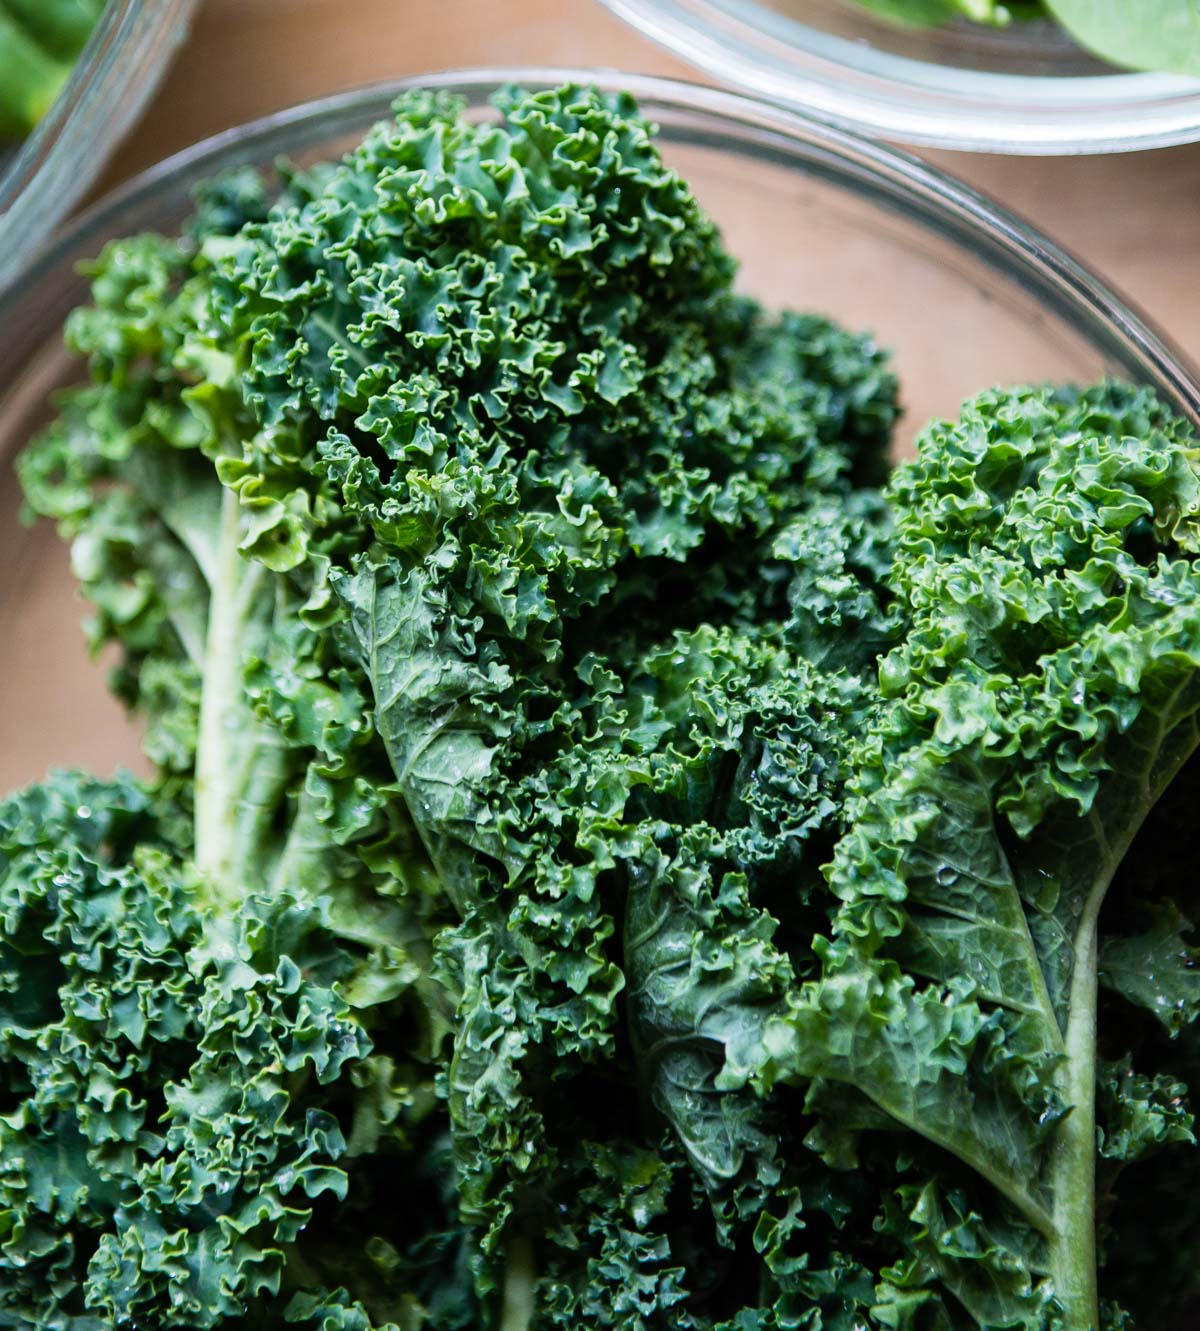
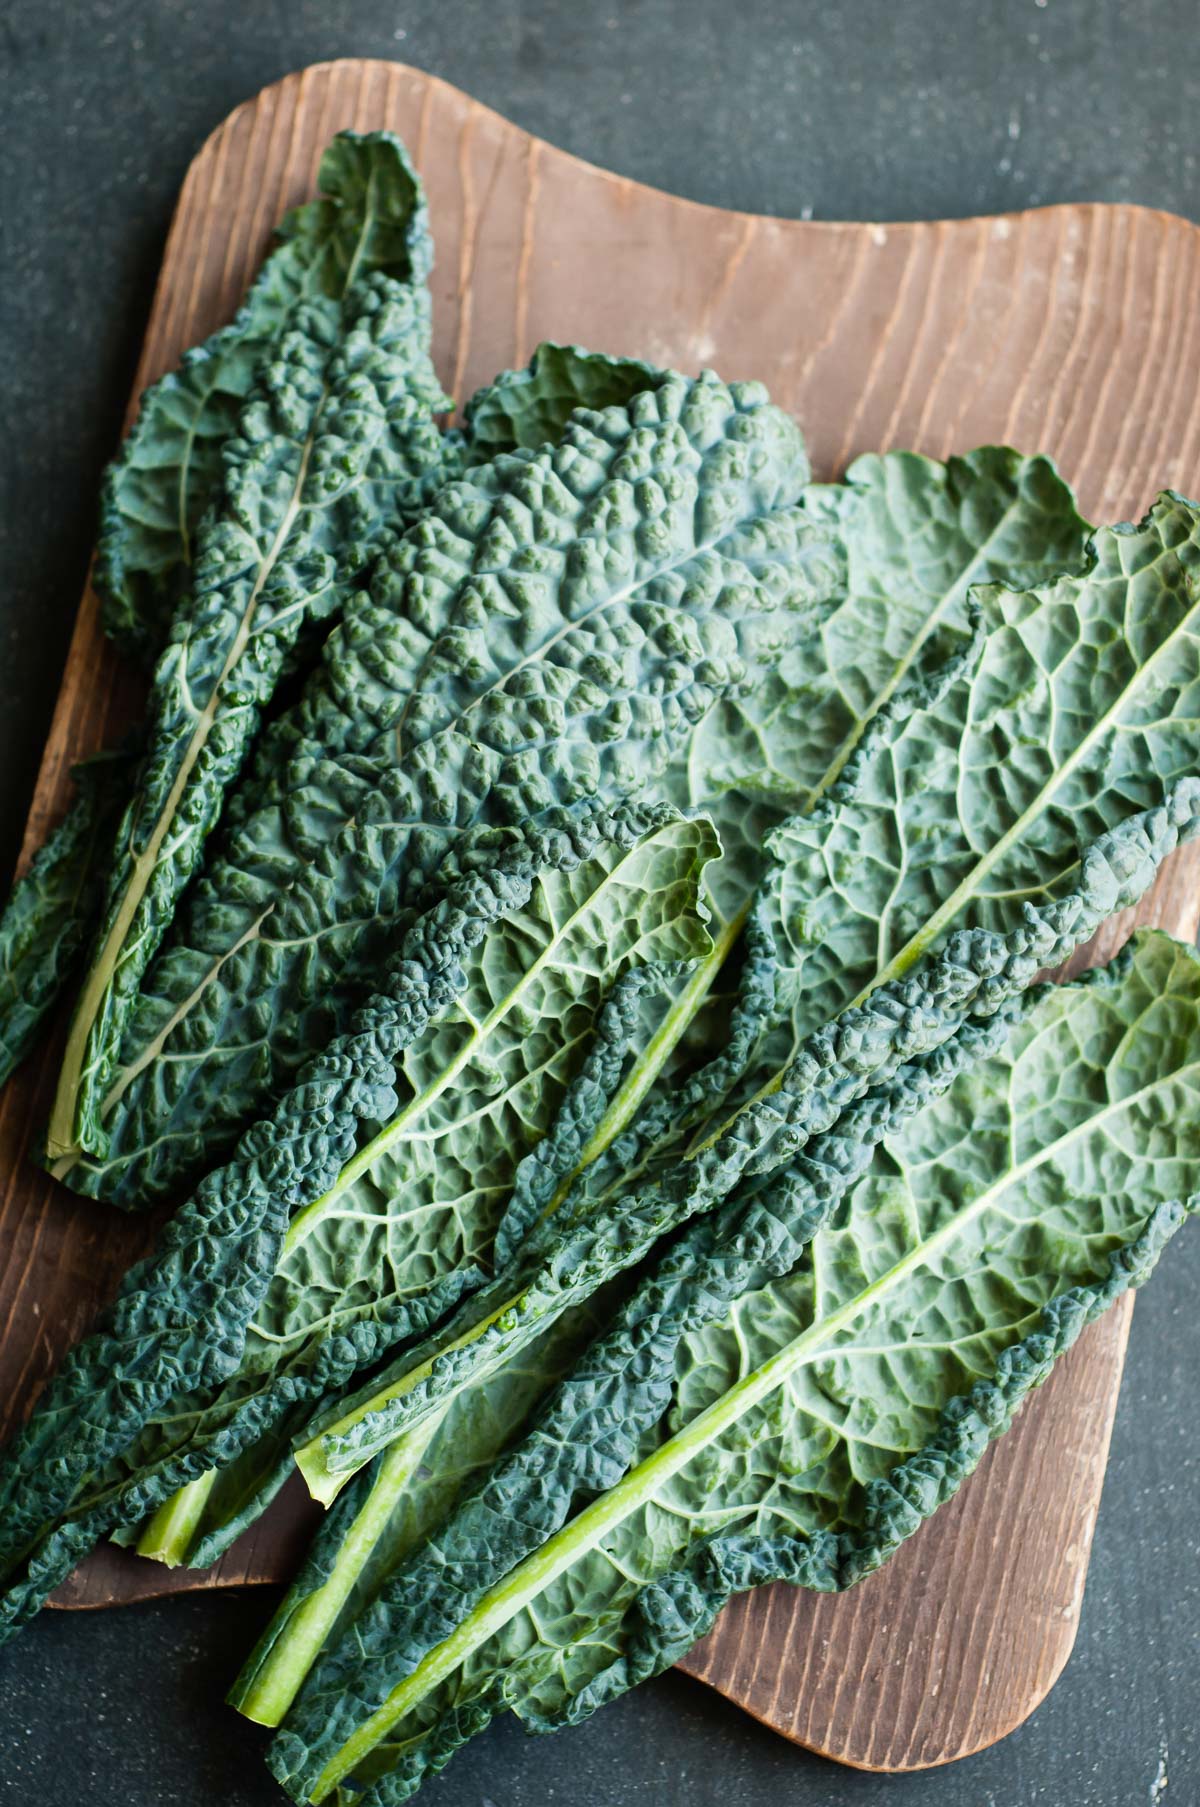
When I first started making green smoothies, kale was the veggie I wasted the most. I can’t count the number of times I’d say: “I’ll use that tomorrow”— and that kale didn’t stand a chance.
When I finally learned how to freeze kale, it was a total game changer.
No more stinky surprises and I always had leafy green vegetables ready to go. Freezing kale is one of those simple, no-brainer kitchen hacks that saves money, saves time, and makes healthy eating feel way more doable.
Table of Contents
Step-by-Step Guide
Whether you’re grabbing a bag of kale from the grocery store, shopping at the farmer’s market, or harvesting your own, freezing kale is one of the easiest ways to cut down on prep time and always have greens ready for smoothies, soups, and quick meals. Here’s how to do it step by step:
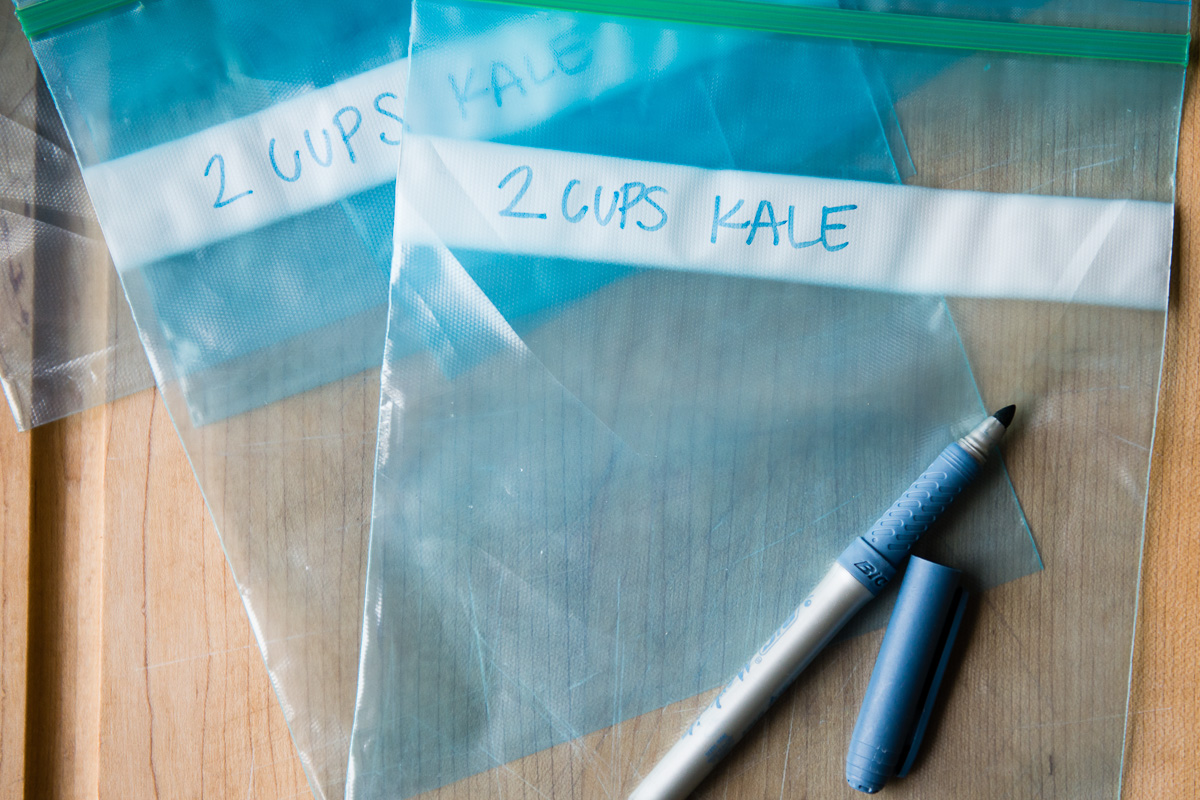
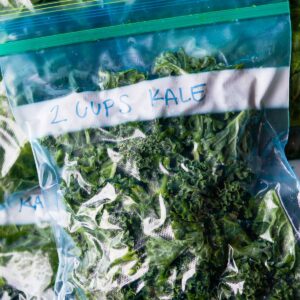
- Take freezer-safe plastic bags and label each one with the quantity using a marker.

- Wash kale thoroughly and de-stem the kale leaves from the thick stems.
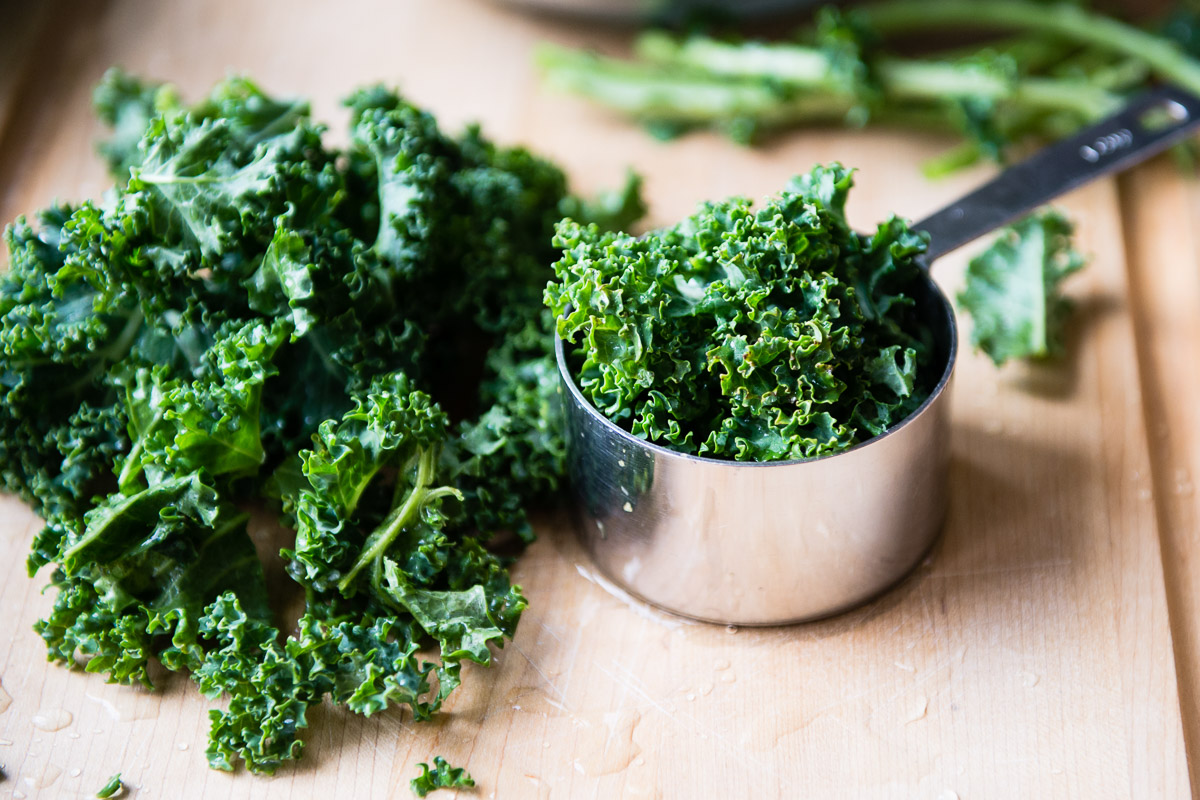
- Chop the leaves into medium-sized pieces or leave them whole, depending on how you plan to use them later.
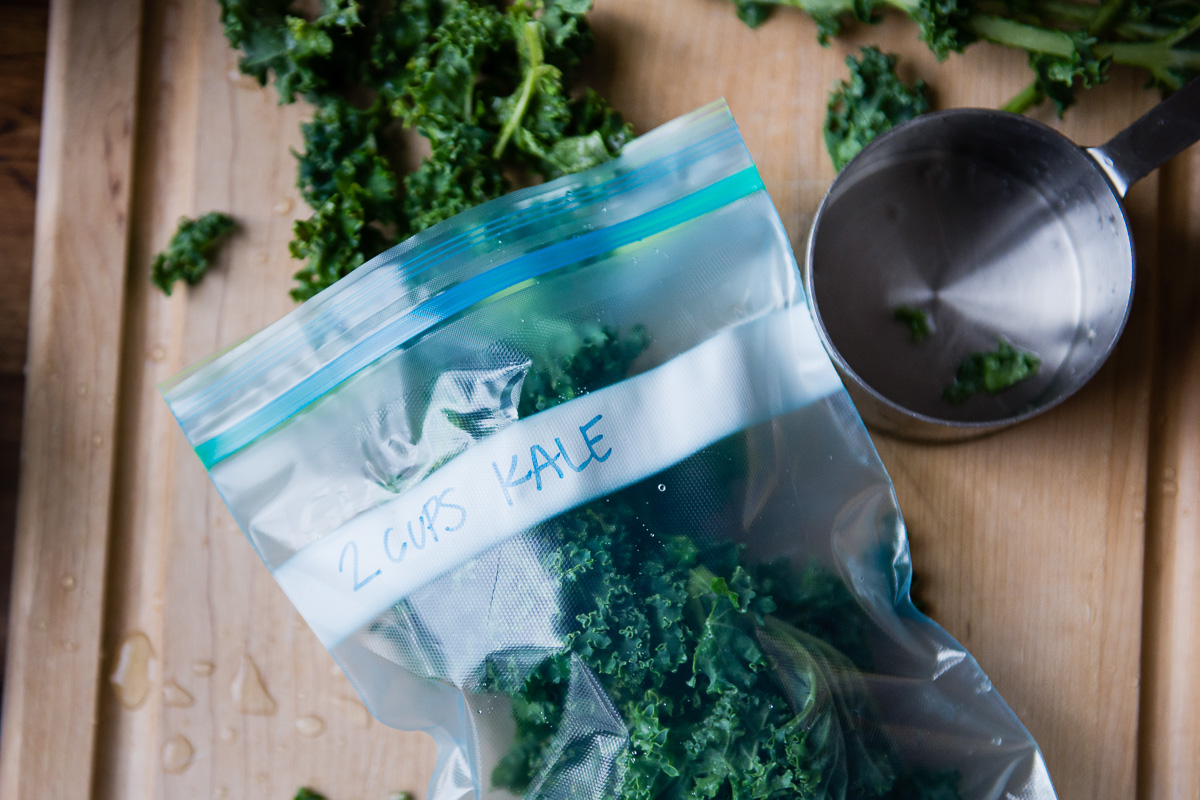
- Drain and pat the kale completely dry. Add them into the plastic freezer bags.
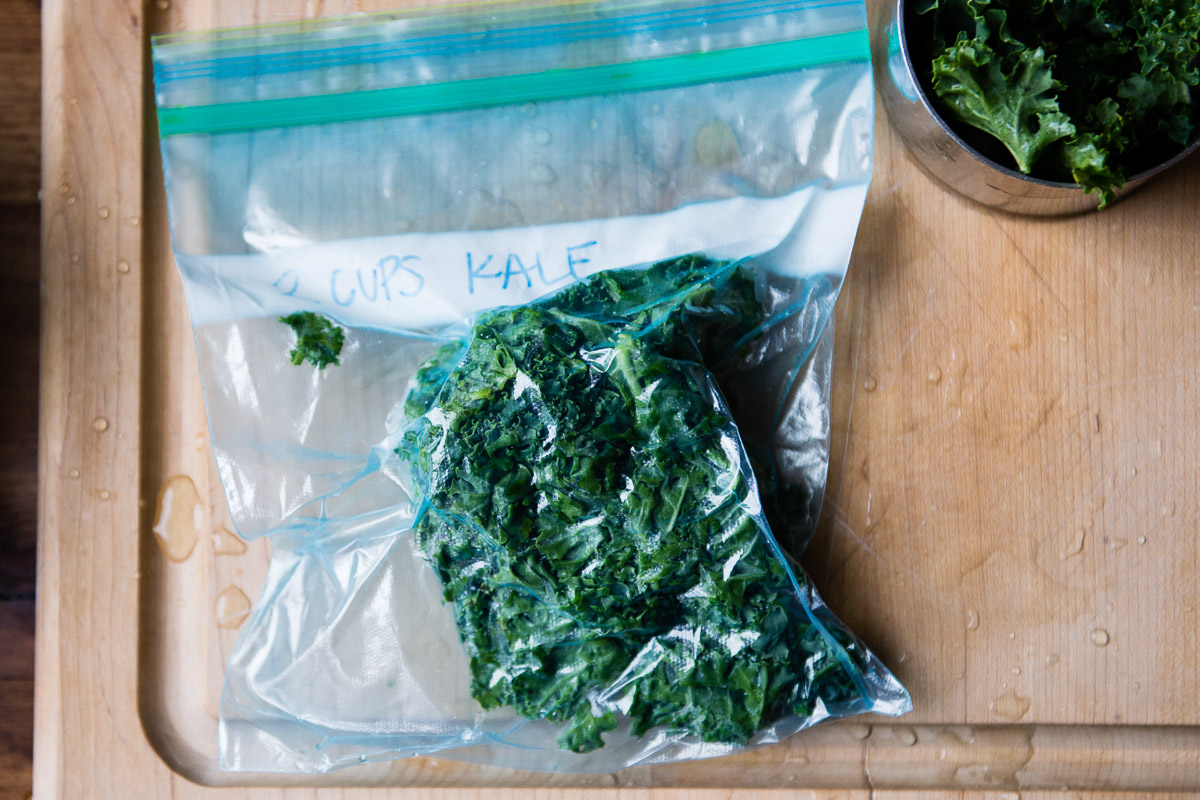
- Remove as much air as possible, seal, and place flat in the freezer.
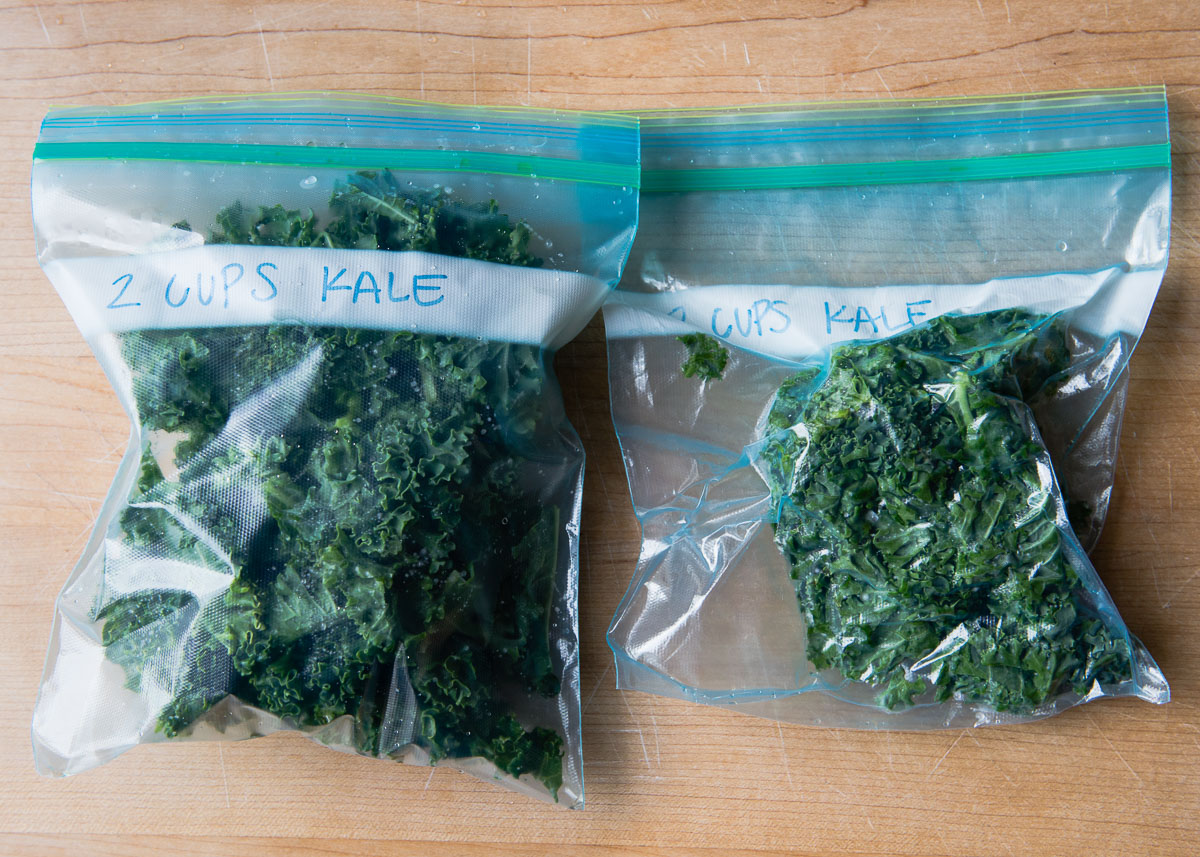
- Freeze kale for 1–2 hours. When ready to use, take out the amount needed.
Kale Freezing Tips
- Choose fresh, vibrant leaves: Older or yellowing kale leaves don’t freeze as well and can have a stronger, more bitter flavor.
- Wash thoroughly: Dirt loves to hide in curly kale, so give it a good rinse before freezing.
- Prevent freezer burn: Make sure the spinach is completely dry and moisture free before freezing, remove as much air as possible from the bag, and store it flat in the freezer for an airtight seal.
- Flash freeze first: Spread kale on a baking sheet for a few hours before bagging to prevent sticking.
- Blanching: Blanching kale before freezing can help preserve color, texture, and nutrients, especially if you plan to use it in cooked dishes.
Does Freezing Kale Lose Its Nutrients?
Freezing kale preserves most of its nutrients, especially if you prep it properly. A tiny amount of water-soluble vitamins, like vitamin C, may decrease slightly, but overall, frozen kale is still packed with fiber, vitamins, and antioxidants.
How to Use Frozen Kale
Once you’ve got your kale stashed in the freezer, meal prep becomes faster and way less stressful. Here’s how I use frozen kale:
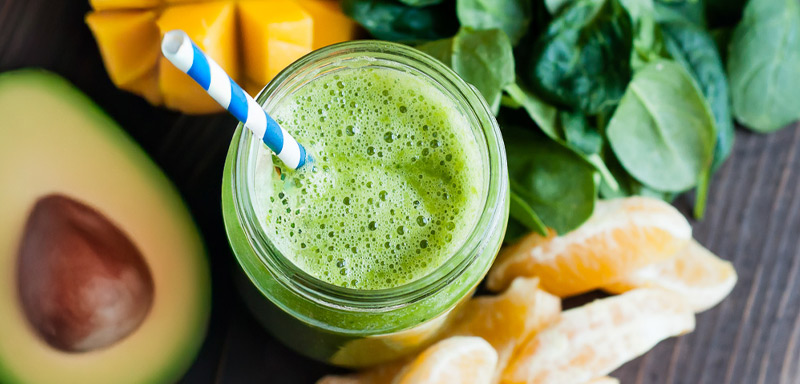
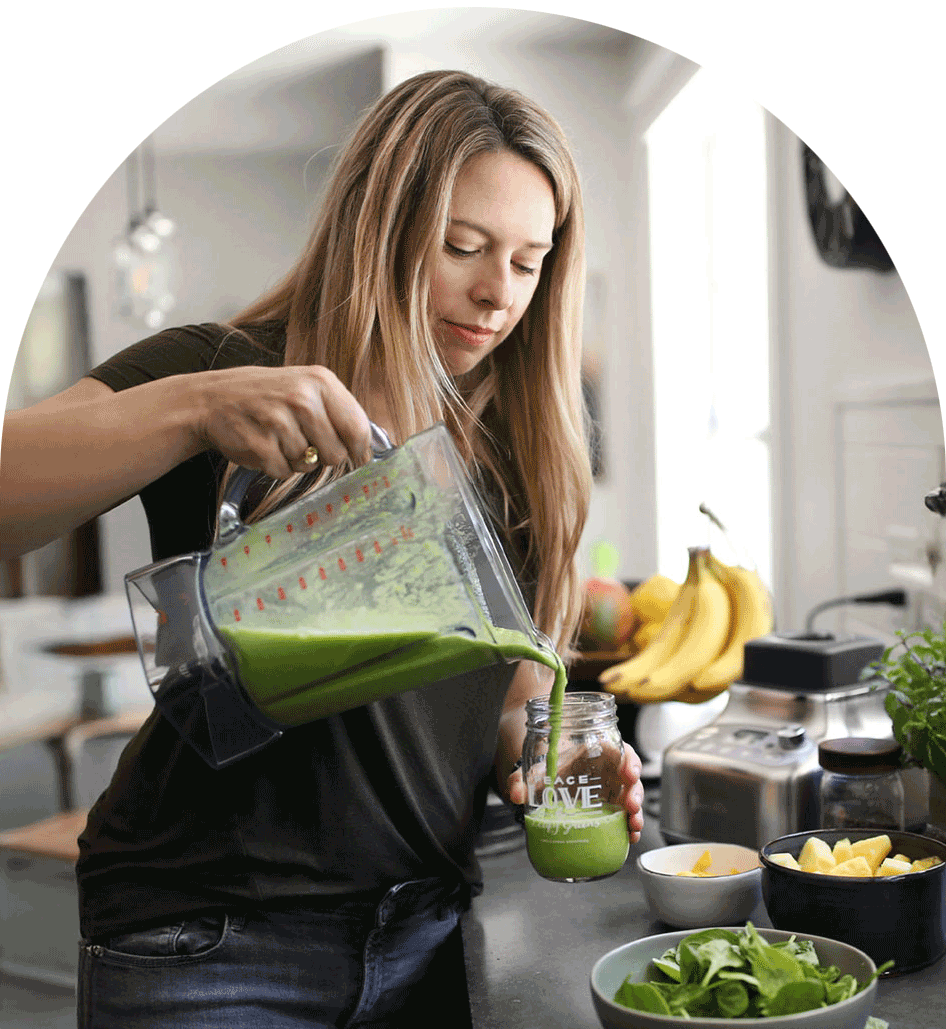
- In smoothies: Toss frozen kale straight into the blender to make my kale smoothie and kale banana smoothie.
- With squash: Stir chopped frozen kale into roasted butternut squash dishes for extra greens. It’s perfect in my Mediterranean spaghetti squash for a quick, flavorful boost.
- In gnocchi: Add frozen kale to warm gnocchi dishes for a pop of color and nutrition. I love tossing it into my Tuscan gnocchi for an easy, hearty weeknight meal.
- In soup: Add frozen kale to hearty soups like my vegetable barley soup, where its slightly bitter flavor pairs well with savory seasonings.
Free Green Smoothie Challenge
Go on a blending journey with me and explore smoothie recipes to increase energy, reduce inflammation + kickstart weight loss.
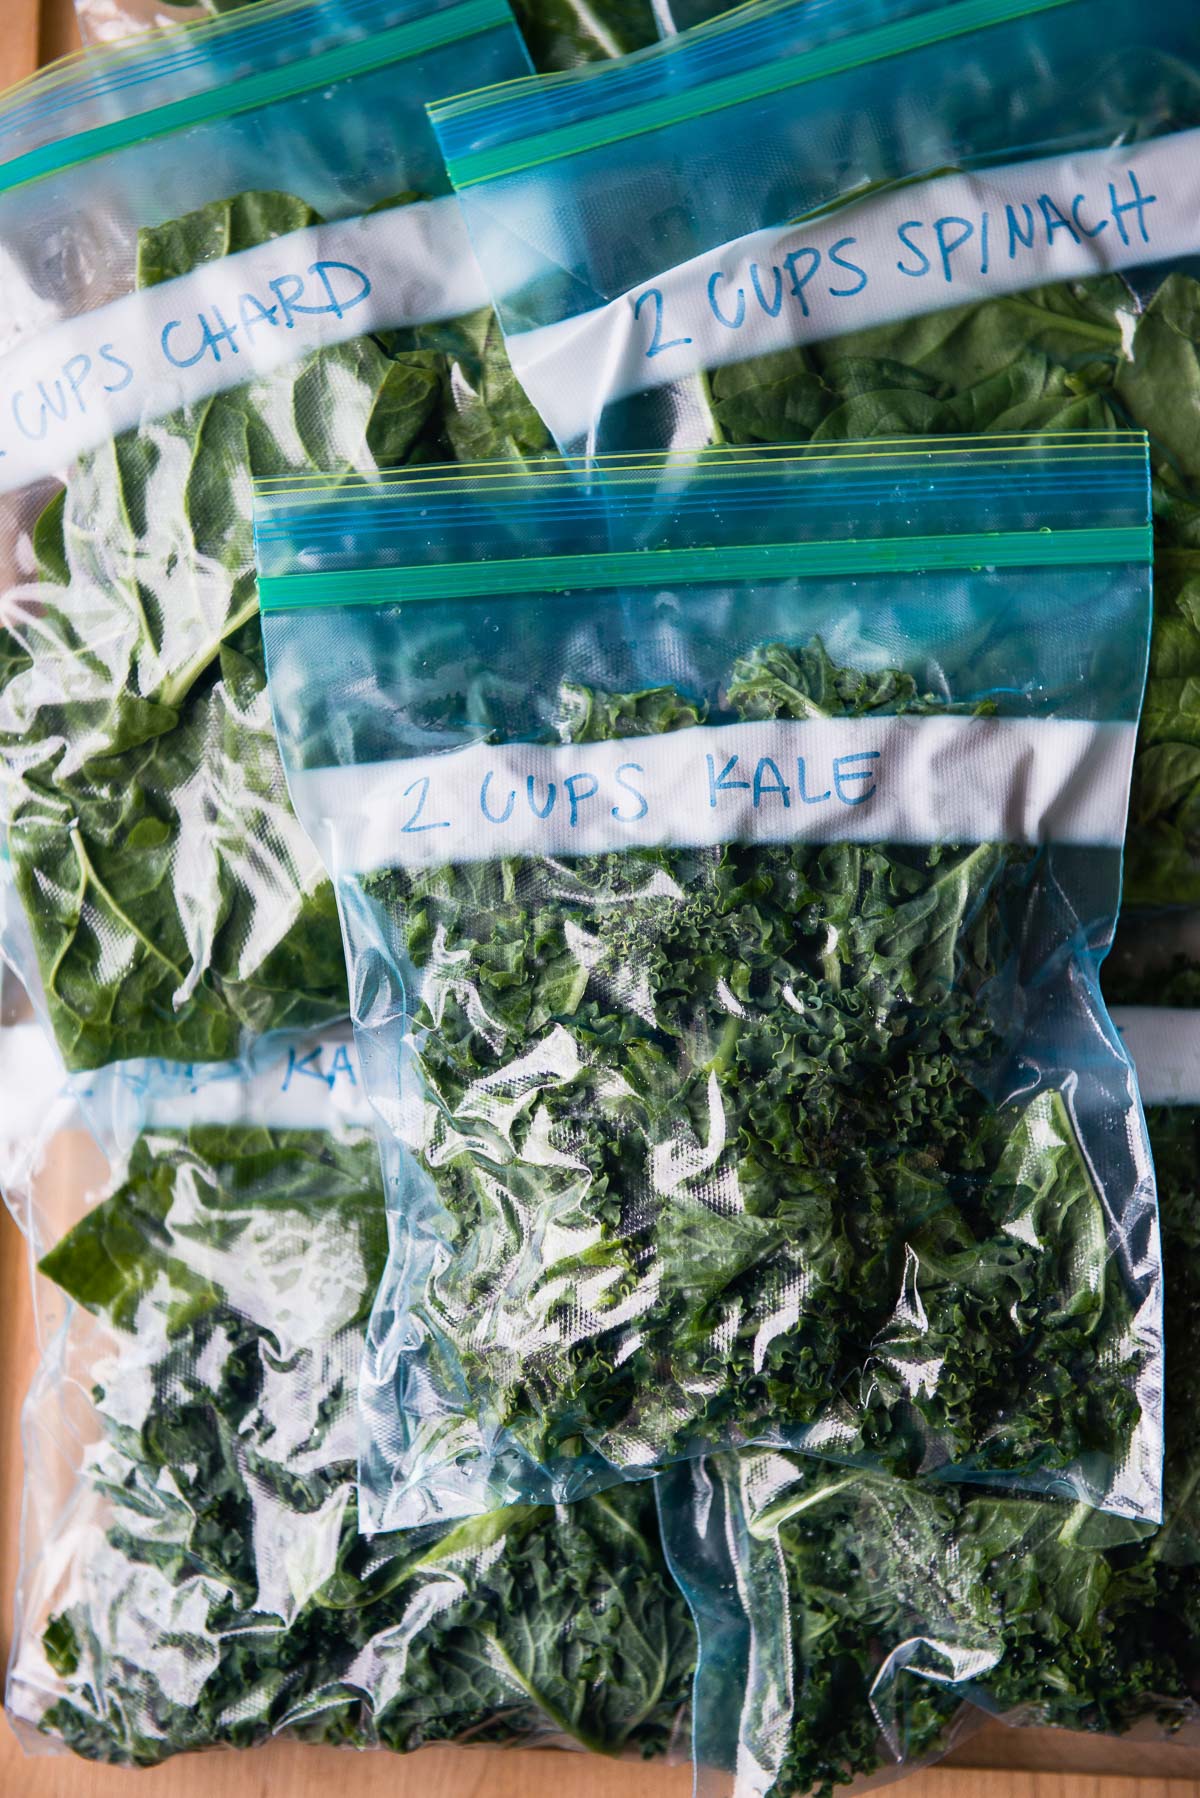
More Freezer Guides
If you’re finding this kale freezing guide helpful, you’re going to want to check out my other guides to save time and reduce food waste:
- Learn how to freeze bananas for smoothies, baking, or a sweet snack anytime.
- Discover how to freeze spinach so it’s ready for soups, sautés, and green smoothies in seconds.
- How to make frozen smoothie packs to have grab and go smoothies in the freezer at all times.
If you’ve learned how to freeze kale, I’d love to hear how it turned out in the comment box below. Your feedback helps me and all the readers in this community. And if you’re interested in more kitchen guides (and exclusive content), sign up for my weekly recipe newsletter.
How to Freeze Kale
Ingredients
- 4 cups kale
Instructions
- Wash the kale thoroughly to remove any dirt or insects.
- Strip the leaves from the thick stems and tear or chop into medium pieces.
- Drain well and pat the kale completely dry.
- Add the kale to freezer-safe bags, portioning as desired.
- Remove as much air as possible, seal, and lay the bags flat in the freezer.
- Freeze for 1–2 hours, or until solid. When ready to use, remove the amount needed and return the rest to the freezer.

Notes
- Choose fresh leaves: Use vibrant, deep-green kale. Older or yellowing leaves don’t freeze as well.
- Flash freeze: Spread kale on a baking sheet and freeze for 1–2 hours before bagging to prevent clumping.
- Blanching: Blanching kale before freezing can help preserve color and texture, especially if you plan to use it in cooked dishes. This step isn’t required for smoothies.
- Storage: Frozen kale keeps well for up to 6 months when stored airtight.
- How to use: Add frozen kale straight to smoothies, or toss into soups and sautés without thawing.
Nutrition
Did you make this recipe?
Leave a review for a chance to win signed copies of my cookbooks!Common Questions
The best way to preserve kale depends on how you plan to use it. For short-term storage, keep unwashed leaves dry and cold in the fridge. For longer storage, the freezer is the best place to keep your kale. freezing kale works well, with blanching as an optional step to help preserve color and texture if you plan to cook it later.
Frozen kale can taste slightly different than fresh kale, mainly because freezing softens the leaves. Once thawed or cooked, the texture is less crisp and more tender, which makes it better suited for smoothies, soups, stews, and sautéed dishes rather than salads.
It’s best to freeze kale in portions. Spread chopped leaves on a baking sheet to freeze individually before transferring to bags. This prevents clumping and makes it easy to grab just the amount you need.
Properly frozen kale lasts up to 6 months. For the best taste and nutrient retention, try to use it within this timeframe, keeping it stored in airtight, freezer-safe bags.
I’ve been following this method for years and LOVE it. It makes smoothies so easy when you have the greens ready to go in the freezer.
Yes! It is much easier to make a smoothie when you have greens ready to go in the freezer.