This post may contain affiliate links. Please read my affiliate policy.
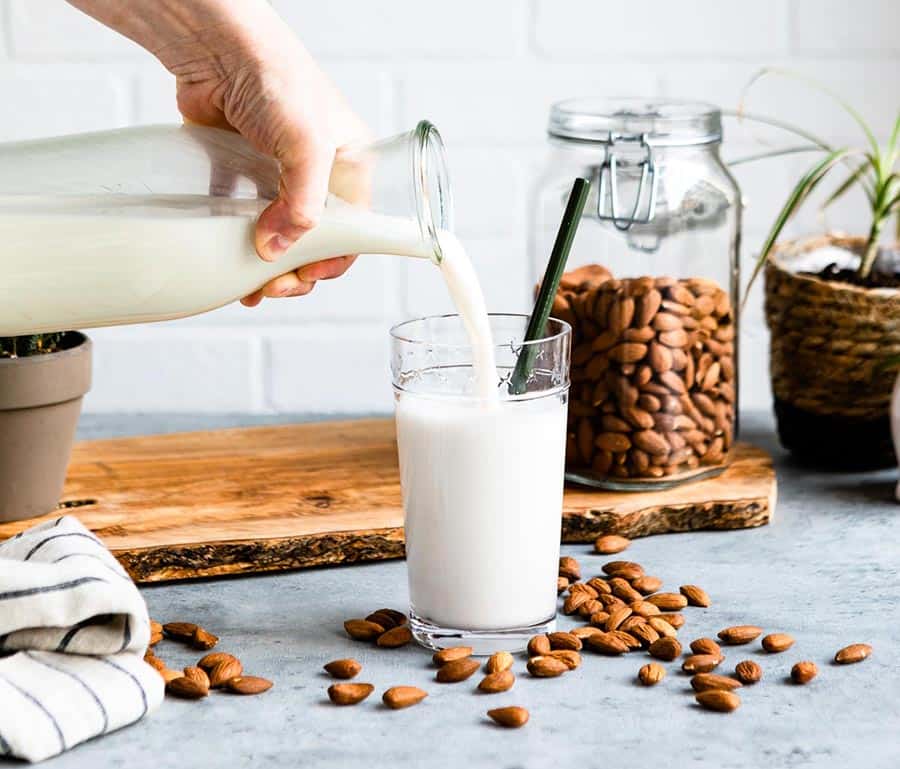
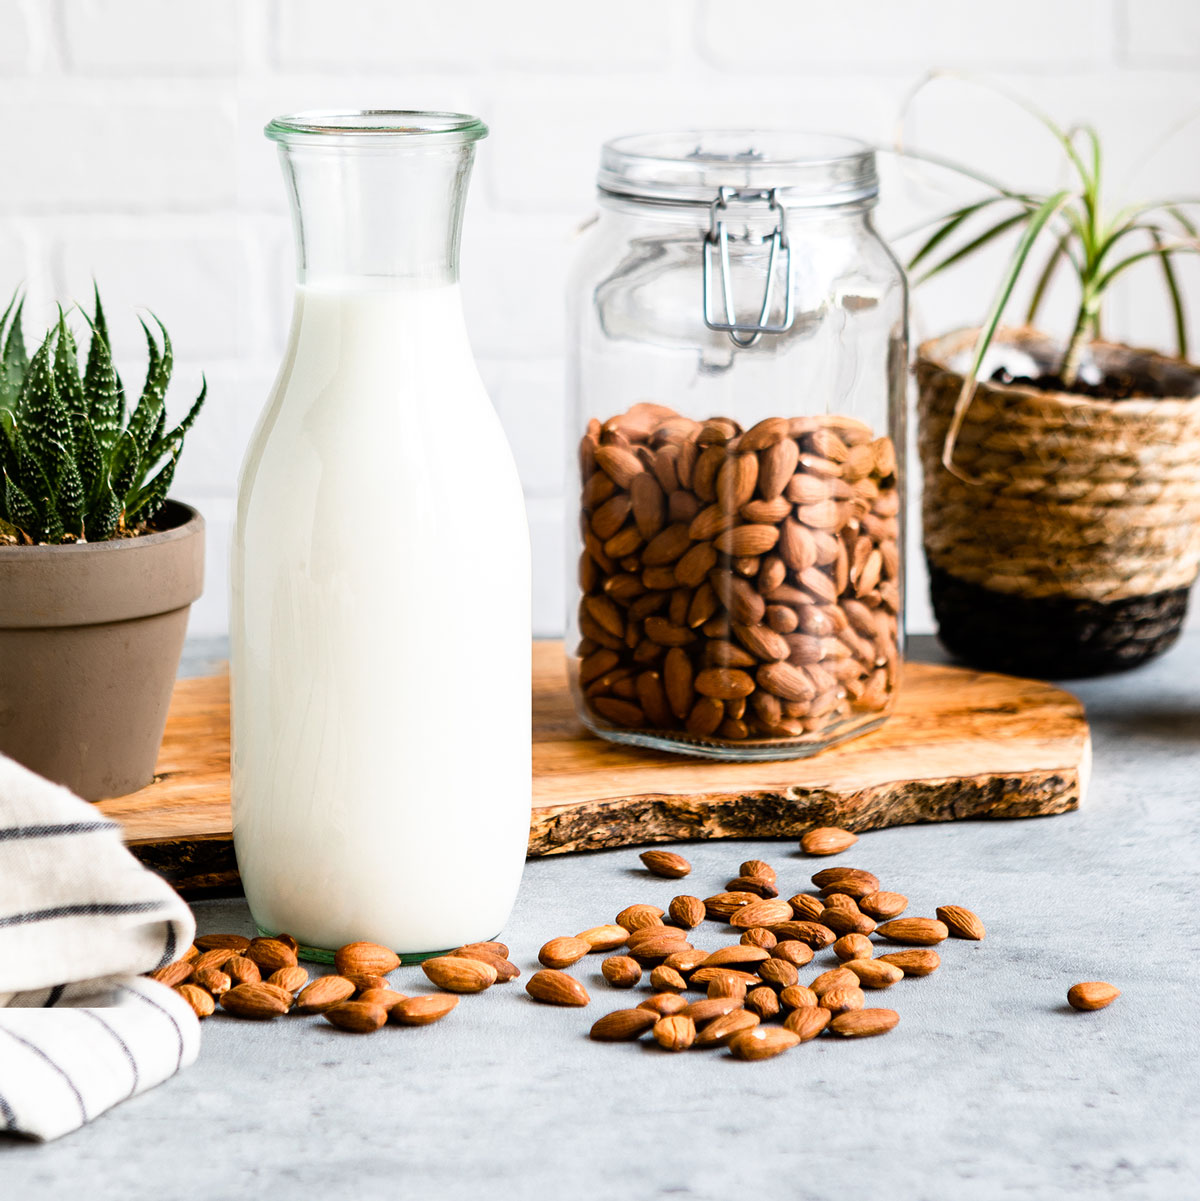
Making your own almond milk is surprisingly easy and the result is waaaaay better than anything you can buy in a store. Not only will it taste incredibly fresh and creamy, but you’ll also know exactly what’s going into it— no weird additives or preservatives! Follow my step by step tutorial to learn how to make almond milk.
Table of Contents
Why Homemade Almond Milk Rawks
Almond milk is a nutritional powerhouse, offering a variety of health benefits. It’s naturally low in calories and saturated fat, making it a great choice for weight management and heart health. Almond milk is also a good source of vitamin E, an antioxidant that protects your cells from damage. I like making my own almond milk for two reasons:
- Affordable: I broke down the cost of making my own almond milk, even with the investment of the Almond Cow, and found it was cheaper. Yet that doesn’t mean I only make my own milk. When in a pinch, I will buy Elmhurst (it’s great, just a lil’ pricey). Check out my store-bought Best Almond Milk Brands to see my favorite brands to buy.
- Clean ingredients: Making your own almond milk guarantees the cleanest, freshest result, which is why I love doing it. You know exactly what is in it! Homemade plant-based almond milk is creamy, wholesome and 100% natural – no artificial flavors or stabilizers.
Ingredients You’ll Need
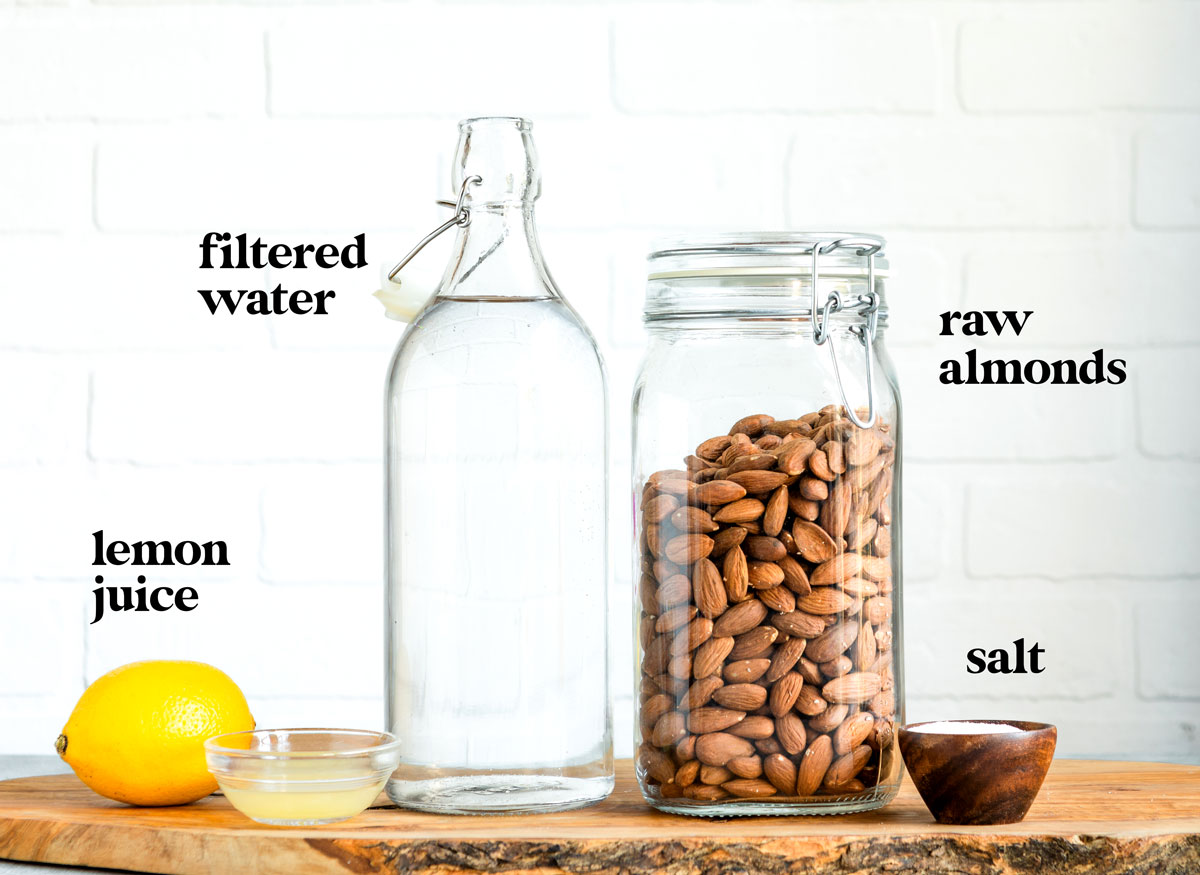
The magic of homemade almond milk lies in its simplicity. You’ll only need a few key ingredients to transform raw almonds into a creamy, refreshing beverage. First and foremost, you’ll need raw almonds, the heart of this recipe. Water is essential for blending and creating the milk’s smooth consistency. From there, you can customize your almond milk with optional additions.
- Raw almonds: Use raw, unsalted almonds as the base. They’re packed with nutrients and ensure a clean, neutral flavor.
- Filtered water: Clean, filtered water is key to achieving the freshest taste.
- Lemon: A splash of fresh lemon juice adds a subtle brightness and helps enhance the flavor.
- Sea salt: Just a pinch brings out the natural sweetness and balances the flavors.
Tools You’ll Need
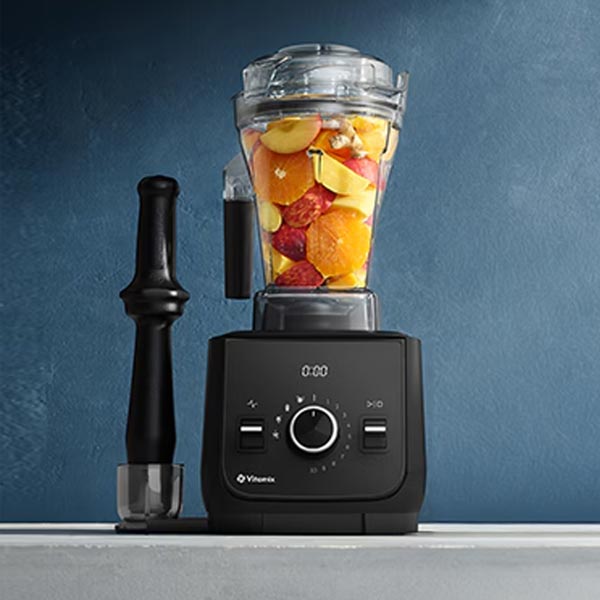
- Blender: A high-speed blender is essential to break down the almonds into a smooth, creamy base.
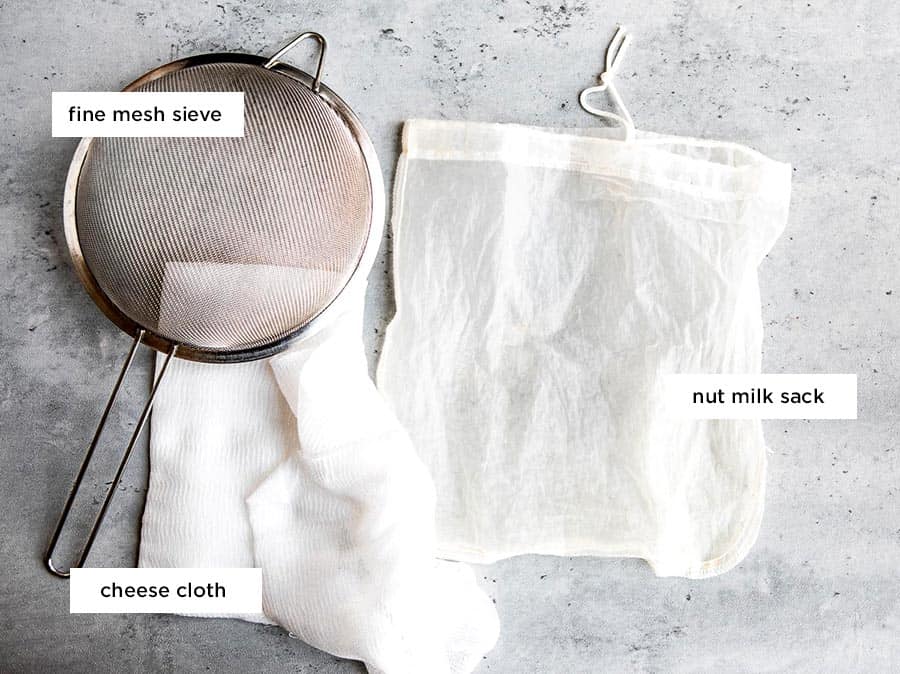
- Fine mesh sieve: Perfect for straining out any almond pulp, leaving you with silky almond milk.
- Cheesecloth or nut milk bag: A reusable tool to easily squeeze out every drop of milk.
- Mason jars or glass containers with lids: Ideal for storing your freshly made almond milk. Glass helps keep it fresh and odor-free.
Where to Buy Nut Milk Bag
You can buy nut milk bags online through Amazon or at most cooking stores like Sur La Table and William Sonoma. Cheesecloth will also work, yet it’s not as easy to use.
How to Make Almond Milk
Nothing tastes better than homemade almond milk in a blender. Gather your ingredients and equipment: almonds (of course!), water, a blender, a nut milk bag or fine-mesh sieve, and a jar or container for storing your finished milk. The process involves soaking the almonds, blending them with water, straining the mixture to remove the pulp, and then enjoying your fresh, creamy almond milk. Don’t be intimidated – it’s easier than you think, and the fresh, homemade flavor is absolutely worth it.
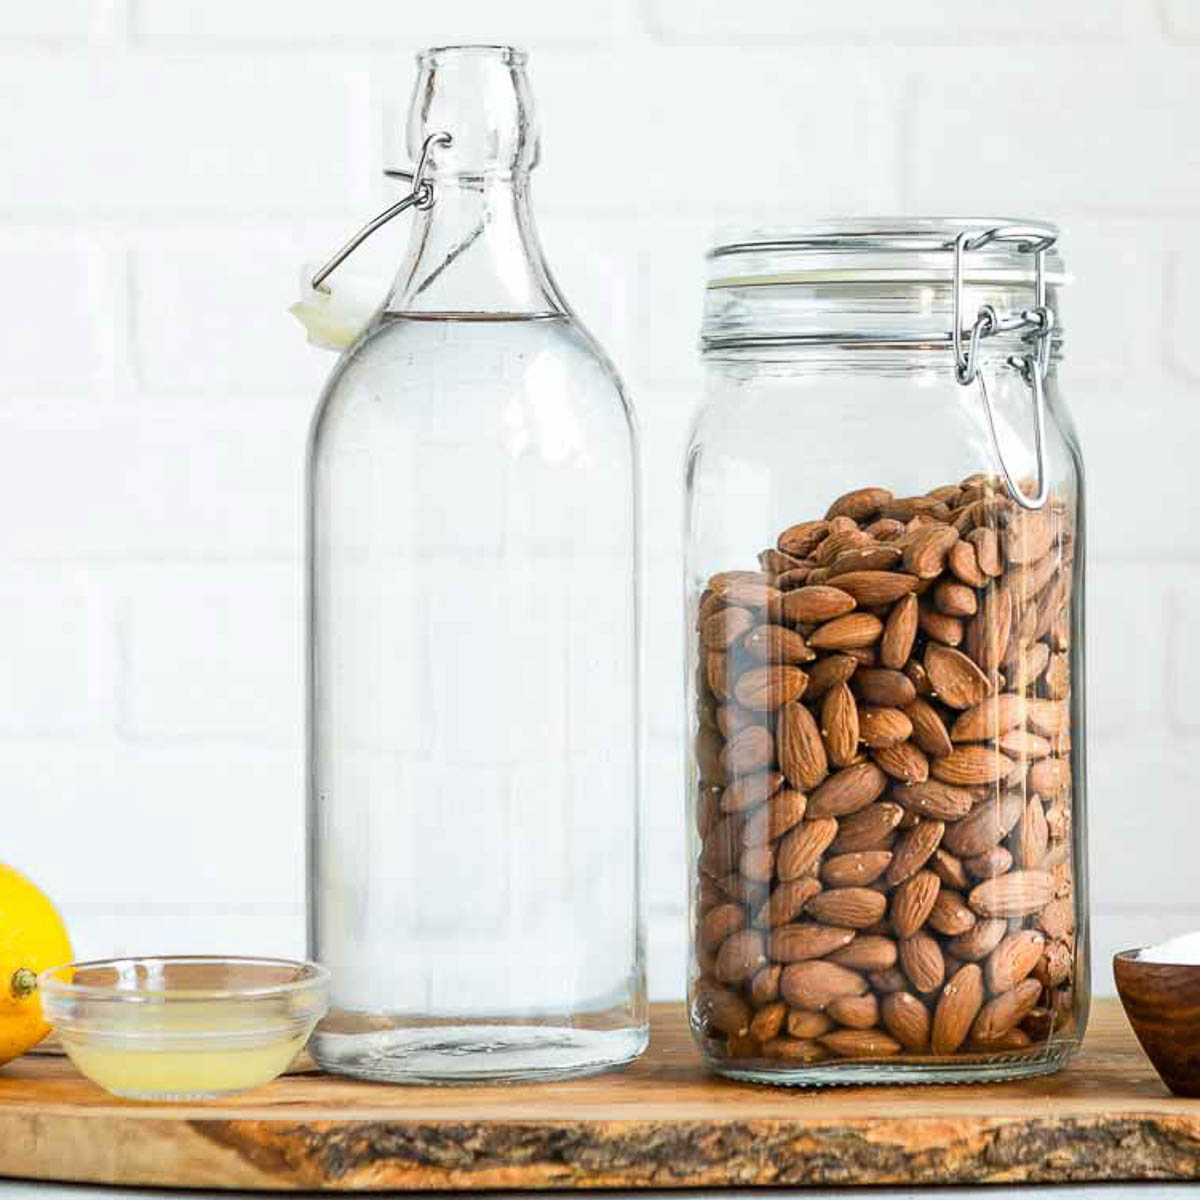
Measure 1 cup of raw almonds into a bowl or large mason jar with extra space.
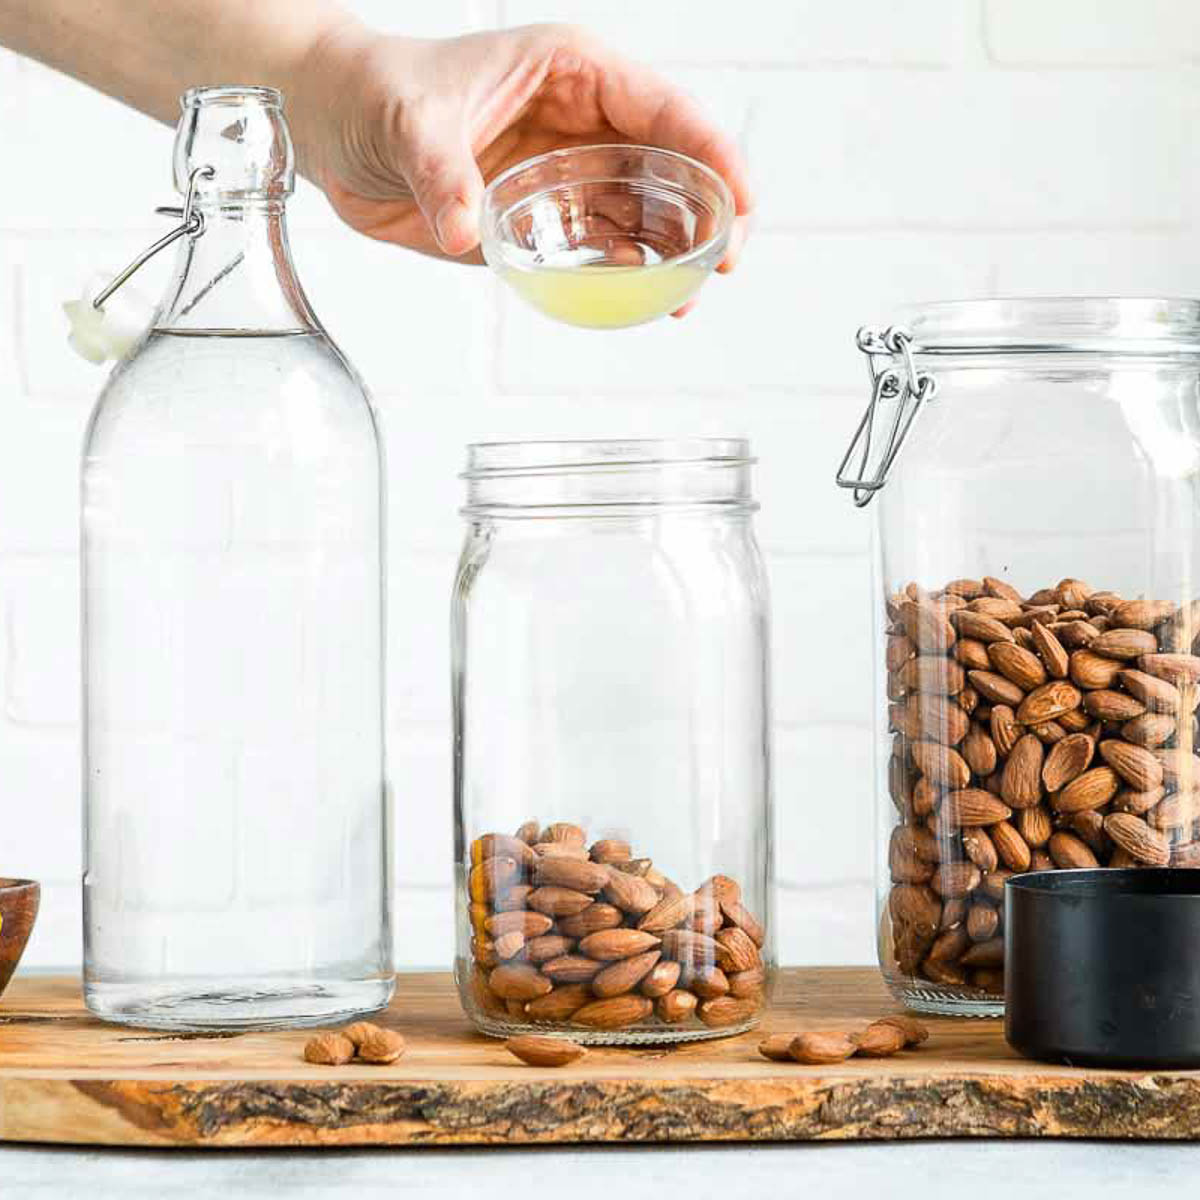
Squeeze fresh lemon juice over the top.
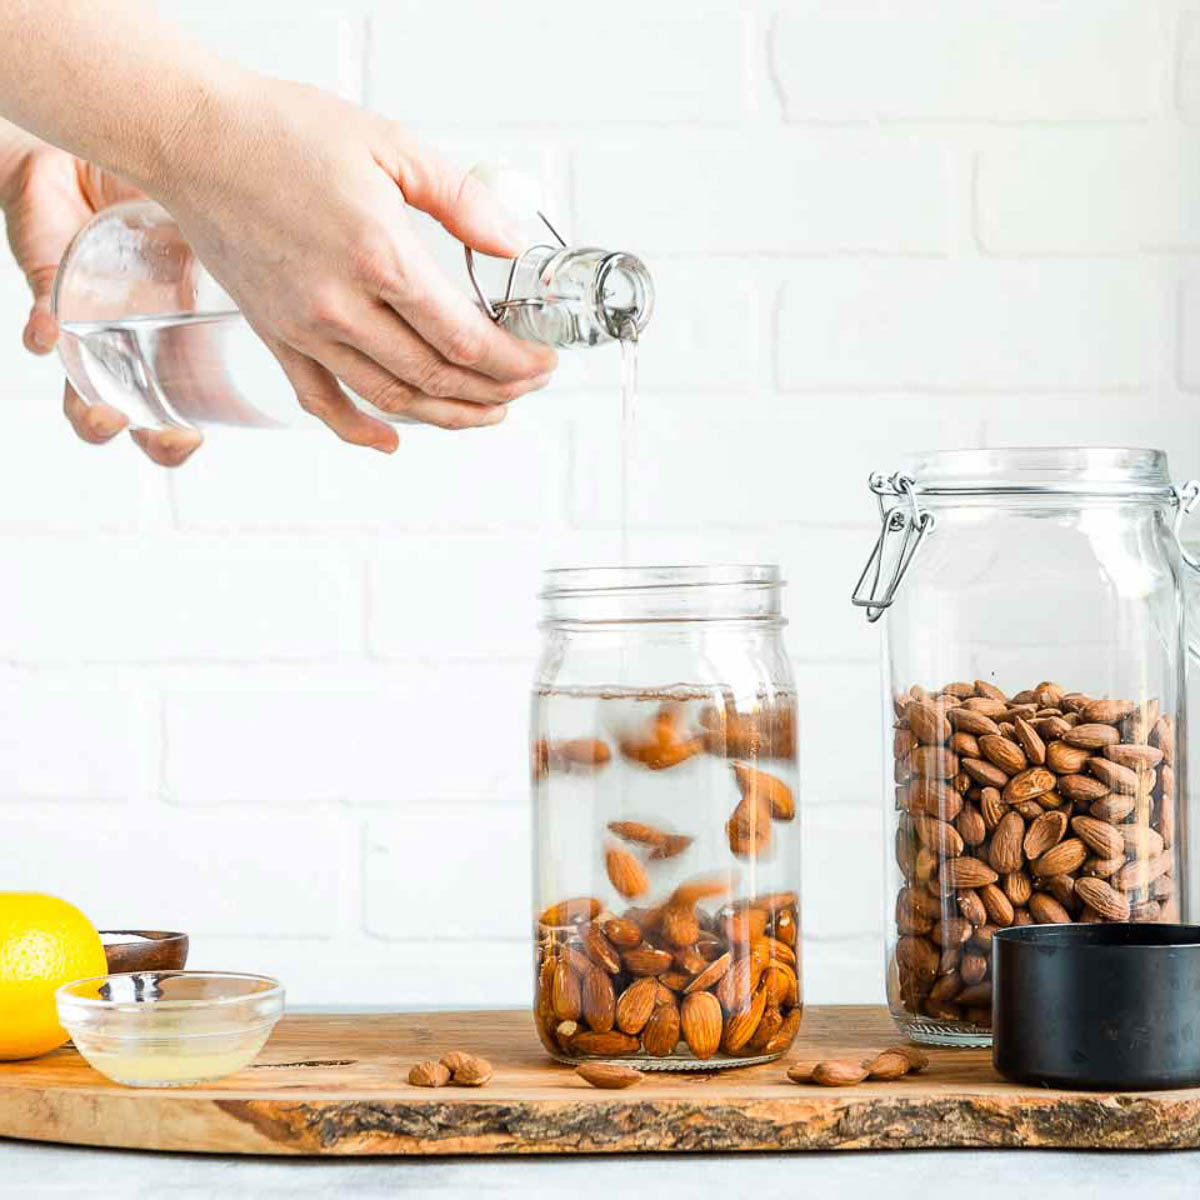
Fill to the top with filtered water and cover with lid or cloth.
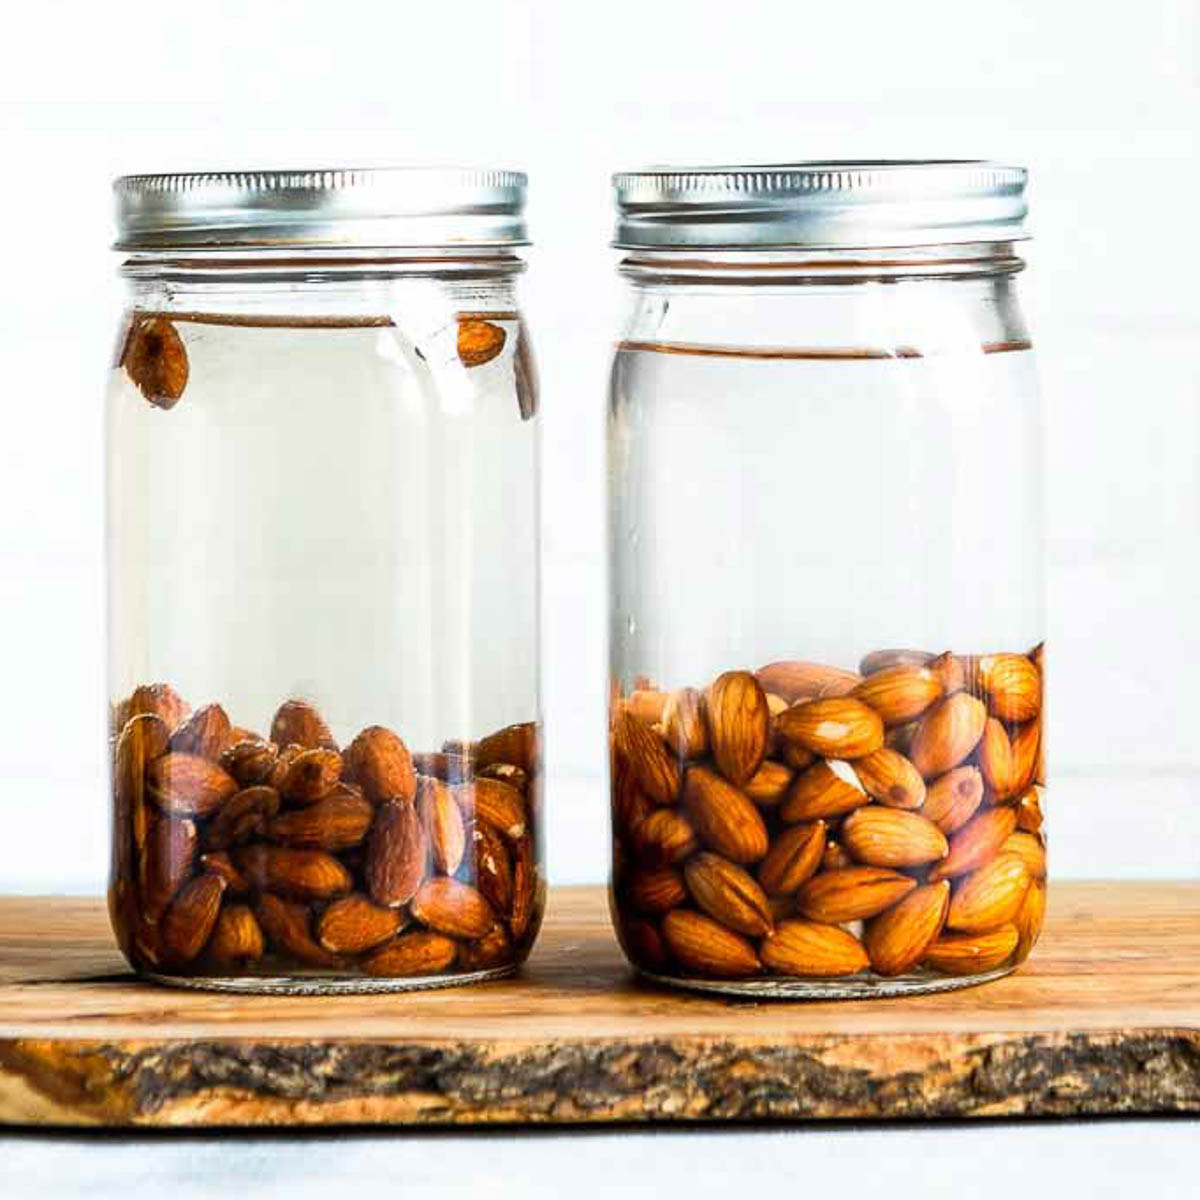
Soak for at least 8 hours or overnight. The almonds will really absorb a lot of water, so be sure to use enough water!
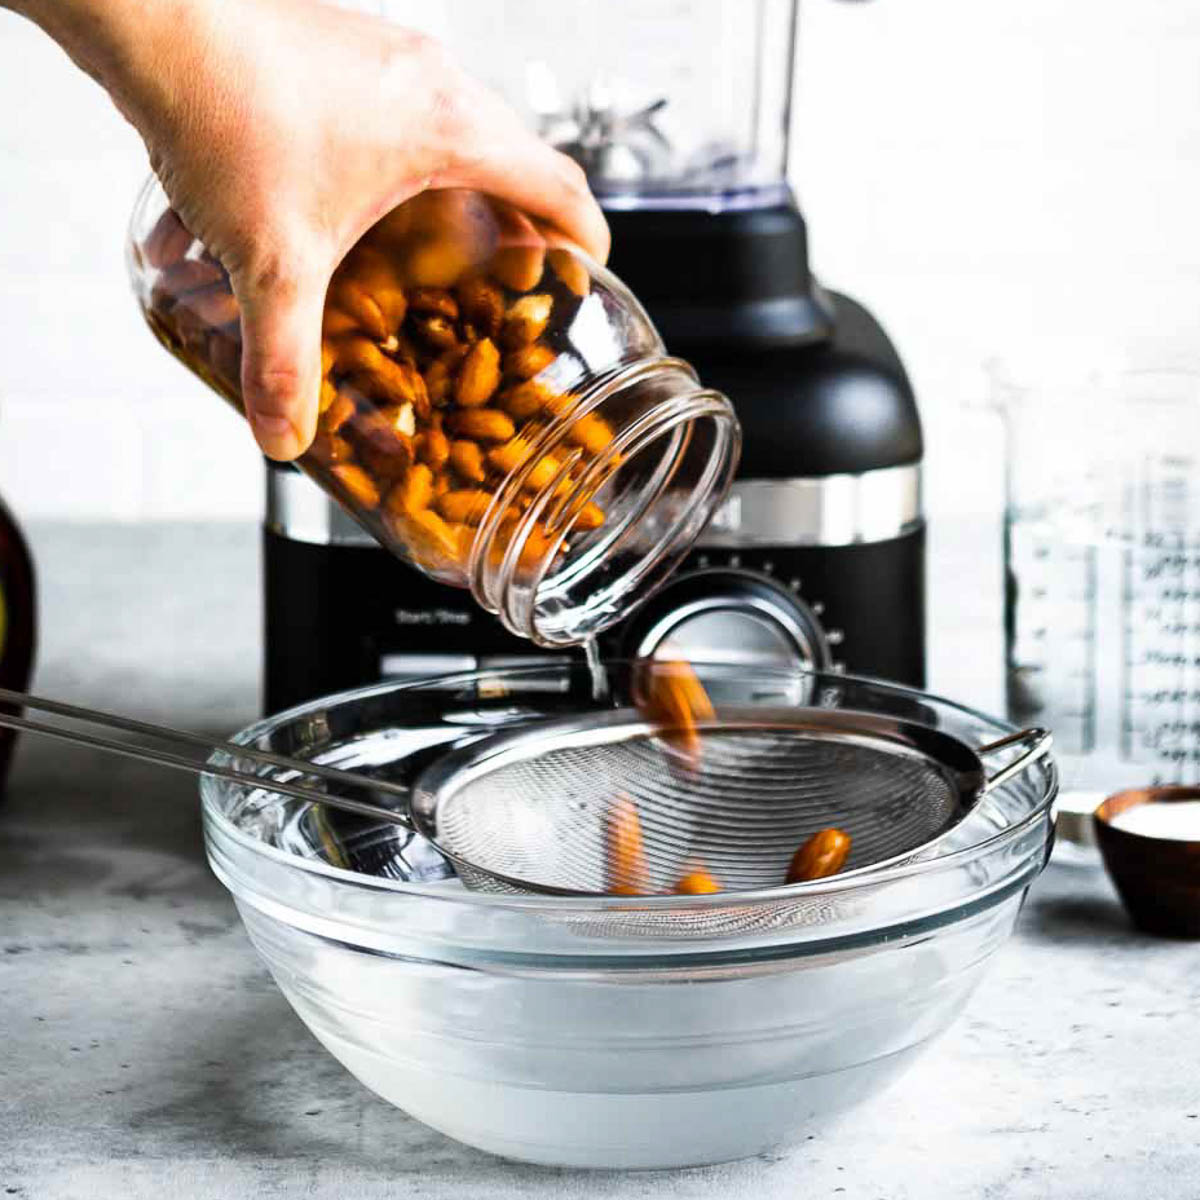
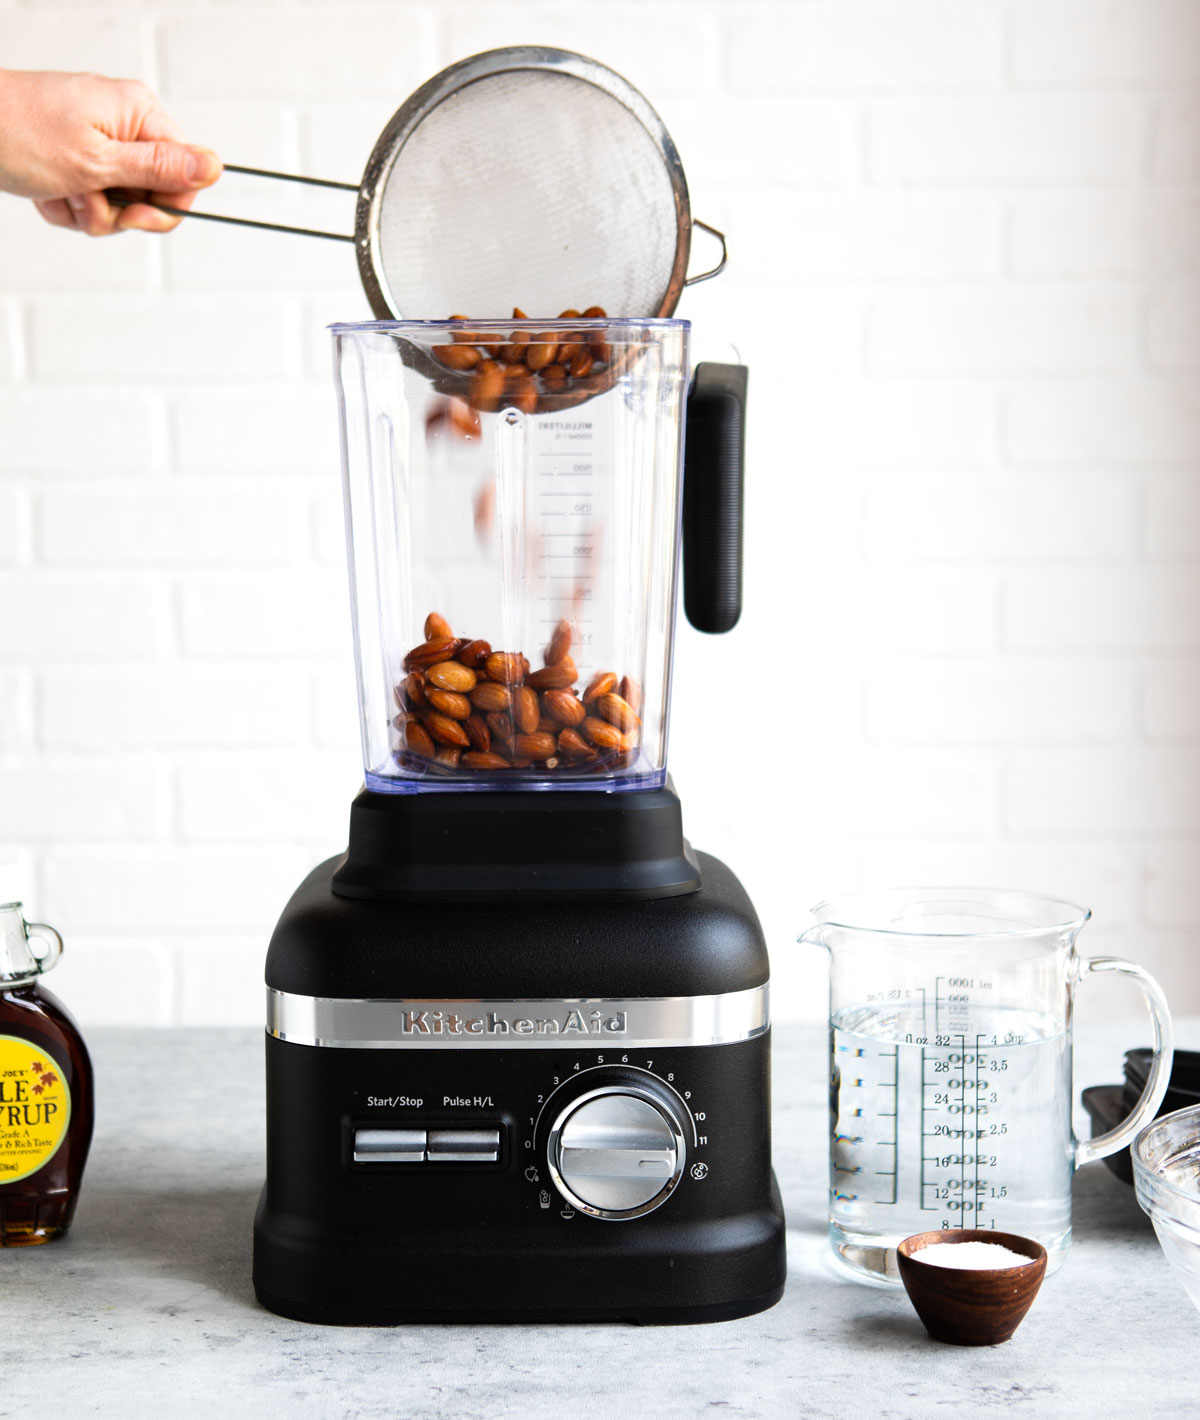
Pour the soaked almonds into a sieve. Drain and rinse almonds well. I like to use a sieve to make it easy and not lose any almonds down the drain.
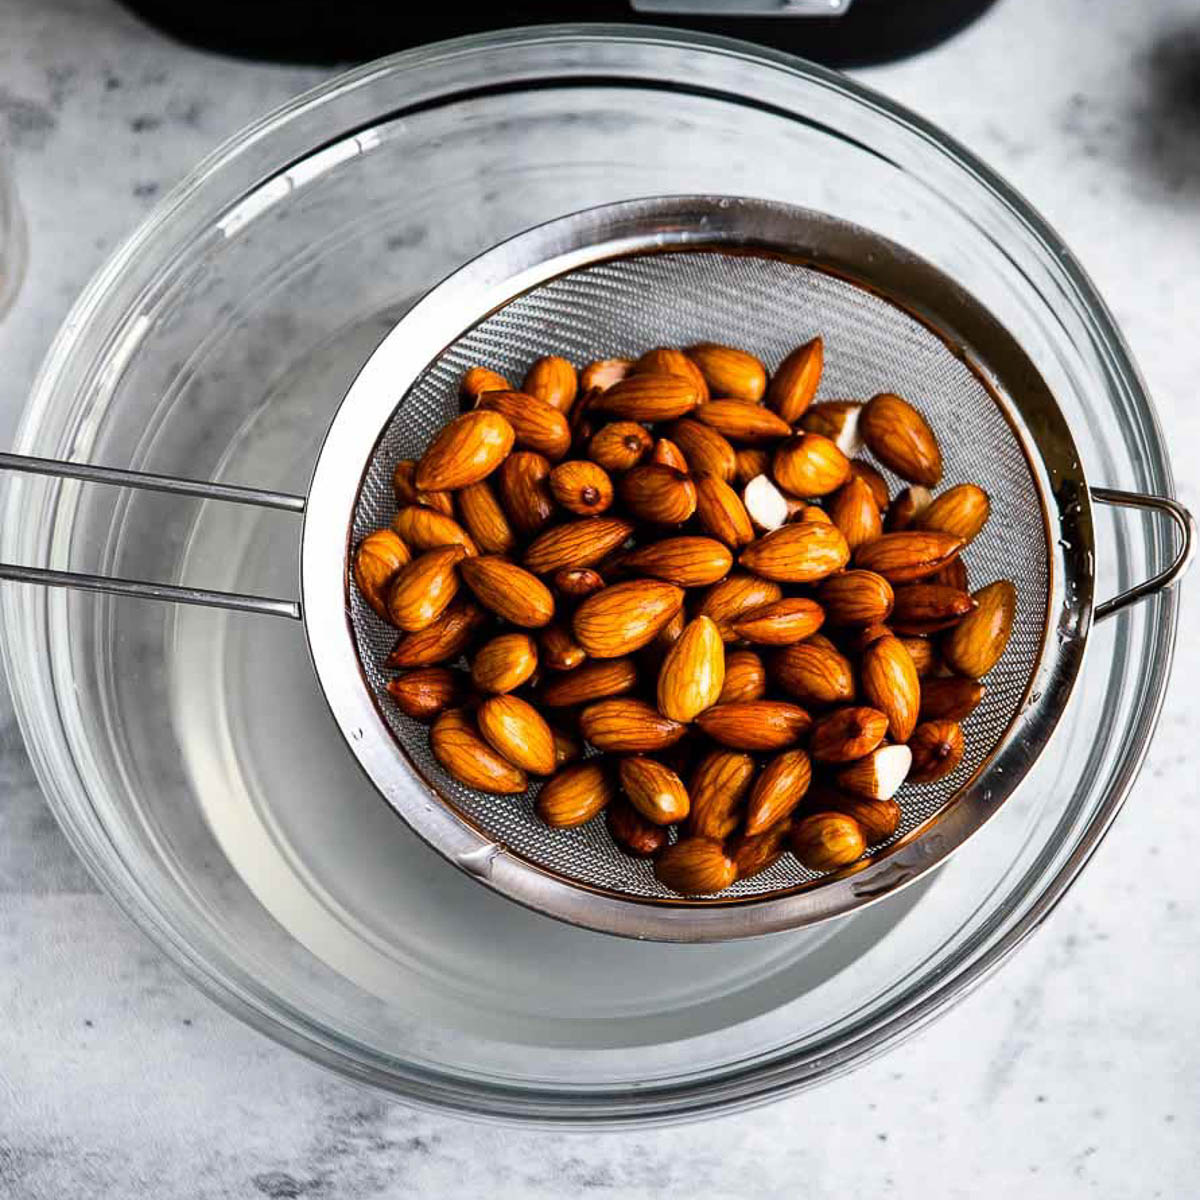
Drain and rinse almonds well. I like to use a sieve to make it easy and not lose any almonds down the drain.
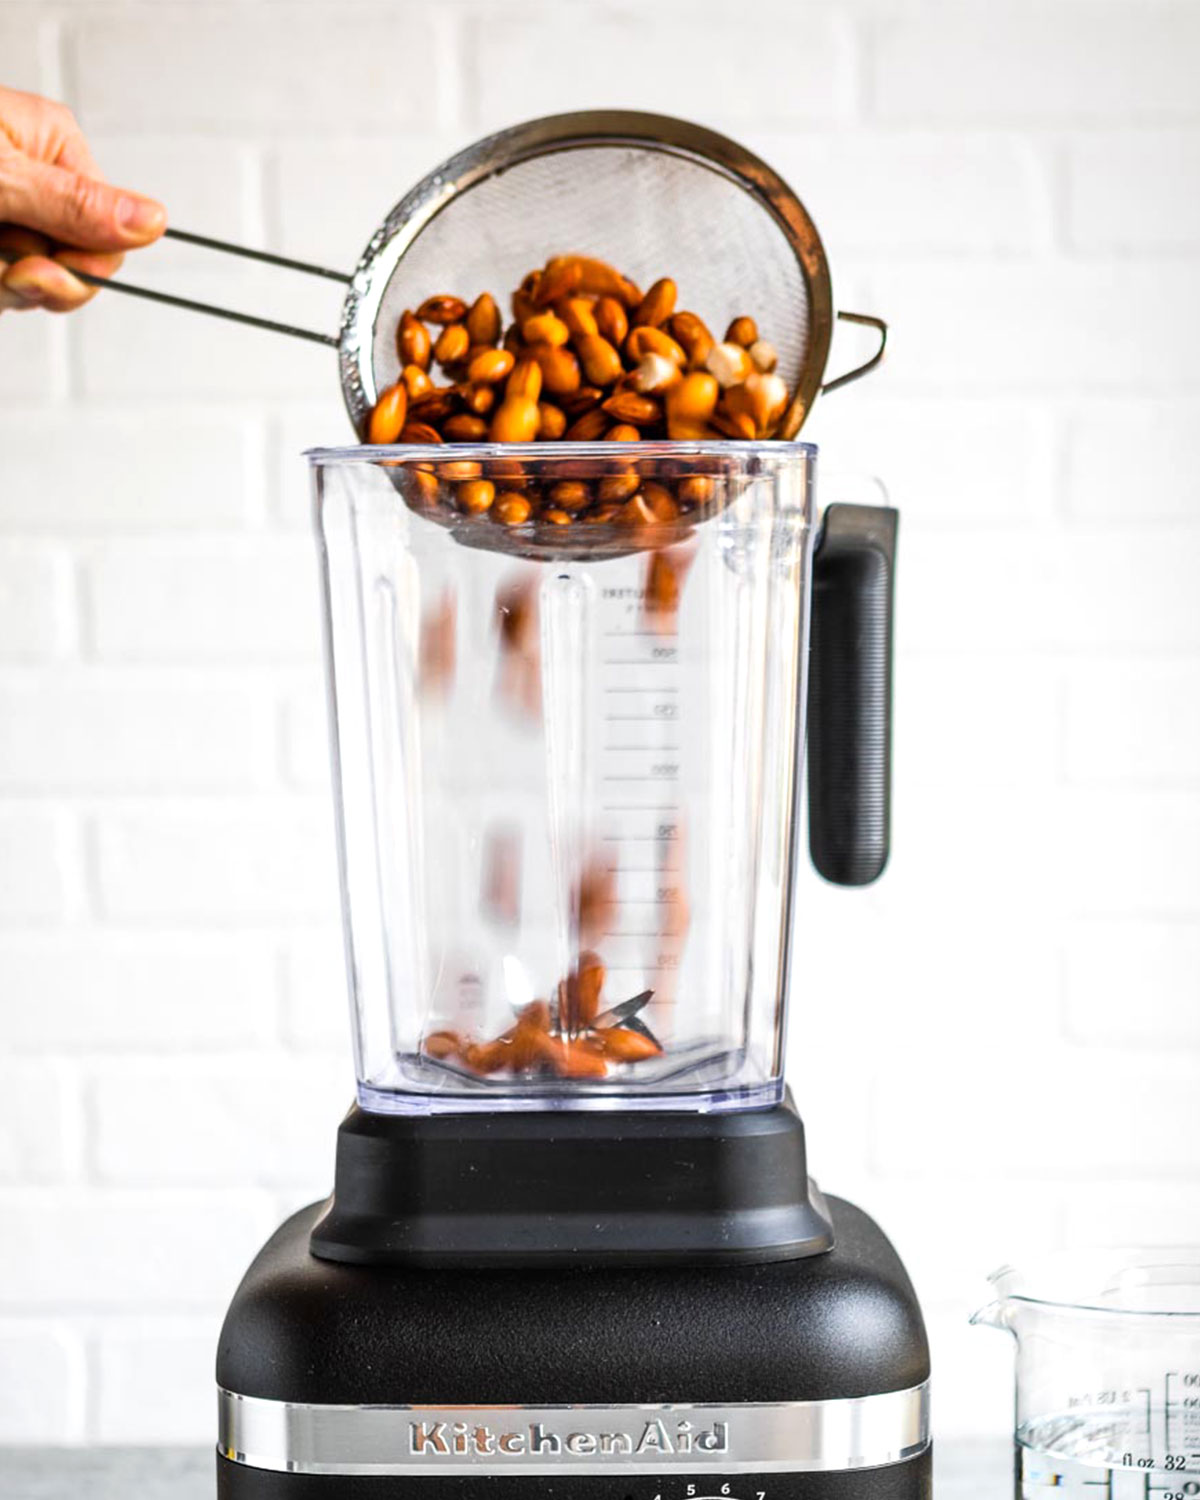
Place almonds in a blender with 3 cups filtered water.
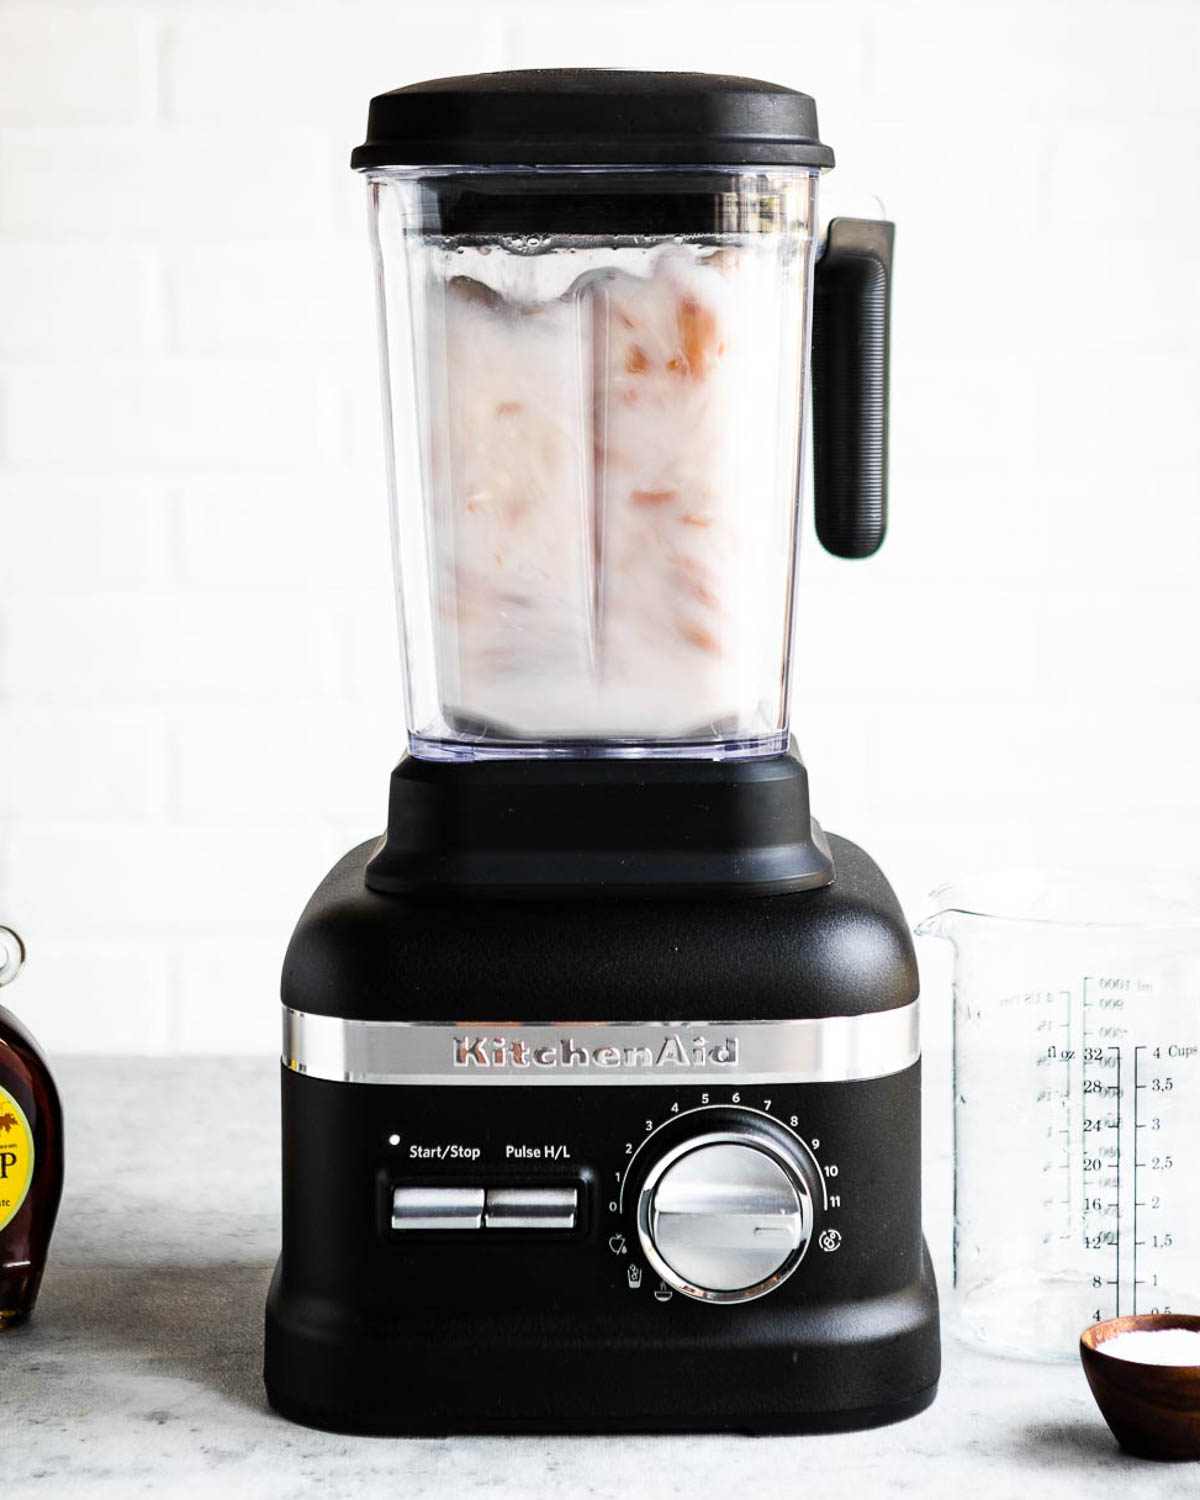
Blend almonds to a creamy consistency (the fewer chunks, the better).
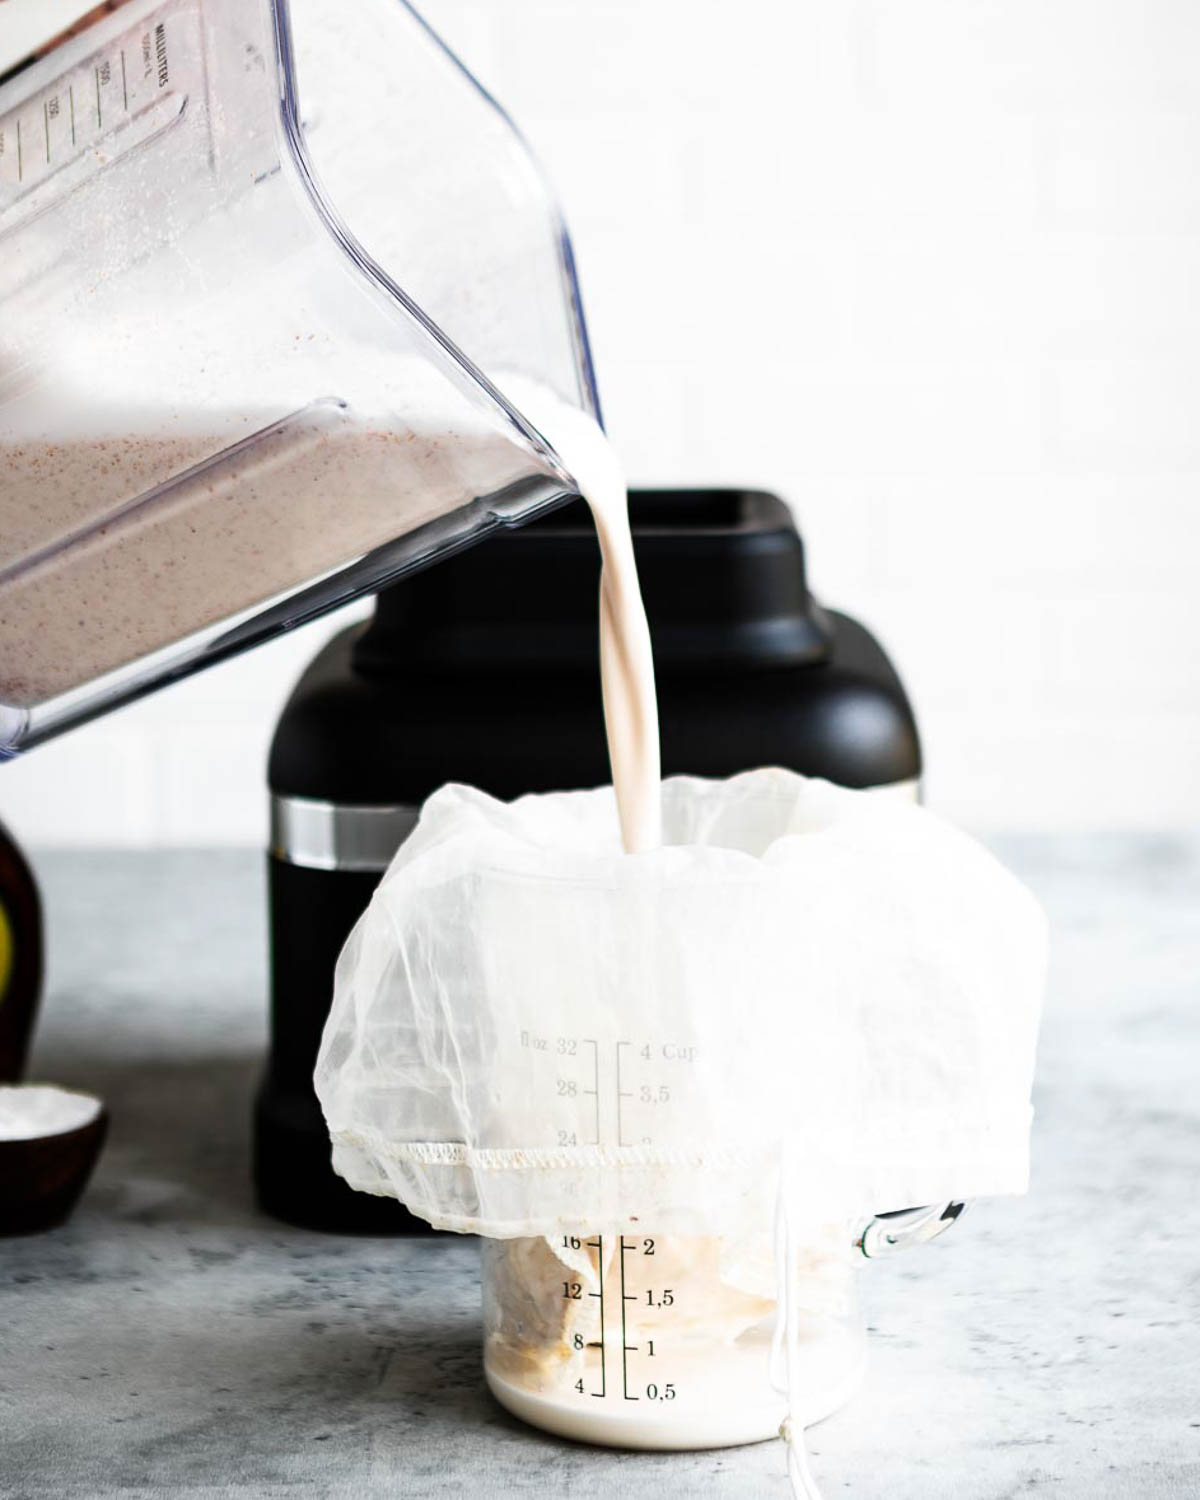
Set a sieve on top of a container. Put cheesecloth on top of that. Pour the nut milk through the cheesecloth bag (or a nut sack) with a container underneath to catch the liquid.
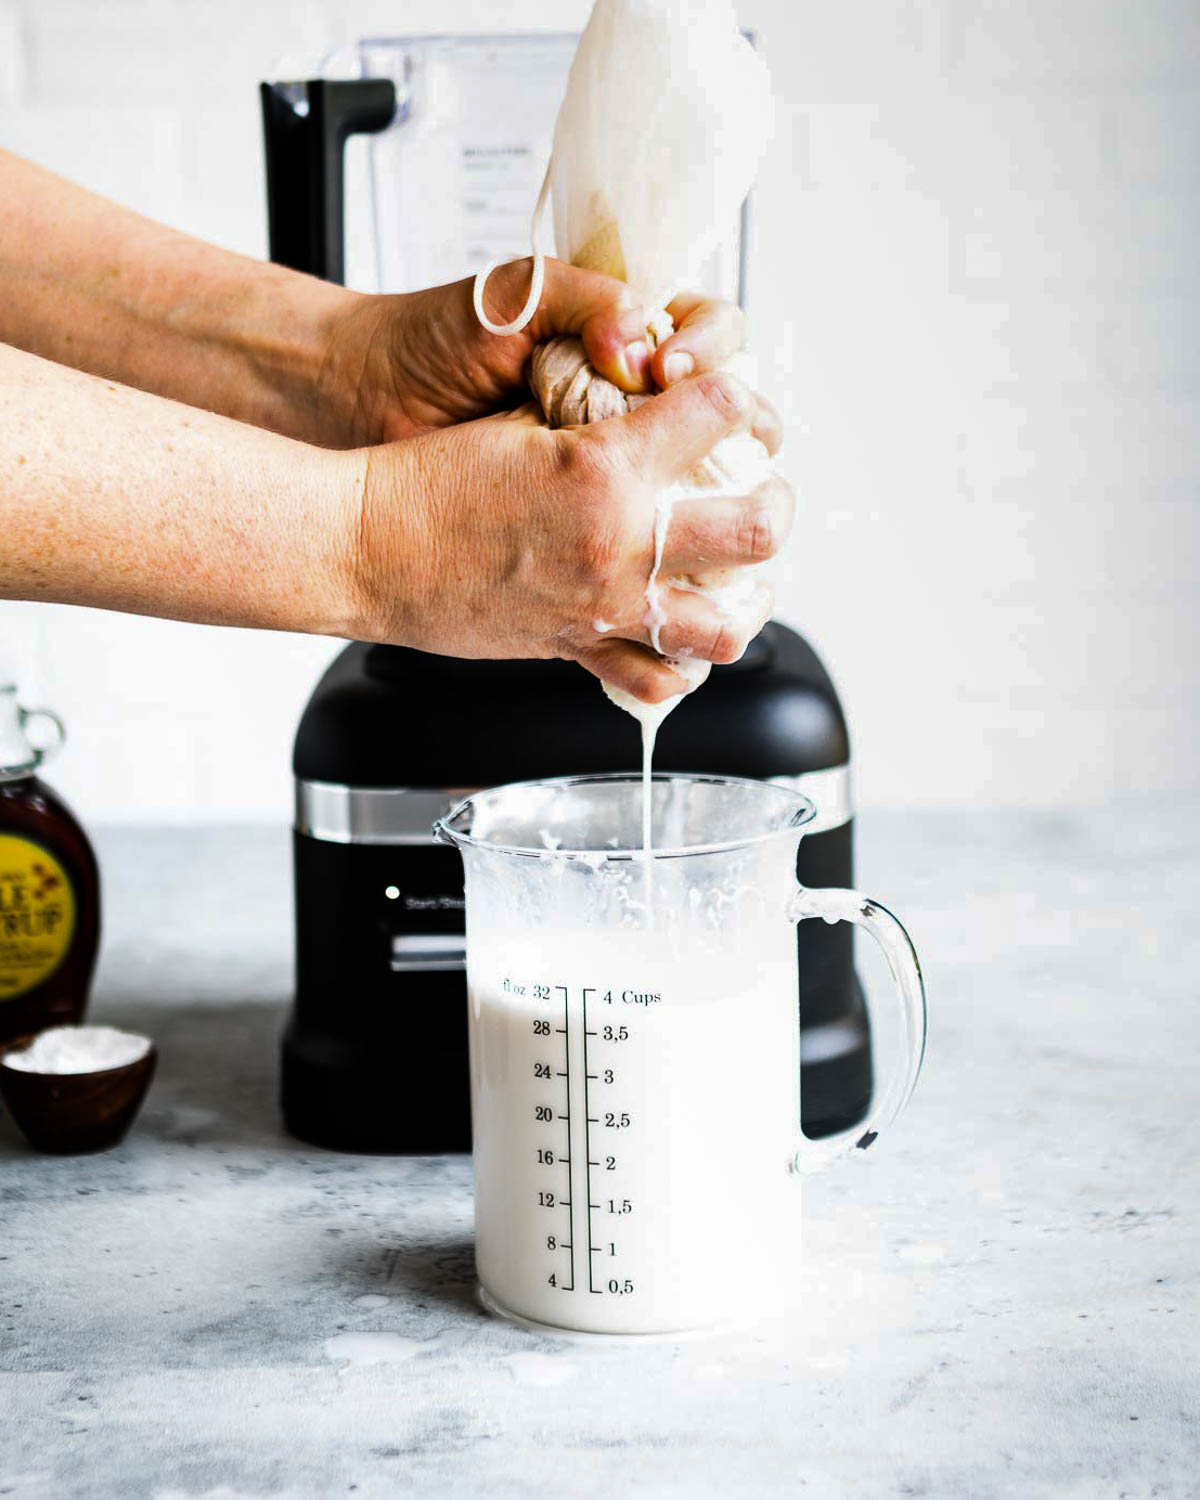
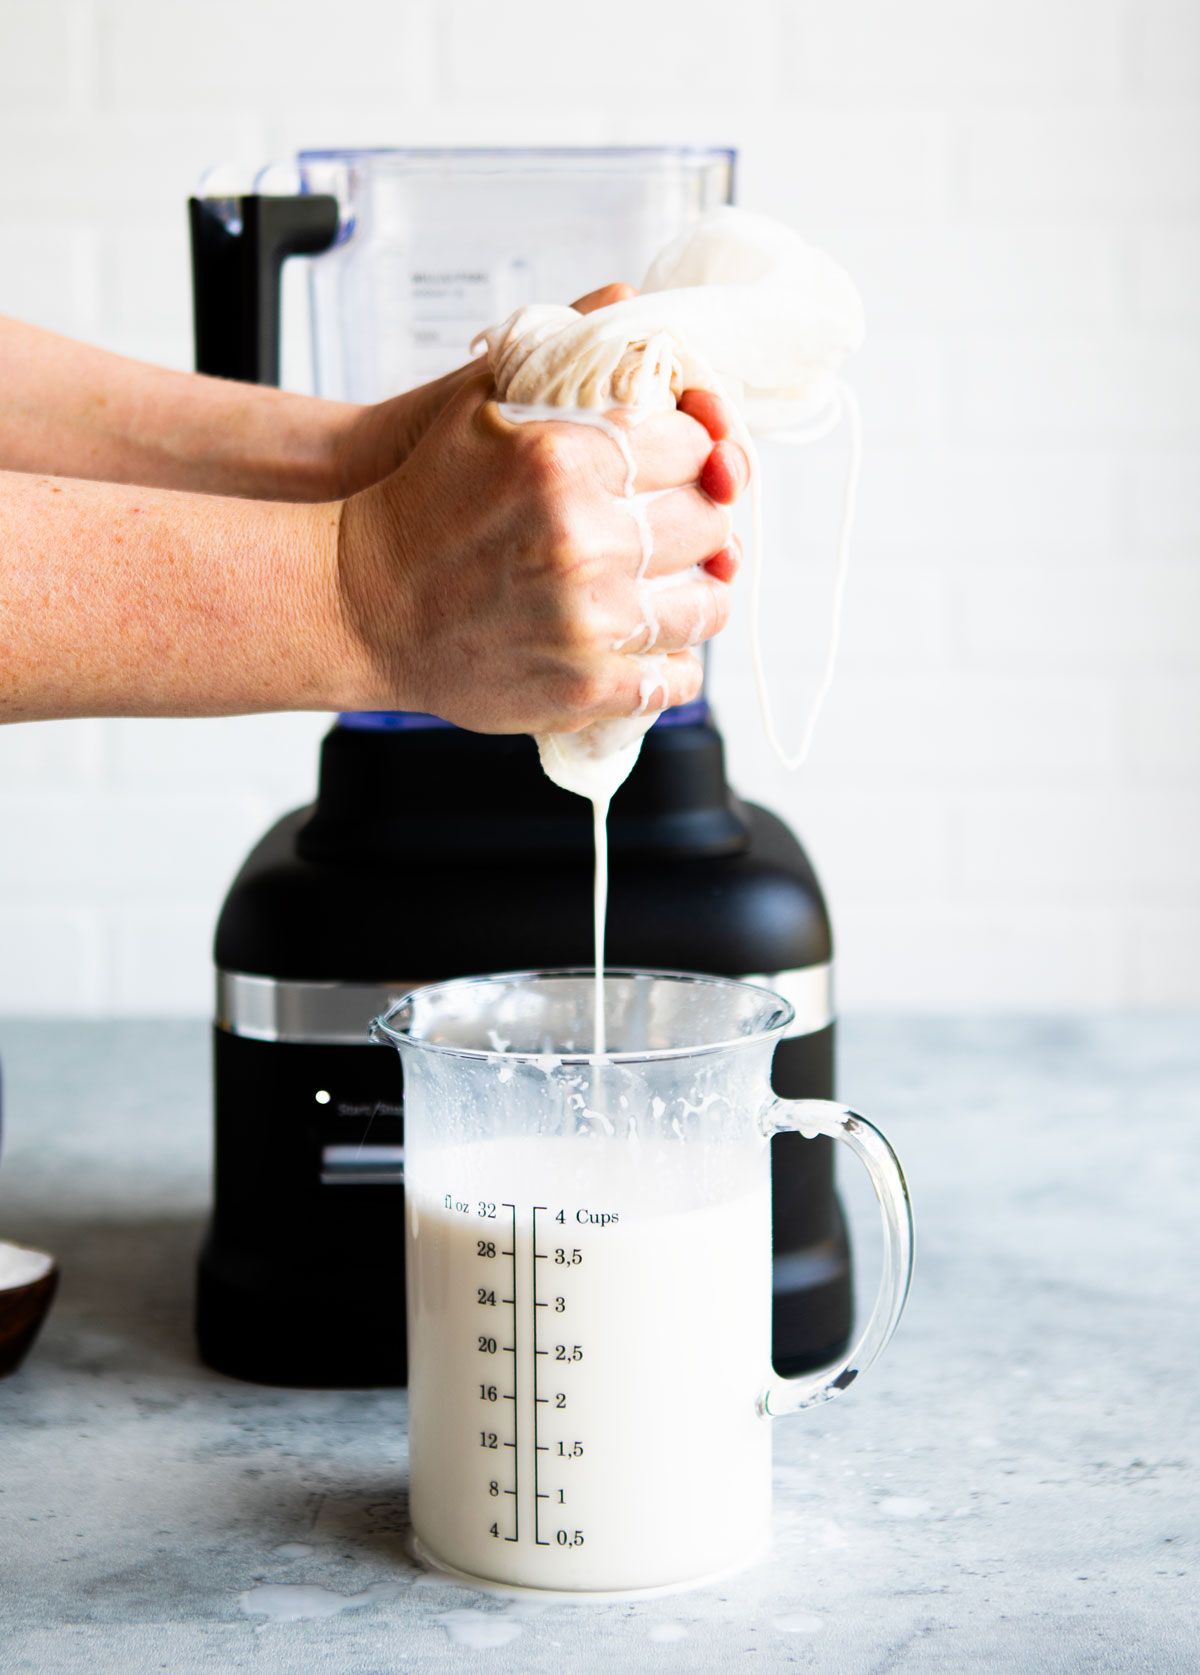
Squeeze the cheesecloth to allow the liquid to seep through into the container.
Do I have to Strain Almond Milk?
Straining the blender contents isn’t 100% necessary, yet it does remove the pulp which can make the milk taste gritty. Some people prefer to use the milk unstrained, so it’s totally up to you! I def prefer straining it– it’s incredible and will make you never want to buy store-bought nut milk again.
Flavor Variations
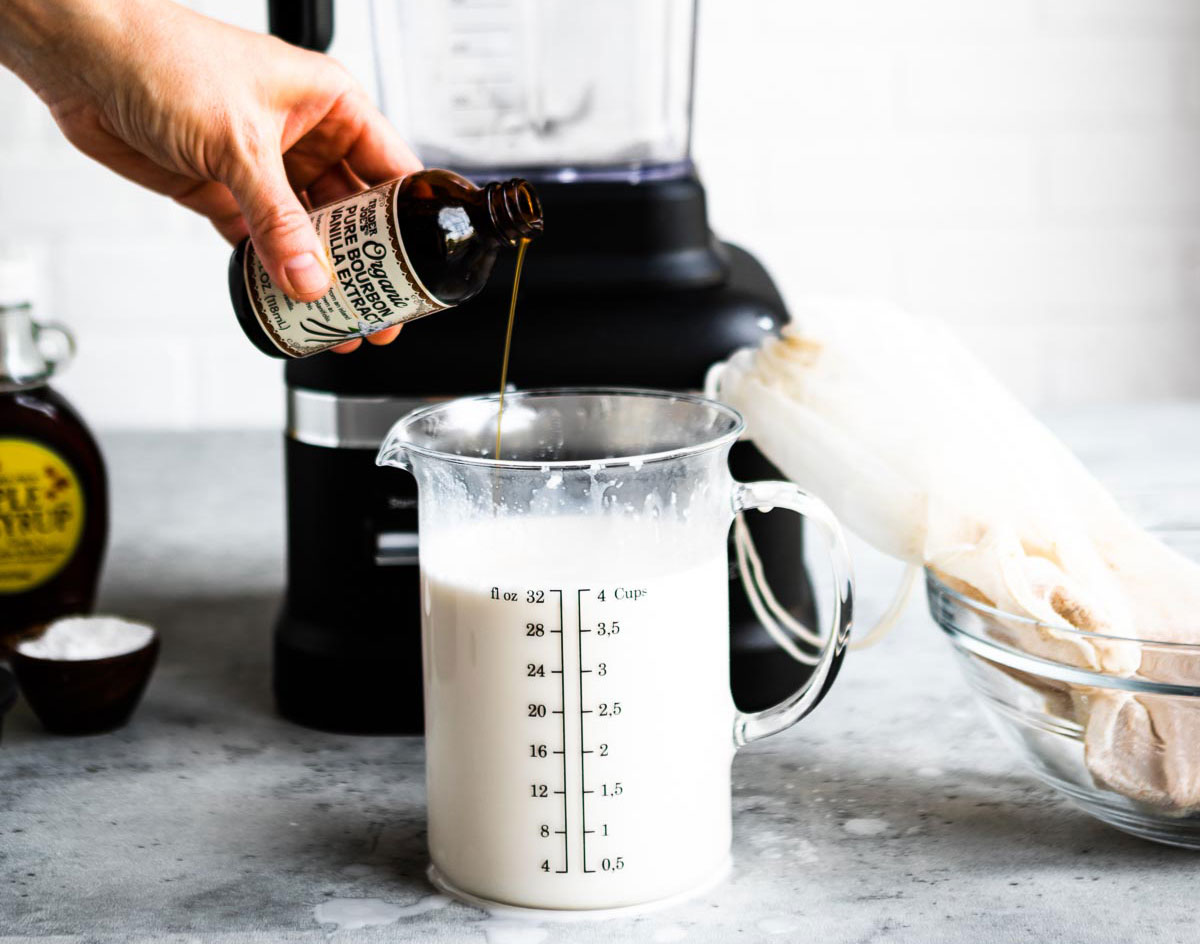
Now that you’ve learned how to make almond milk, it’s time to customize it for your taste. You can enjoy your homemade almond milk just as it is: pure almonds and water. Or you can add a little love to take it to a whole new level. I like to do a lil’ sea salt and vanilla extract as well as maple syrup. My kids are much happier drinking it when I add these flavors and natural sweeteners. Here’s what I suggest adding to the almond milk to make it taste really good:
- Pinch of sea salt to the milk (you can do this while blending or afterwards)
- 1 teaspoon of vanilla extract to enhance the flavor.
- 1 tablespoon of pure maple syrup. You can also use honey, agave or a simple syrup if you prefer. I love maple syrup for the rich taste and and nutrients it provides.
- dash of ground cinnamon or even cayenne pepper (if you like a little spice).
What to Do with Almond Pulp
When making homemade almond milk, it’s normal to have leftover almond pulp. You don’t have to throw it away! This can be dried and used in granola, added to a smoothie for extra fiber, put in oatmeal, or as a yogurt topping. This creates a zero waste product!
How to Store Homemade Almond Milk
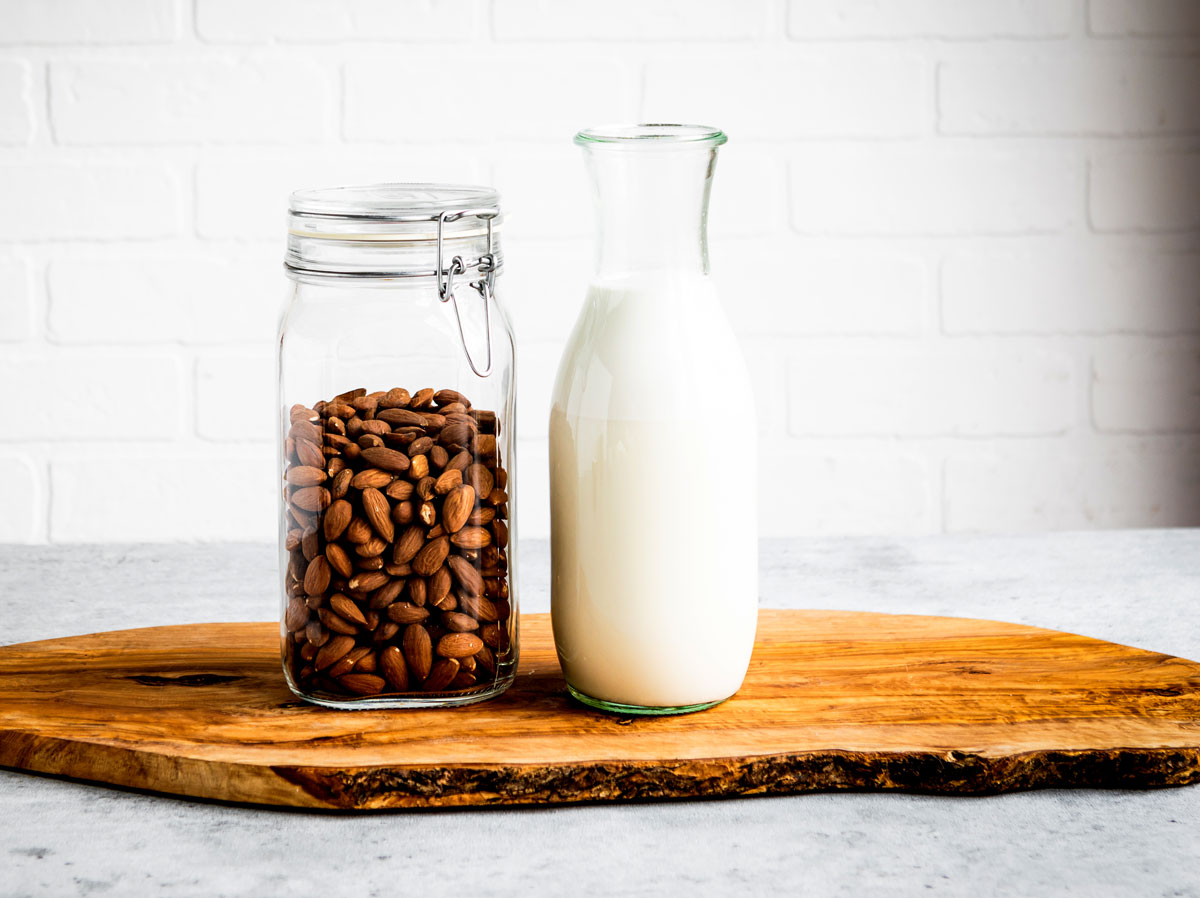
Once you’ve made your delicious homemade almond milk, proper storage is key to maintaining its freshness and flavor. Store your almond milk in an airtight container, such as a glass jar or sealed container, in the refrigerator. This will help prevent it from absorbing any odors from other foods and keep it at a consistent temperature.
Homemade almond milk typically lasts for 3-5 days in the refrigerator. If you notice any changes in smell, taste, or consistency, it’s best to discard it. For longer storage, you can freeze almond milk in ice cube trays or freezer-safe containers for up to a month. Thaw it overnight in the refrigerator before using, and be aware that the texture might be slightly different after freezing – a quick blend can restore its creaminess.
How to Make Almond Milk
Ingredients
- 1 cup raw almonds organic if possible
- 3 cup water
- 1 tsp lemon juice
- pinch sea salt, unrefined
- 1-2 tsp pure maple syrup optional
- 1 tsp pure vanilla extract
Instructions
- Place 1 cup of almonds in a medium bowl. Squeeze fresh lemon juice over the top and completely cover almonds with filtered water. Soak for at least 8 hours or overnight. The almonds will really absorb a lot of water, so be sure to use enough water! Add more if needed.
- Pour the soaked almonds into a sieve. Drain and rinse well. Place almonds in blender with 3 cups water.
- Blend on high speed for several minutes until thick and smooth. There will be quite a bit of almond pulp mixed in with the milk.
- Set a sieve on top of a bowl with a cheese cloth over the sieve. Pour the almond milk through the cheesecloth + sieve into the bowl, catching as much liquid as possible. Squeeze the cheesecloth tightly to allow the liquid to completely seep through into the container.
- Mix in sea salt, maple syrup, and vanilla extract (if adding) to the separated milk.
- Transfer the milk to a quart size jar or glass bottle with a lid. For a thinner milk, add a little more filtered water to make it an even quart. Refrigerate immediately. The milk is best consumed within the first 2-3 days and must be kept refrigerated. It will separate as it sits. It is fine to drink and use, simply shake the bottle and the milk will be creamy again.
Video
Helpful Tools
Notes
- Be sure to sanitize all of your bowls, utensils, blender, jar and lids before making the milk to prevent any contamination.
- If you want to keep some of the pulp in your milk, simply strain through a sieve alone. Alternately you can use a nut milk bag instead of cheese cloth.
- If the milk smells “off” best not to drink it in case it has spoiled. Drink or use within 3-4 days, but sometimes it will keep for a week.
- Add other flavors or spices, as desired. Example – cinnamon and a little almond extract.
- Honey or date syrup can be used in place of the maple syrup. You can also place a date in the blender with the soaked almonds and blend together.
- Do not freeze the almond milk, the texture will be affected.
- This method can be used on a variety of nuts and seeds!
Nutrition
Did you make this recipe?
Leave a review for a chance to win signed copies of my cookbooks!Common Questions
Soak almonds in filtered water with a squeeze of fresh lemon juice for at least 8 hours. Drain, then add soaked almonds to a blender with 3 cups of water. Blend for several minutes, until smooth.
Using a nut milk bag (or cheese cloth/tea towel) strain the ‘milk’ into a pitcher. Once the blender is emptied into the milk bag, squeeze as much liquid out of the almond pulp as you can. If you want your milk sweetened, add a bit of maple syrup to the finished product (or add in a date).
I recommend soaking almonds for at least 8 hours, or overnight for almond milk. If you’re soaking them overnight, place them in the fridge to ensure they stay fresh while soaking. If you need to make a quick batch of almond milk, you can soak in steaming water for 30 minutes to speed up the process. The almonds won’t be quite as soft, yet will still work fine for the milk.
No need to use a nut milk bag to enjoy homemade almond milk. You can use a clean tea towel or cheese cloth just as easily.
Yes, almond milk is considered vegan. It’s made from almonds and water, making it a plant-based alternative to dairy milk. Most almond milk products are free from non-vegan ingredients, but it’s always a good idea to double-check the label. Some brands may add flavorings, thickeners, or vitamins that could occasionally come from animal sources.
Yes, you can heat almond milk! It’s a versatile plant-based milk that warms up well for use in coffee, tea, hot chocolate, or cooking. To heat almond milk:
Use Low to Medium Heat: Almond milk can scorch or curdle if heated too quickly. Warm it slowly on the stove or in the microwave.
Stir Often: This helps distribute the heat evenly and prevents it from sticking to the bottom of the pot or forming a skin.
Avoid Boiling: Almond milk may separate if it reaches a rolling boil, so keep the heat gentle.
What is an Almond Milk Maker?
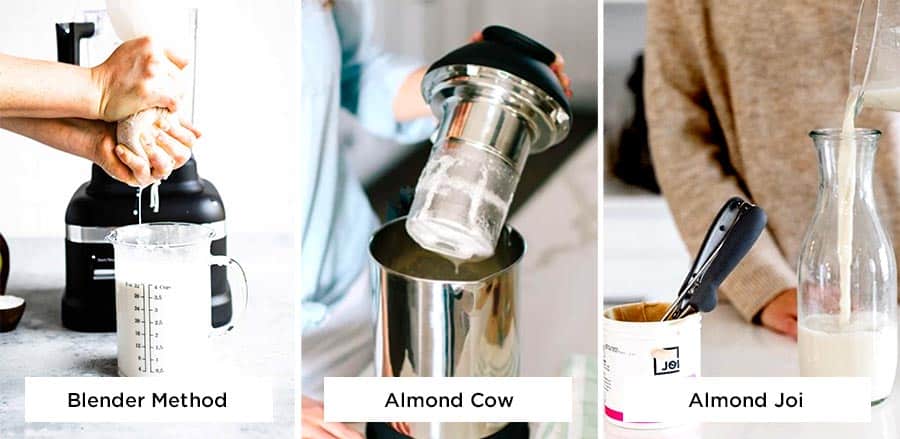
When the first almond milk maker came out, I was like: can it really be worth the cost?! The answer is yes… and no. A milk maker can create dairy-free milk in minutes without the mess. A machine costs between $199-$499, yet can make 5 cups of milk using 1 cup of raw almonds (the less water you use the creamier it gets). Here’s a few milk makers that I’ve used and think they are worth buying if you’re making almond milk weekly:
- Nama Milk Maker: Make fast, fresh barista-quality milk in this top of the line appliance. This machine extracts the most nutrients from the nuts, making the most nutrient-dense almond milk. 10% off code: JENM1
- Almond Cow: Fresh non-dairy milk in minutes. The Almond Cow “rushes” the process and makes a less flavorful, frothy version of nut milk. Yet clean up is super easy and the entire process is quick. Even though it has almond in its name, the Almond Cow can also make oat, coconut, cashew, hemp, and walnut milk. Enjoy $25 off with code: JEN25
- Alfa Bot Milk Maker: This affordable Amazon appliance is a good entry level option.
- Joi Nutbase: This technically isn’t a milk maker, but it does allow you to make almond milk in seconds. This paste is 100% almonds— nothing else. Plus, they are using the entire nut (so also zero-waste), and it has a shelf life of 18 months.
More Dairy-Free Milk Recipes
I’ve learned how to make all kinds of dairy-free milks since I have preferences on which kind to use depending on the recipe. Here’s some more you may want to try:
Rate + review this homemade almond milk recipe once you’ve tried it; I can’t wait to hear how yours turns out! Your feedback helps me and all the readers in this community. And if you’re interested in more plant-based recipes (and exclusive content), sign up for my weekly recipe newsletter.



Thank you for your recipe.
You have selflessly given us the best recipe.
Thanks so much, Stella!
Would I beable to freeze all the plant base milks that I make
Hey Wendy – great question! Yes, you can totally freeze your plant milks. 🙂 I would recommend freezing it in ice cube trays. Then, once frozen, you can transfer the cubes into a freezer bag.
Hi Jen! I’m literally making this as I type! My almonds have been soaking however I had to delay making this by a few days so I put my almonds in the fridge (still soaking in water) do you think they’re safe to use? They smell fine. Also can you sweeten this with dates and if so how would you suggest adding it in? Thank you so much!
I made as directed and I will never buy almond milk again! This was so easy and so creamy and delicious!
Amazing!! Great job, Candis! I’m so glad you liked it!
Hi Candis,
Your almonds should be safe to use – even if it’s been a few days! If you’re looking to sweeten your almond milk, I would suggest adding maple syrup, honey or vanilla extract. Let me know what you end up trying and how it turns out!
Thank you for the almond milk recipe, and also for the printing facilities! I’ll try the blender option very soon, though this time I’ve had the patience of peeling the almonds after soaking them! Next time, I’ll skip the peeling.
I intend to use the almond milk, perhaps with more water (5:1), with breakfast cereal. Congratulations for your website!
Simple Green Smoothies, thank you too!
I love the different options you provided. Thanks!
I just use almonds and water when making my own almond milk, but love the additions in this version.
Can I used well water instead of filtered water? If not, is filtered water the same as distilled water that can be purchased at a pharmacy? Any other options?
Well water is actually a rawkin option here! It usually contains more natural minerals than filtered water, which is a bonus. Distilled water and filtered water are diff. Filtered water has been cleaned of contaminants, while distilled has also had minerals and salts removed through a boiling process. Bottom line is that your well water would be an awesome choice! Bet ya never thought you’d be getting milk from your well! 😉
This was SO fun to make, and delicious! I liked drinking the sweetened version plain, but would make it without the maple syrup when using it for cooking/baking
It’s great being able to make your own almond milk, then you don’t have to worry about all the crazy preservatives that are often in the store-bought milks.
Hi Jen,
I make almond milk regularly and I’ve never come across he addition of lemon juice! Amazing! Is that for flavor or does it help with creaminess or better soaking?
Hi Nazish,
Adding lemon to homemade almond milk, helps your body absorb all of the almond’s nutrients.
Cheers
Hi, I wanted to know where can I find nut milk bags and cheese cloths?
Hi Anisha,
You can find cheese cloth or nut milk bags at a variety of places. Try your local grocery, hardware, kitchen supply, or craft store!
Hope this helps!
Can you make other smothies using this? Instead of store bought almond milk?
Hi Alma,
Yes! We love making our own almond milk to blend in our green smoothies! It’s a great + easy way to ensure your almond milk is free of additives + preservatives!
Cheers 🙂
Yes you can use home made almond milk for smoothies.
What do we do with the pulp? Can we make almond butter with it?
Hi Alex,
Not sure what to do with the leftover almond pulp? There are a ton of fantastic uses for almond pulp such as dehydrated cookies, crusts, + granola…but my favorite use for almond pulp is this insanely easy body scrub from The Blender Girl which is fantastic for removing dead skin cells and gently adding moisture to your skin…
Hi Gloria, Cam you make with all different nuts,etc. Cashew milk, peanut butter milk? Might sound silly, But what do you think.?
Thank you Nick……. 🙂
Hi Nick,
Of course! We love homemade cashew milk, it’s packed with protein, iron + magnesium!
Cheers 🙂
Is the lemon juice a necessity? I didn’t have it on hand.
Hi Jessica,
Great question! Adding lemon to homemade almond milk, helps your body absorb all of the almond’s nutrients. So while not necessary, it’s a great addition for your body.
Cheers 🙂
This may seem in line with all natural…that said, if I wanted to make a gallon of almond milk at a time, is there a natural preservative I could add to make the milk last 7 days?
Also, I’ve researched a second method of making almond milk. Using 2 tlbs of raw almond butter with 4 cups of water. Easier and less messy. What are your thoughts on that method?
Ps – this site is the cat’s meow!
Hi HonestTexan,
Thank you so much for reaching out! We love our recipe because it is free of additives or preservatives! We suggest enjoying your homemade almond milk within 3-4 days, but sometimes it will keep for a week. If the milk smells “off” best not to drink it in case it has spoiled.
I personally haven’t tried using raw almond butter, but it’s worth a try!
Cheers 🙂
Id like to try this homemade almond milk recipe. Do we use raw almond in this recipe? Or we have to boil the almond before we mix the almond with lemon juice for a night? Thanks.
Hi Gloria,
Great question! We use raw almonds in this recipe. Check back and let us know how you like making your own almond milk!
Cheers 🙂
To prep for future use can you presoak the almonds and then freeze them for later? How long can you freeze them?
Hi CC,
Great question! I personally haven’t tried freezing pre-soaked almonds, but I did some research + nutritionist suggest allowing your nuts to throughly dry prior to freezing. Please let us know how this works for you, as it will hopefully allow you additional flexibility when blendin’ with almonds!
Keep in touch!
Amanda, Simple Green Smoothies
It never occurred to me to leave the pulp in. That sure makes it easier! I know it will increase caloroes, but I’m leaving it in today!
Hi Brenda,
Let us know how you like blendin’ with the pulp included.
Cheers!