

This post may contain affiliate links.
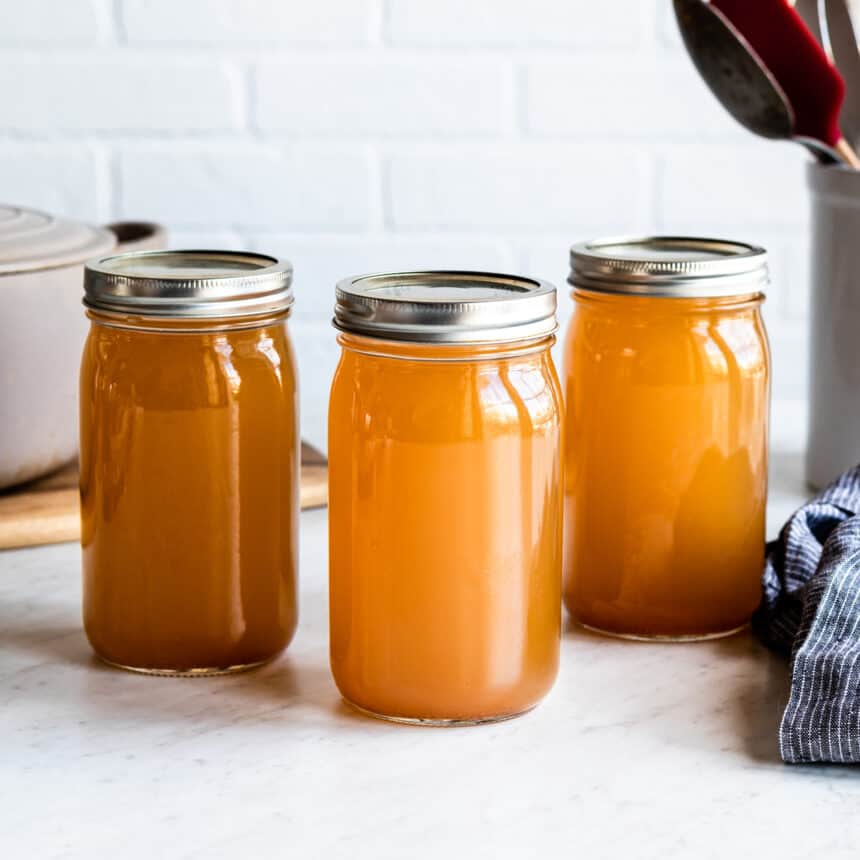
Making this vegetable stock recipe is one of those small kitchen habits that delivers big rewards. Unlike store-bought versions, which can be watered down, overly salty, or packed with preservatives, homemade stock is rich, flavorful, and totally customizable. You get to control the ingredients and reduce food waste by using scraps. Plus, once you taste the difference, it’s hard to go back—this is the kind of upgrade your soups, stews, and sauces have been waiting for.
Table of Contents
What is Vegetable Stock?
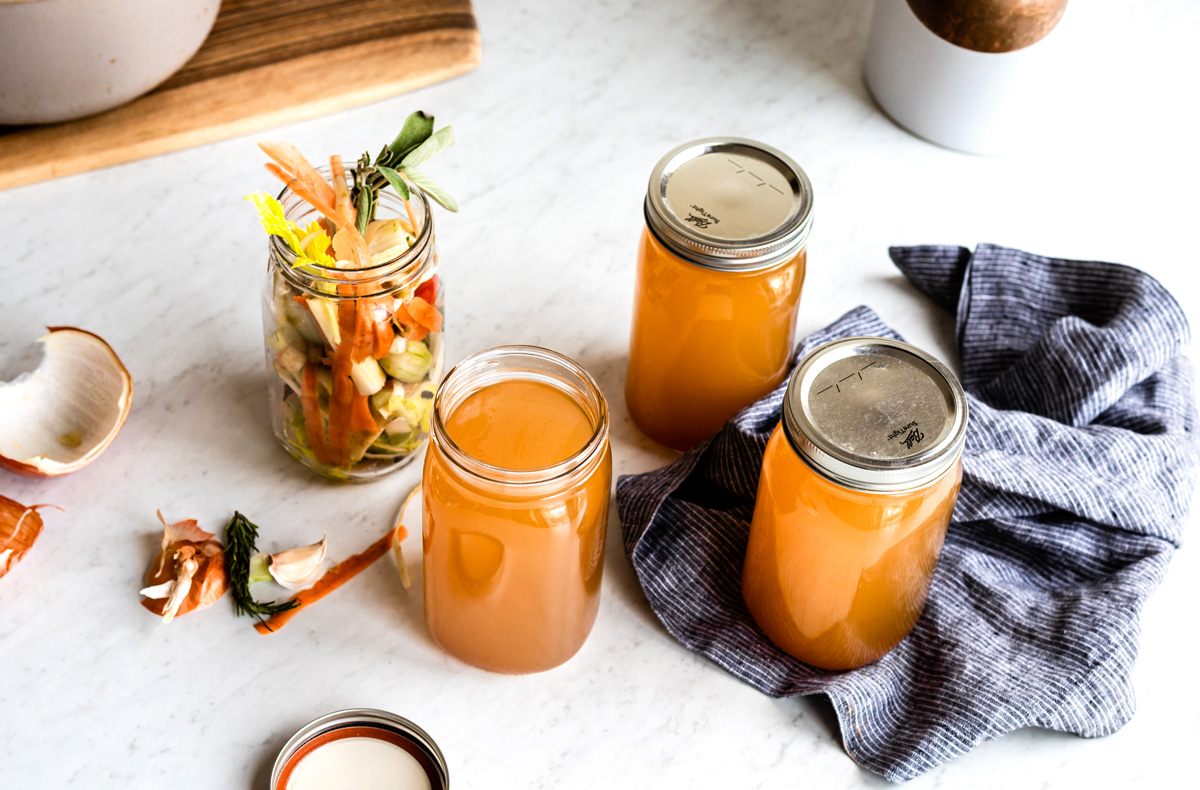
A vegetable stock recipe is typically made by simmering vegetables, herbs, and water for about an hour, then straining out the solids. It’s usually unseasoned or only lightly seasoned, making it a great base for other recipes. Vegetable broth, on the other hand, is similar but often seasoned with salt and spices. It’s meant to be enjoyed as-is—like sipping broth from a mug or using it in a quick soup.
In everyday cooking, most people use the terms interchangeably. But if you’re following a specific recipe, check whether it calls for stock (a neutral base) or broth (ready-to-eat).
Save this Recipe
Enter your email & I’ll send it to you!
Tips When Making Vegetable Stock
If you’re someone who loves exact measurements, this vegetable stock recipe might feel a little loose—but that’s part of the magic. It’s all about working with what you’ve got. Here’s how to make it a success:
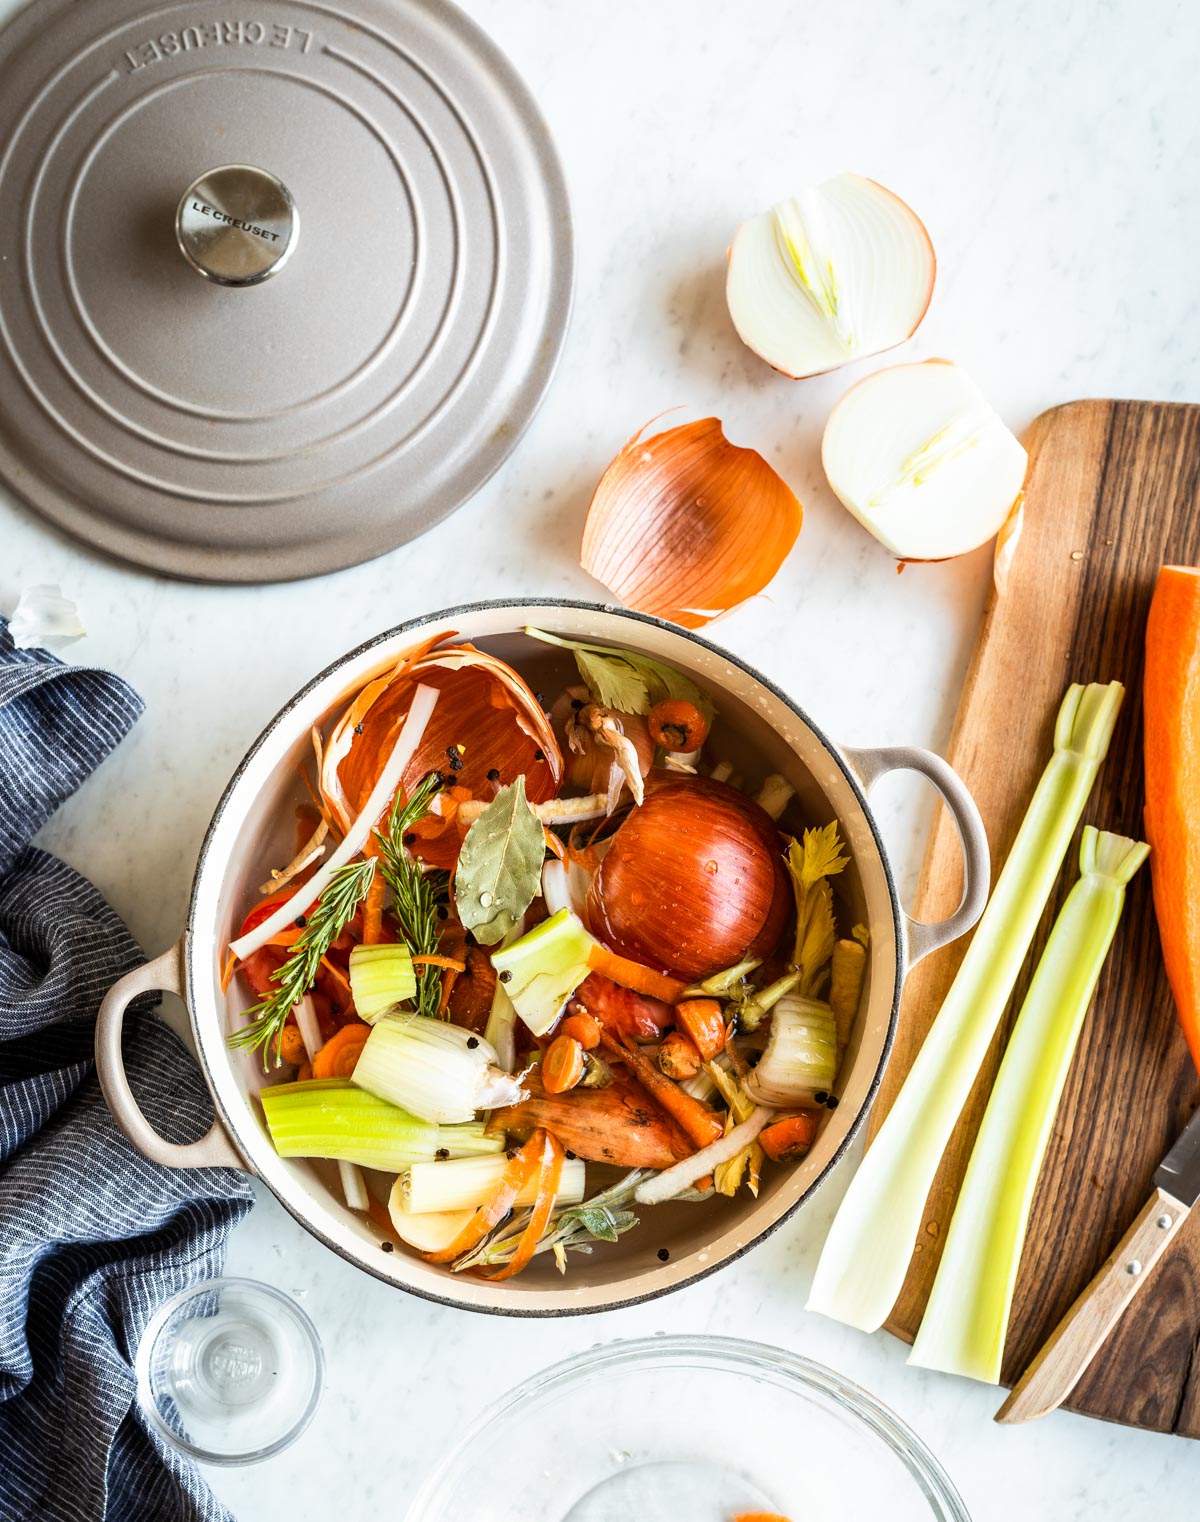
- Use what you have. This recipe is all about using up veggie scraps you’d normally toss. No need to buy fresh produce just to make stock—this is your compost pile’s glow-up moment.
- Mix it up. The most flavorful stocks come from variety. If you don’t want it to taste like onion soup, make sure your freezer stash includes a mix of veggies like carrots, celery, leeks, herbs—even a handful of arugula or mushroom stems.
- Skip the cruciferous crew. Veggies like broccoli, cabbage, and kale can make your stock bitter. Save those for a separate soup and keep them out of the pot here.
- Boost with anti-inflammatory extras. Want a wellness edge? Add a chunk of fresh ginger or turmeric root. Just a little adds flavor and extra health perks.
This is a flexible, no-stress recipe that helps reduce food waste and boosts your cooking game at the same time.
How to Use Vegetable Stock
You can use my homemade vegetable stock in any recipe that calls for vegetable broth or stock—and trust me, once you taste the difference, you’ll never go back to store-bought. It adds a rich, fresh flavor that makes every dish better. I love using mine in cozy, nourishing recipes like Vegetable Barley Soup, Vegetarian Ramen, Vegetarian Tortilla Soup, and Minestrone Soup. Homemade veggie stock takes them all to the next level.
How to Store Homemade Vegetable Stock
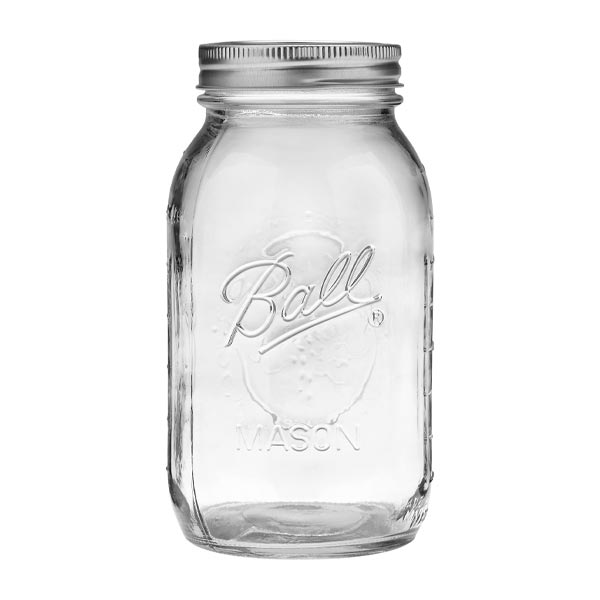
Fridge: Once your homemade vegetable stock has finished simmering, let it cool completely before transferring it to the fridge. Pour it into airtight containers—mason jars, glass storage containers, or BPA-free plastic containers all work great. I recommend using quart-size jars since they hold 4 cups (perfect for most recipes) and fit easily in the fridge. Your vegetable stock will stay fresh in the refrigerator for up to 5 days.
Freezer: You can also freeze vegetable stock to use later in freezer safe bags or Souper Cubes Freezer System—just make sure to let it cool completely before pouring it into your chosen container. Always label everythingwith the date and amount. Trust me, that mystery bag in the back of the freezer won’t be so helpful when you’re guessing what it is three months from now. For the best flavor, try to use your frozen stock within 3 months.
Homemade Vegetable Stock from Scraps
Jen HansardIngredients
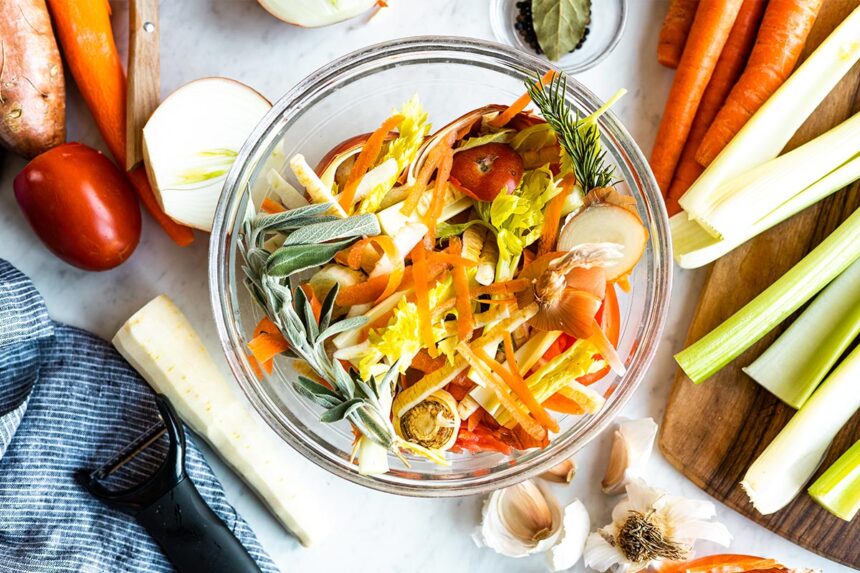
- 1 cup onion scraps tops, bottoms, and skins
- 2 cup celery scraps tops and bottoms
- 2 cup carrot scraps tops and skins
- 4 garlic clove tops, bottoms, and skins
- ½ cup herbs parsley, rosemary, thyme
- 1 tsp black peppercorns
- 1 bay leaf
- 1 tsp sea salt, unrefined optional
- 12 cup water
Instructions
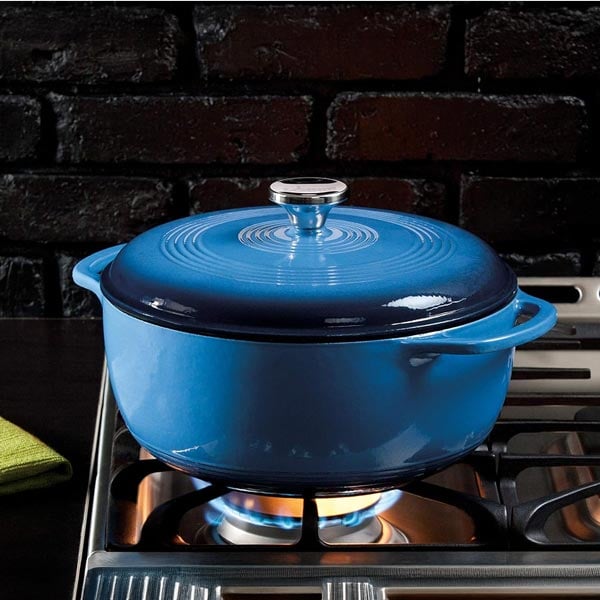
- Add vegetable scraps to a 6-quart pot.

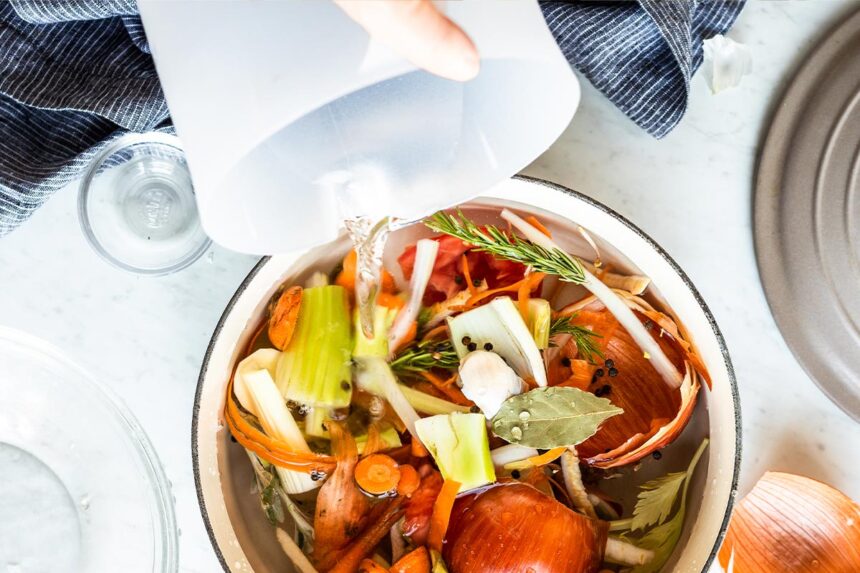
- Pour water on top, making sure everything is covered by 2 inches water. Leaving an inch or two below the top of the pot so it doesn’t boil over.
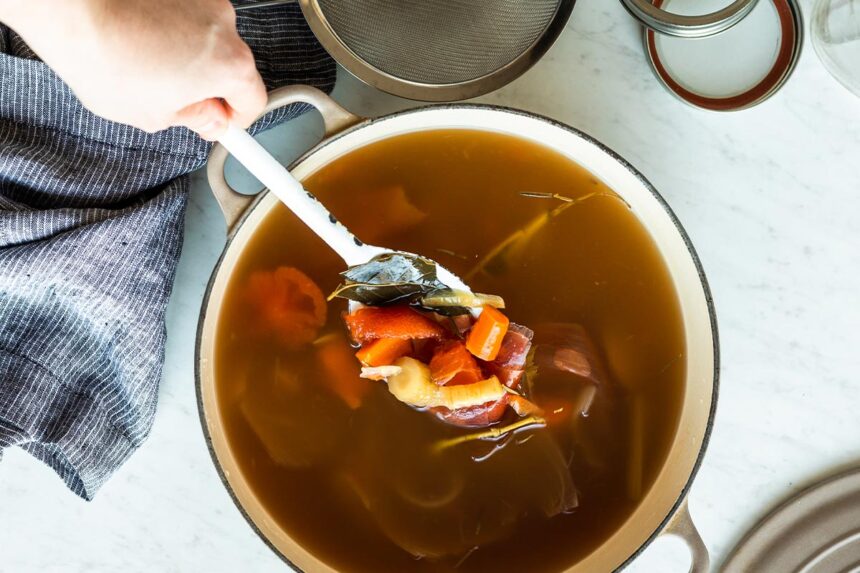
- Cover, bring to a boil at high heat, and then reduce to a rolling simmer for 2+ hours or until vegetables are so soft they are falling apart.
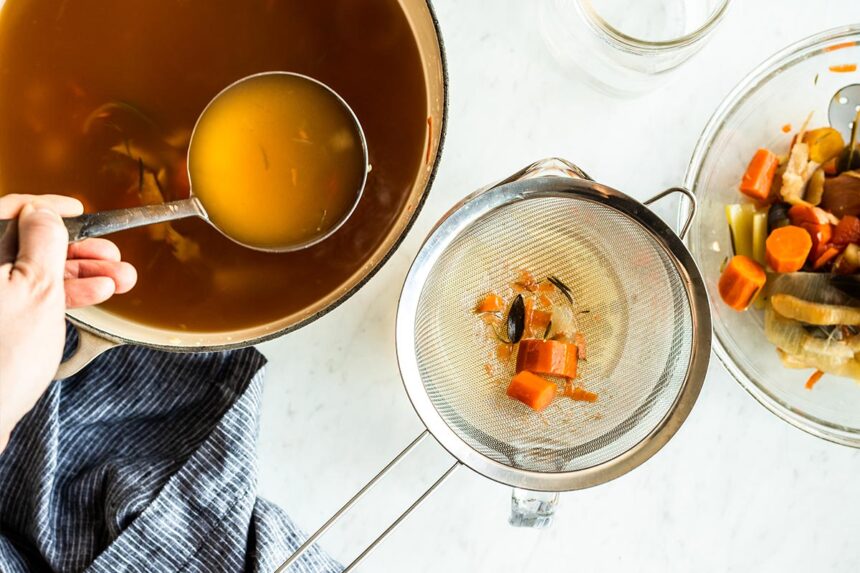
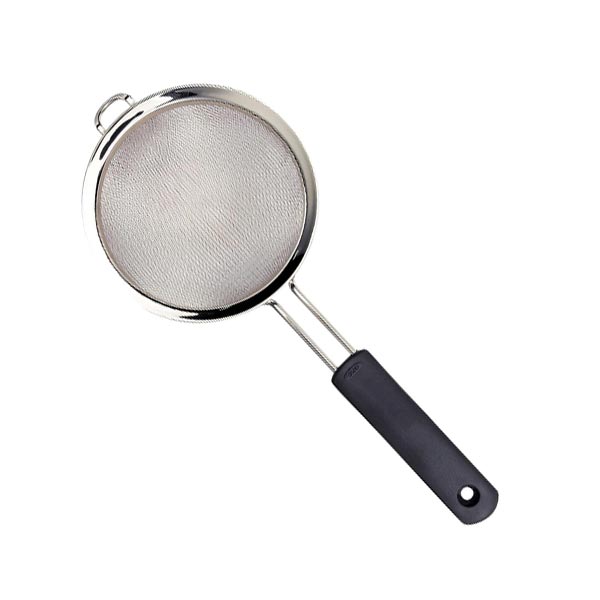
- Strain the stock through a fine-mesh strainer and discard scraps.
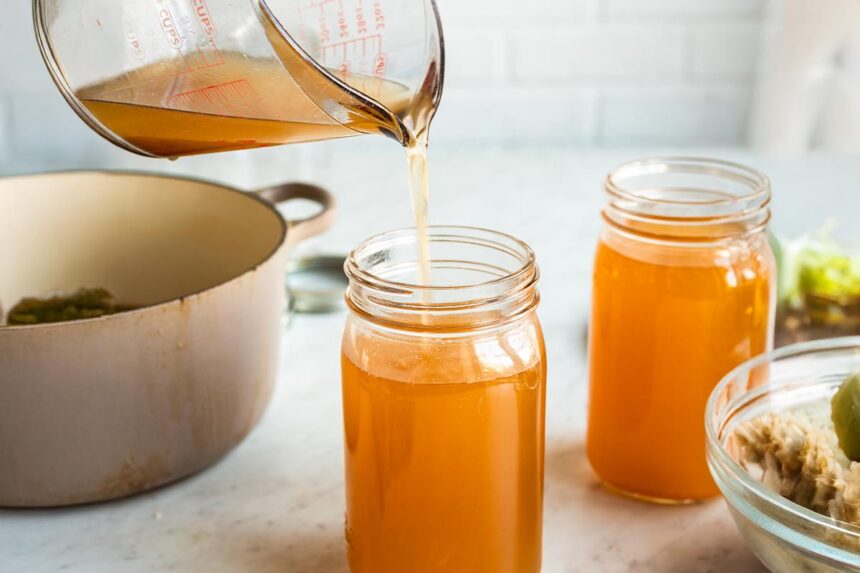
- Pour broth into air-tight containers, like quart-size mason jars.
Recipe Notes
- To make this in a crockpot, add all ingredients to the crockpot. Cover with water by 2 inches then cover and set to low for 8-10 hours. Follow steps 2-3 above.
- The nutritional info is based on my sample recipe; yours will vary depending on the types of vegetables you use.
- I just make a batch of stock whenever I get a full-gallon bag of veggies. No need to thaw them in advance!
- Don’t be afraid to use onion shells, garlic skins, really ALL the scraps you have.
- Feel free to boost your broth with fresh turmeric, fresh ginger, or a tbsp of apple cider vinegar.
- Refrigerate broth for up to 5 days. You can also freeze the broth for up to 3 months in freezer-safe containers.
Nutrition
Common Questions
In a vegetable stock recipe, it’s best to use aromatic vegetables like onions, carrots, celery, garlic, and leeks. These create a flavorful base. Avoid starchy vegetables (like potatoes) or cruciferous ones (like broccoli or cauliflower), which can make the stock cloudy or bitter.
Yes, homemade vegetable stock is a great way to use up kitchen scraps! Keep a freezer bag of clean veggie trimmings—like onion skins, carrot peels, and celery ends—and once you have enough, toss them in a pot to simmer. Just skip anything moldy or overly bitter.
For a balanced vegetable stock recipe, simmer your ingredients for about 45 minutes to 1 hour. This extracts plenty of flavor without overcooking the veggies. Simmer uncovered if you want a more concentrated stock.
Yes! After your vegetable stock recipe is finished and cooled, store it in freezer-safe containers or silicone ice cube trays. It’ll keep for up to 3 months and makes a quick flavor boost for soups, grains, or sauces.














Hello Jen, do you just throw everything in the pot without washing it or rinsing it? Even if its from a store and not your own garden? Thank you for all the recipes!
I definitely wash all of the veggies before chopping and putting them into the pot.
Great to use the “scraps” from making previous soups. Fresh and easy! I did not add the seasonings. I prefer to add the necessary seasonings while making specific recipes.
You’re so right, Dawn! I love to do this with my scraps as well!
Finally got around to making this. It has a slight bitterness to it. Is there a way to correct this? will it get better or worse when used? should I throw it out?
Don’t know exactly what’s in it, but based on the looks of the scraps and what we regularly use, it’s mainly scraps from onions, celery, various colored bell peppers, carrots, and garlic.
Update.
Searching the web about bitter vegetable stock I decided I probably had too much brown onion skins and cooked it too long (most people suggest 30-45 minutes and no longer then an hour. Tried various suggested fixes. None worked well enough. Stock down the drain.
Probably won’t bother trying again and just stick with my Better than Bouillon.