This post may contain affiliate links. Please read my affiliate policy.
Table of Contents
The Grand Canyon calls us to it at difference moments of life. Sometimes it’s for the stunning views, other times it’s for the family memories, and other times it’s for the incredible challenge. No matter what is calling you to the canyon, I truly hope you consider doing a Grand Canyon rim to rim.
I’ve hiked and ran through the inner corridor Grand Canyon trail system a dozen times over the past 5 years. I’ve done an R3 in a day (49 miles, 11,000 feet of elevation gain + descent), three R3’s over two days, one R2 (19 miles, 5,000 feet of elevation gain + 6,000 descent), one R2-river-2R (20 miles, 5,026 feet of elevation gain + 6,000 descent), one R2-Havasupai Gardens-2R (10 miles), and one R2-phantom-2R (stayed 2 nights at Phantom Ranch with a hike up to Ribbons Falls).
I can close my eyes and take a trip to the canyon in my mind at any moment, that’s how well I know the canyon. I don’t share this to brag, but to let you know why this blog posts will probably help you more than most out there. A Grand Canyon rim to rim is a bucket list trip no matter which option you choose to go — I think everyone should do it. Below is a video I made the first time a friend and I attempted to run across the canyon.
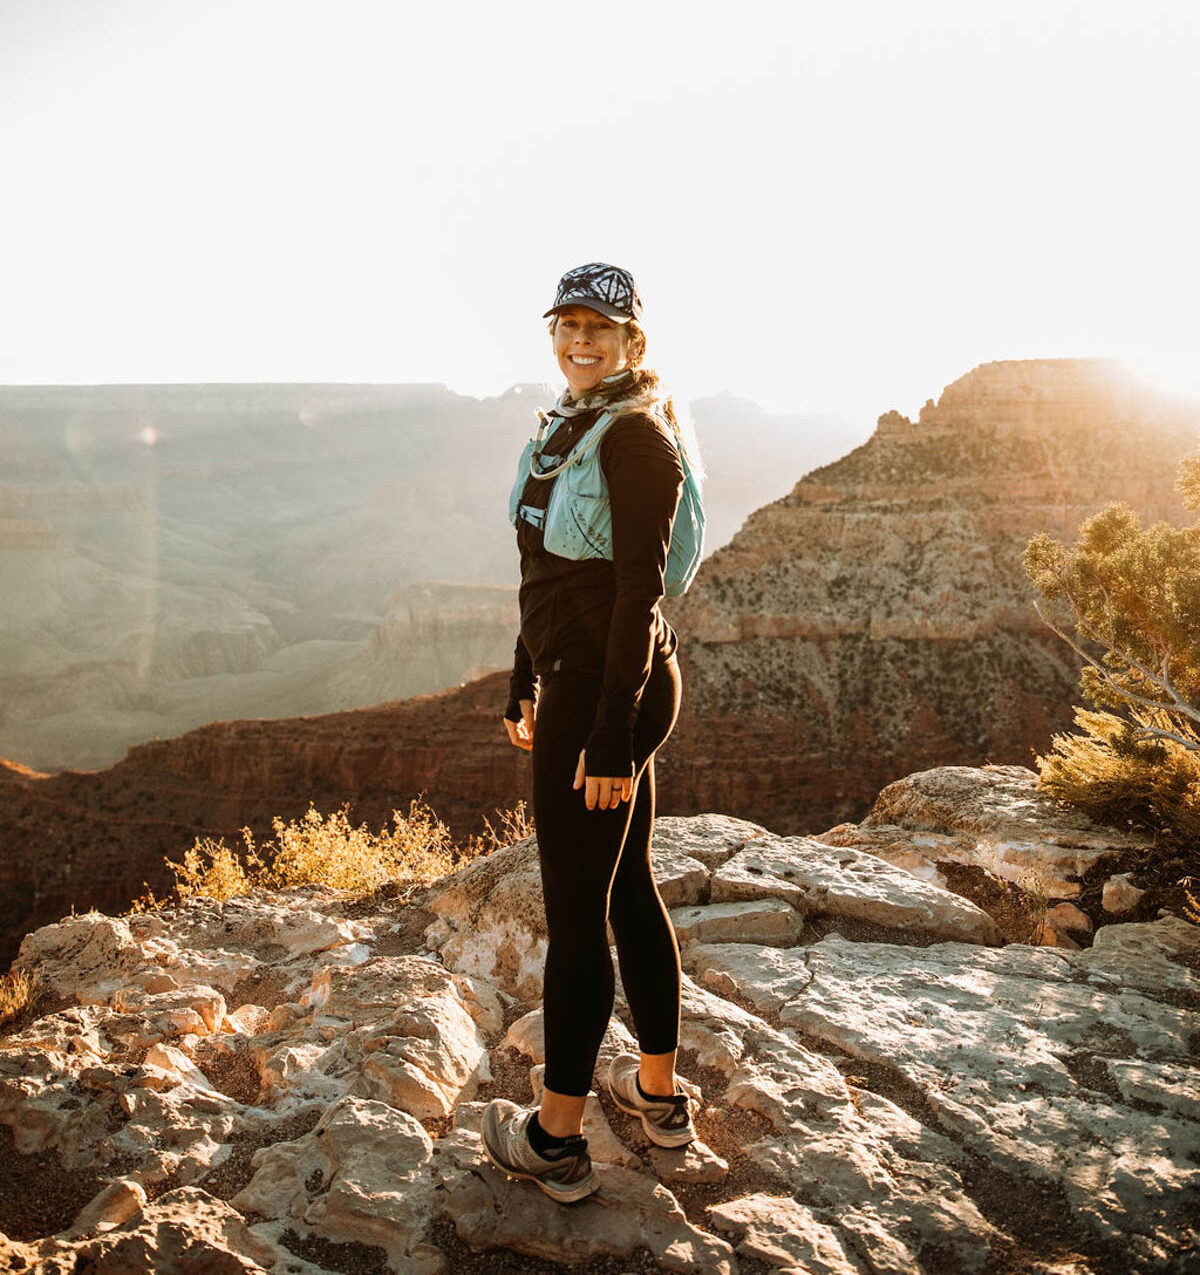
If you want to experience epic scenery seen by less than 1% of the world, and you’re ready to work harder than ever before to get there, then the Grand Canyon rim to rim is for you. Months of preparation can help you endure this strenuous hike, along with my 5 tips for hiking South Kaibab, Bright Angel Trail and North Kaibab Trail. I keep coming back for the breathtaking beauty, the appreciation I have for my body after the completion of each hike, and the opportunity to go where few others have dared run.
Education, preparation and training are key to a successful Rim to Rim hike. While these tips aren’t all you need to know before starting this epic journey, they will help you get started.
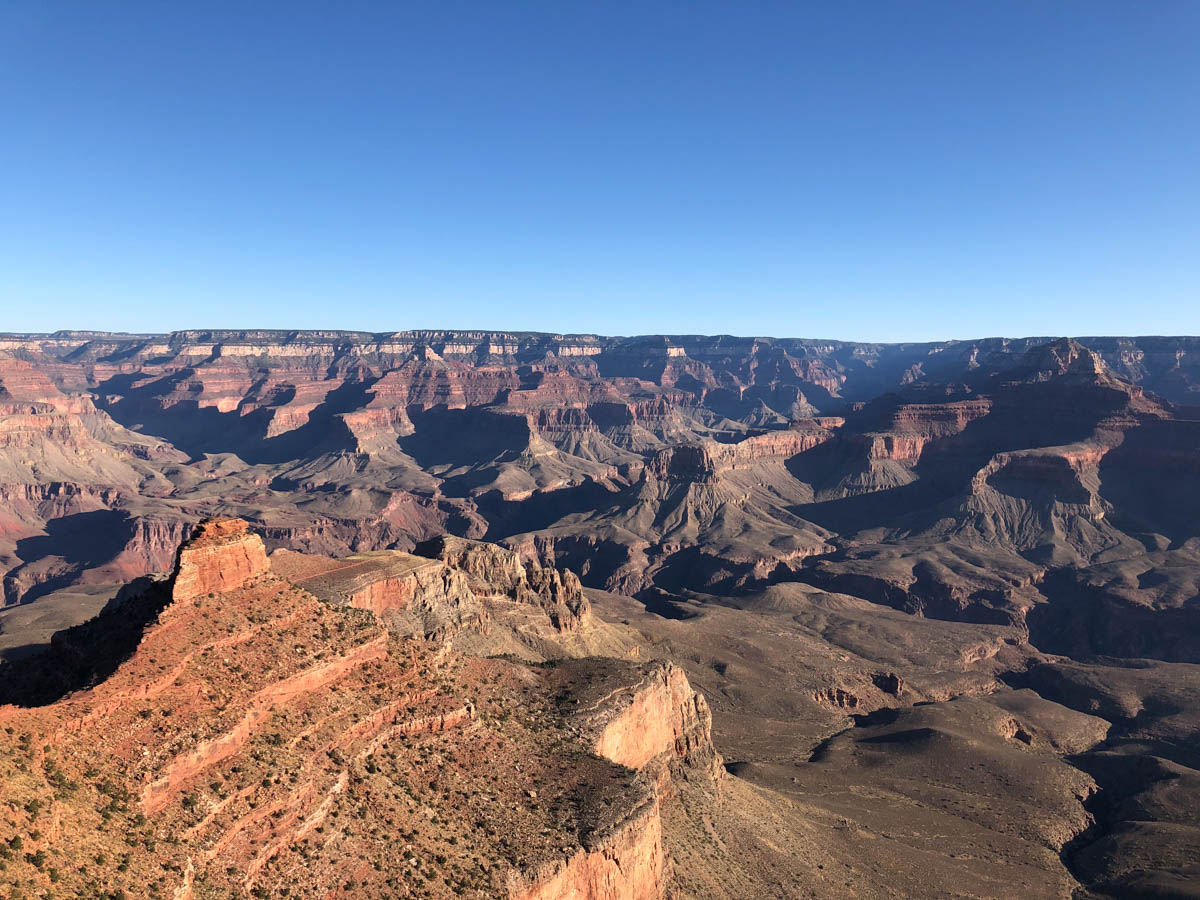
How to Plan a Grand Canyon Rim-to-Rim
There aren’t many accommodations on the rims (especially the North Rim). Make sure you start looking for rooms several months in advance. I’ve had to get creative making sure I had a place to sleep on a few of my trips!
Hotels: My favorite South Rim hotel is Bright Angel Lodge. If you can snag a cabin, even better. The rooms have been recently renovated and are super cute (pendleton blankets), plus as close as you can get to the Bright Angel trail head. There’s also a hiker’s shuttle in front of the lodge that’ll take you to the South Kaibab Trail in the early morning. For the North Rim, I love staying at the Grand Canyon Lodge, the only hotel on the north rim and it has stunning views.
There are campgrounds on each rim if that’s your thing. You can also sleep in your car—many people do this. When it comes to food, south rim has a Starbucks (15 minutes from the rim) and a few restaurants that I like included Yavapai Tavern (they have craft beer and outdoor seating) and Arizona Steakhouse (burgers, bbq, steaks, salads).
Plan your trip for either May or October. These are the best months of year weather-wise to hike in the Grand Canyon. You may still get snow or temps over 100, yet the water stations should all be open. On the subject of water, check for the latest water and trail closures to make sure you know what to expect when in the backcountry.
I suggest starting on the North Rim and finishing on the South. If doing the R3, I suggest starting on the South and ending on the South since there are more services available close to the rim. This is helpful when you finish super late at night… which can happen.
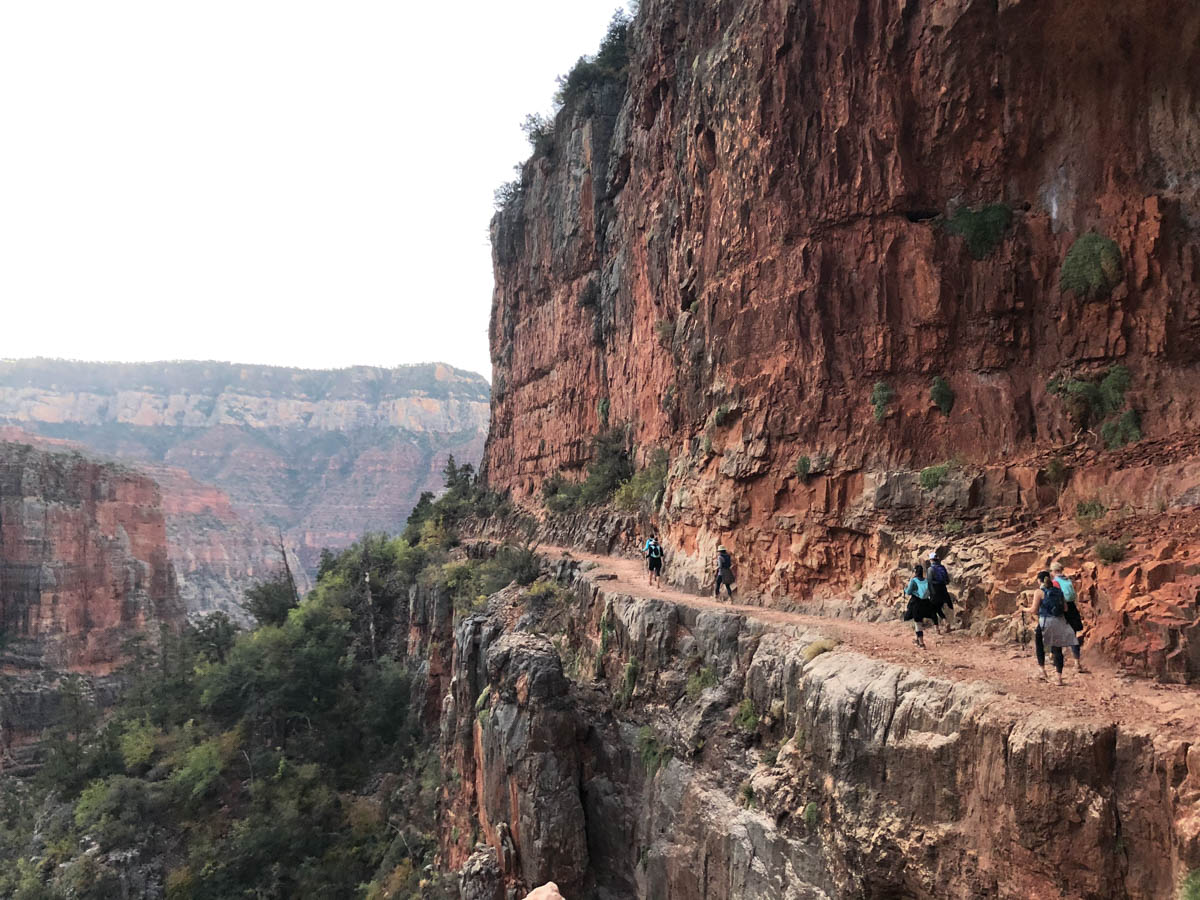
How to Train for Grand Canyon Rim-to-Rim
Even if you are in-shape or at the top of your game physically, you need focused training to successfully complete the rim to rim Grand Canyon journey. A typical week of training includes several short runs, one long run/hike, yoga or stretching, weight training, and focused climbing.
Living in Florida means I miss out on important elevation training. So instead, I spend a lot of time climbing stairs, hills, and stadium steps to ensure my body is prepared for the miles of stairs I’ll encounter. I’ve even flown out to Denver for a day to hike with some serious elevation. The app All Trails is my #1 trail finder because it allows you to filter by distance and elevation.
I seek out elevation whenever possible as well as find trails to hike instead of only running on pavement. And I also know that even with all the training, I’ll still hurt when I finish a canyon hike. Yet I train so I can enjoy the hike and finish in one piece. Make sure to train well so your calves, quads and knees can handle the steepness and won’t leave you hobbling around the Vegas hotel pools the day afterwards.
Training Recipes
Gear You’ll Need
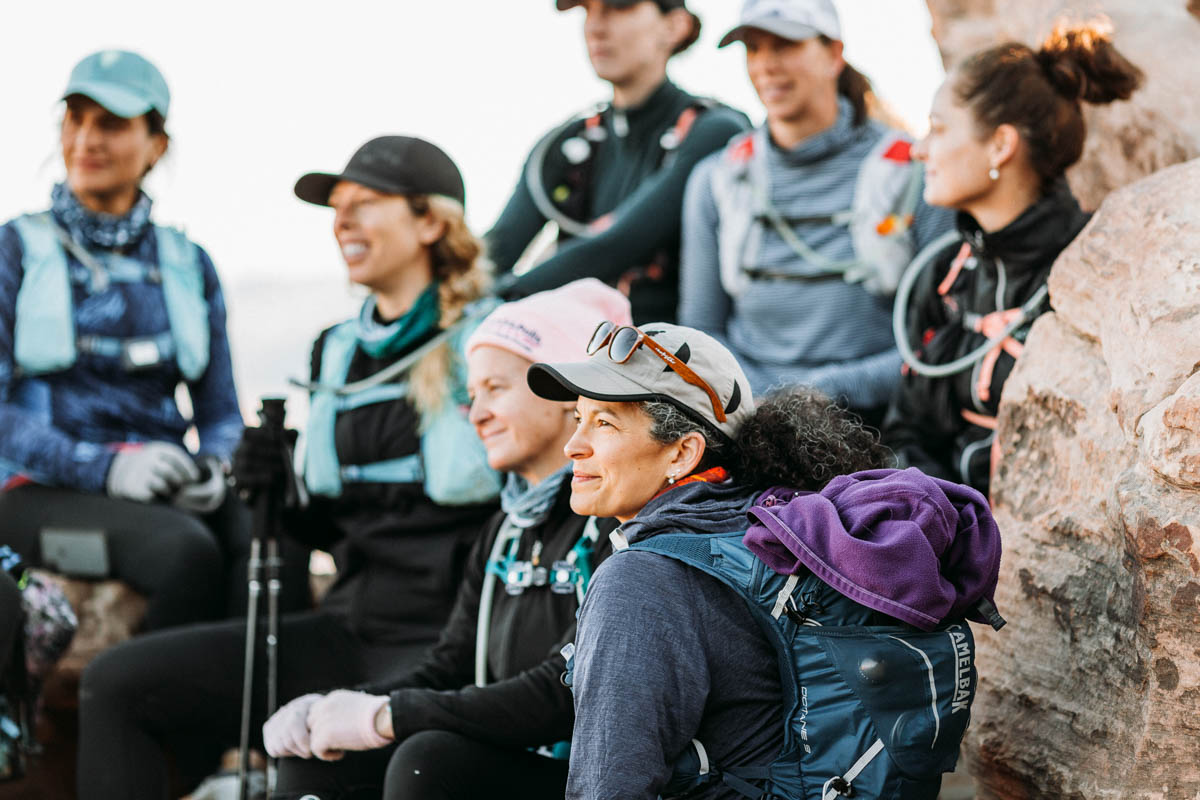
While everyone has their own preferences on brands, length and weight when it comes to gear, here are the pieces you wanna look for when prepping for an R2:
- Hydration pack– one that can carry around a 2 liter bladder. Mine is a Nathan 12L pack and it carries 1.8 L of water.
- Trekking poles- if you want to have an enjoyable hike with less chance of injury, get lightweight collapsible trekking poles. You will be so thankful you did. Black Diamond Z Trekking poles are what I use, but you can try a few out at REI, too.
- Cross-training shoes– I opt for stability running shoes (New Balance 880) over hiking boots as they help me better maneuver the rocks, stairs and slopes and are still breathable. Hiking boots are overkill for the canyon— and don’t offer enough cushion or flexibility. The key to any good running shoe is that you get properly fitted for shoes at a local running store. This is the #1 way to prevent injury on the trail.
- Moisture wicking clothes– Running shorts and tops help minimize chaffing (which is inevitable when sweating for 10+ hours). Wear the clothes you want to wear in the Canyon during training to watch where they rub, hike up or down, and move with you. Adjust accordingly. My fav Canyon outfit includes HeyNuts 6″ black bike shorts (helps with chafing), Oiselle Flyte Tank Top + Athleta Long Sleeved Momentum. Yet as you can see from my photos with friends, we all wear different stuff!
- Snacks– While I go into more detail about food below, I always pack in the following categories: protein, electrolytes, sugar, salt, high-calorie, fun. You’ll probably hate everything you packed by the last few miles of the hike, so pack things you love and that fuel you + replace what you are losing on this hike.
- GPS tracker + watch– I use my Garmin watch to know how many miles I’ve gone as well as a Garmin Inreach GPS tracker with emergency signal capabilities so that my husband and mom can track me all day long. You’ll see other people on this hike, yet it is also super remote and wild out there, so you need a way to call for help if you get stuck or hurt along the trail.
- Headlamp– My hike always starts in the dark so a good light is necessary. Even if your goal is to end during the day, you don’t know what might happen along the trail, so taking a light that has power to get you out of the Canyon as well is necessary. I use a Black Diamond headlamp, it’s small, powerful and uses AAA batteries (so I pack extra in case I need them).
- Adventure medical kit– This waterproof lightweight kit is perfect for the canyon. Ace bandage, mole skin, bandaids, and medical tape all come in handy. Blisters, twisted ankles, skinned knees, and sore muscles are all par for the course during a rim to rim hike. Be prepared! I also add ibuprofen to the kit just in case.
This is by no means a complete list, yet it’ll help get you started when training. Even if you won’t need all this during training hikes, practice hiking with your gear so you know what to expect for the real deal.
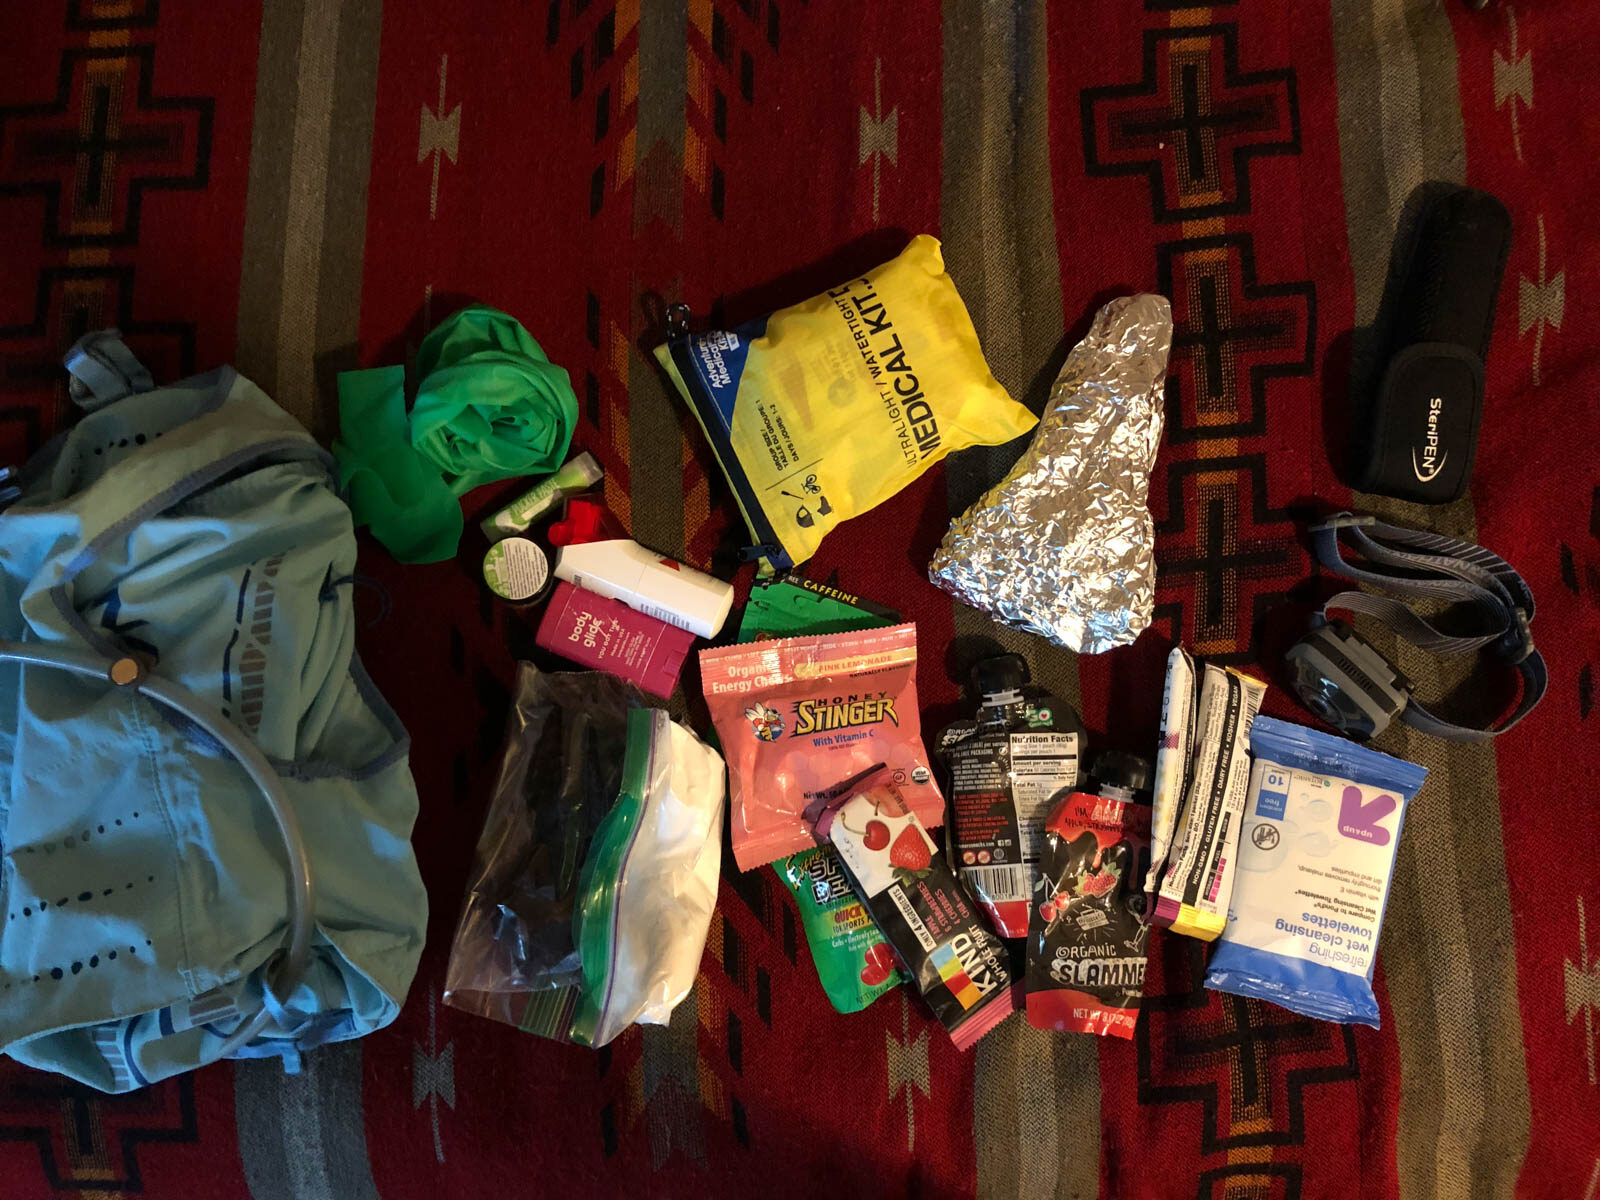
What to Eat on Grand Canyon Rim-to-Rim
I change up the kinds of food I take every time I do a Grand Canyon hike… mostly because I get bored easily and food is a great motivator! I keep electrolytes in my water pack while hiking to make sure I not only stay hydrated, but keep my sodium and energy levels up as well. Plain water just won’t cut it for 24 miles in the Canyon— the heat will get you!
High calorie + high protein foods will ensure that the fuel my body is rapidly burning gets replaced. When hiking these long distances, you can’t rely on ‘I eat when I’m hungry’ to get you through. Replacing calories every 45 minutes will give you the energy you need to get through the final up-hill climb, when your body is ready to give up.
- Dried fruit: mango, pineapple and strawberries are my fav
- Bread: croissant, pizza, pb and j, fig newtons, etc have all been my lunch in the canyon
- Sugar: Gushers, dried fruit leathers, sports jelly beans
- Protein: salted nuts, jerky, Crunchsters
A few foods with caffeine also help energize the body on an intense hike like this one. I recommend waiting until you’re over half way through the hike to start with caffeinated items though. Waiting will help you not crash as easily or early as caffeinating yourself right at the start of the hike. The last thing you need is a sugar crash when you’re in the Box (the hottest part of the Bright Angel Trail).
- Tailwind Buzzed Electrolytes
- Skratch Matcha Powder
- Sports Beans Caffeinated Version
- M&Ms, chocolate, etc
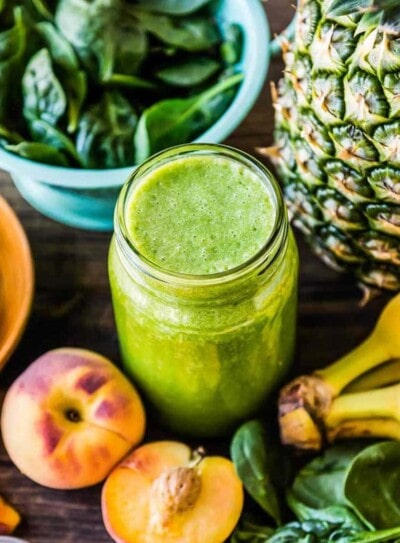
Bonus tip: I don’t pack smoothies for my trip, yet I drink them before, during and after training as a great energy boost. They are easy ways to replenish nutrients, provide energy, and fill you up with whole food while training.
5. Enjoy the Journey
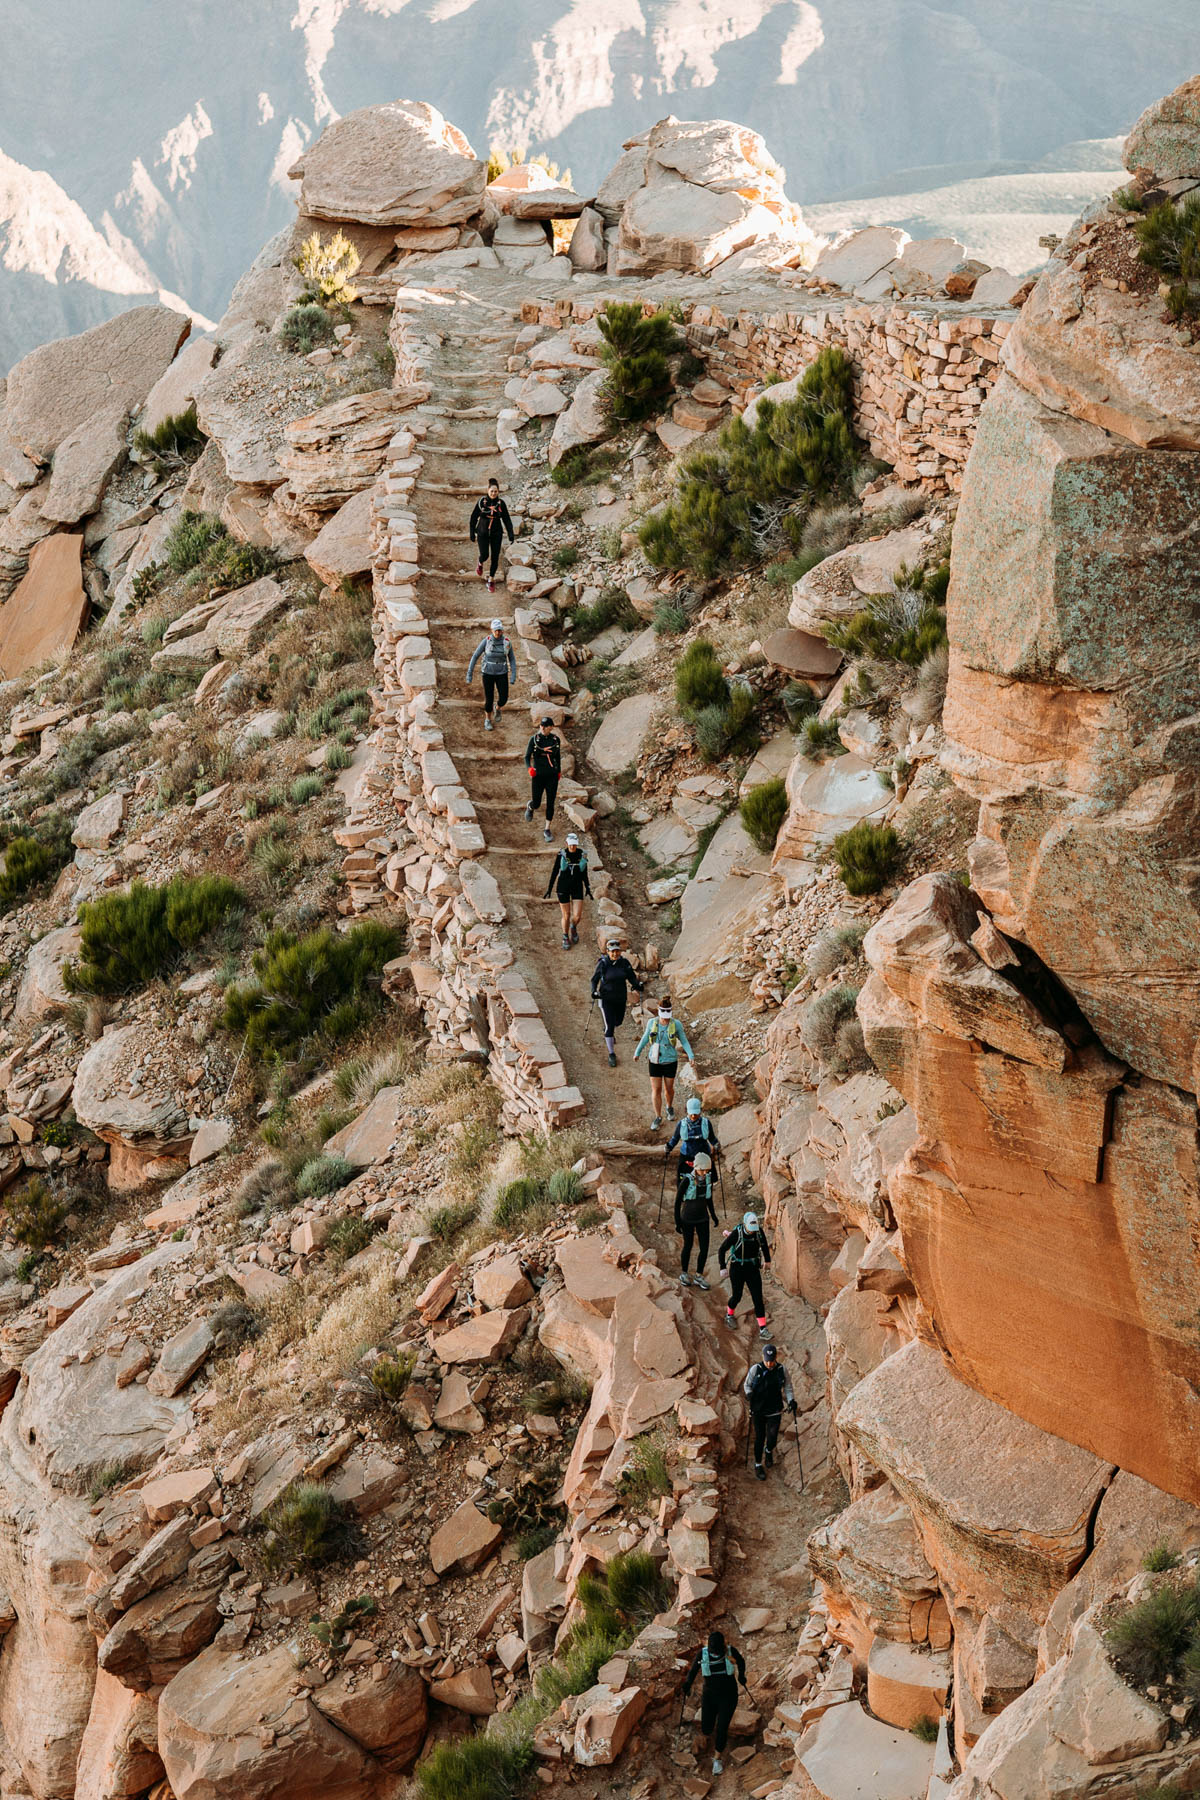
You’ll be way more likely to succeed in your Grand Canyon rim to rim if you enjoy your training. I’m not saying there won’t be days you dread that long run, or annoying hiccups along the way that have you questioning if all this is worth it. My training takes me away from time with my family and requires so. much. laundry. Yet it is 100% worth it.
If you plan to do this trip by yourself, invite friends to train with you! I’ve done these trips solo and with friends, yet I always have extra friends participate in training with me to keep it enjoyable and to hold myself accountable. Plus, some training buddies throughout the years actually caught the Canyon itch and completed a rim to rim trek as well!
Grand Canyon Rim-to-Rim in a Day
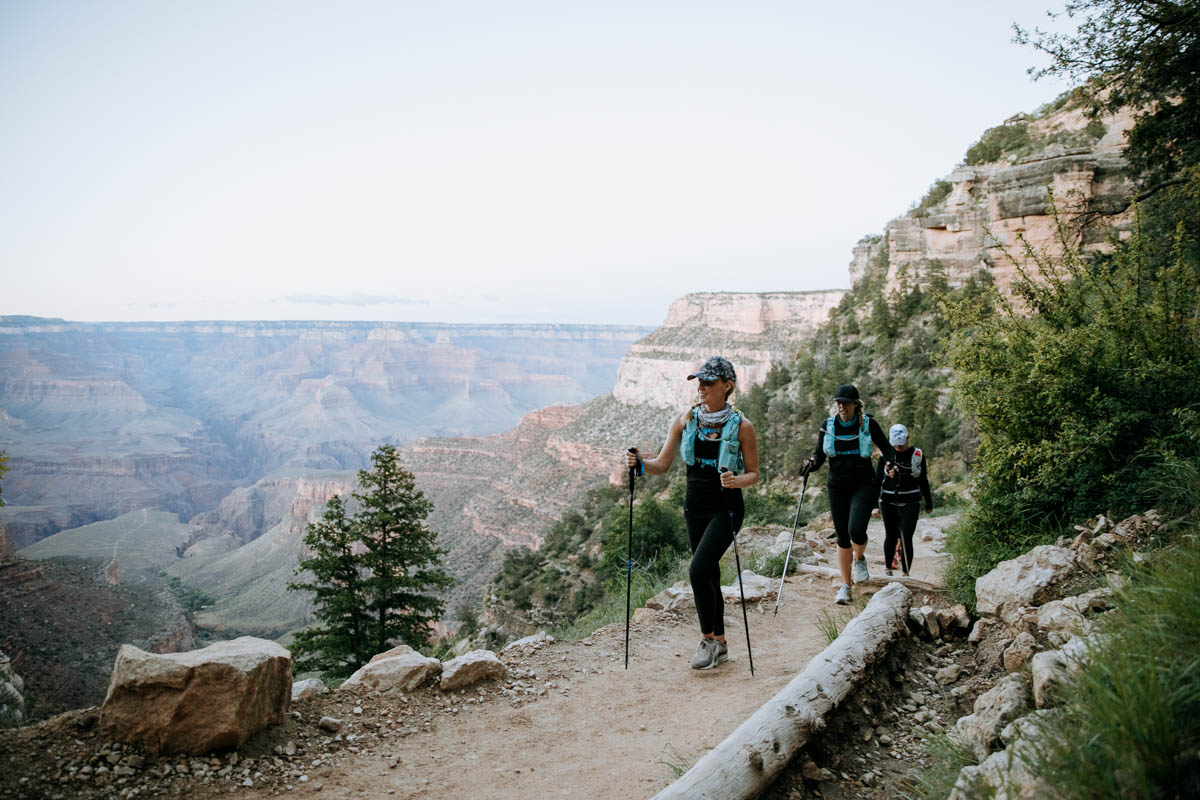
Crossing the Grand Canyon in a single day is definitely doable. It’ll be a long day, but the beauty and constantly changing scenery will keep you going. Here’s what a typical trek looks like when trying to complete an R2 in one day:
North Kaibab Trail to Bright Angel Trail
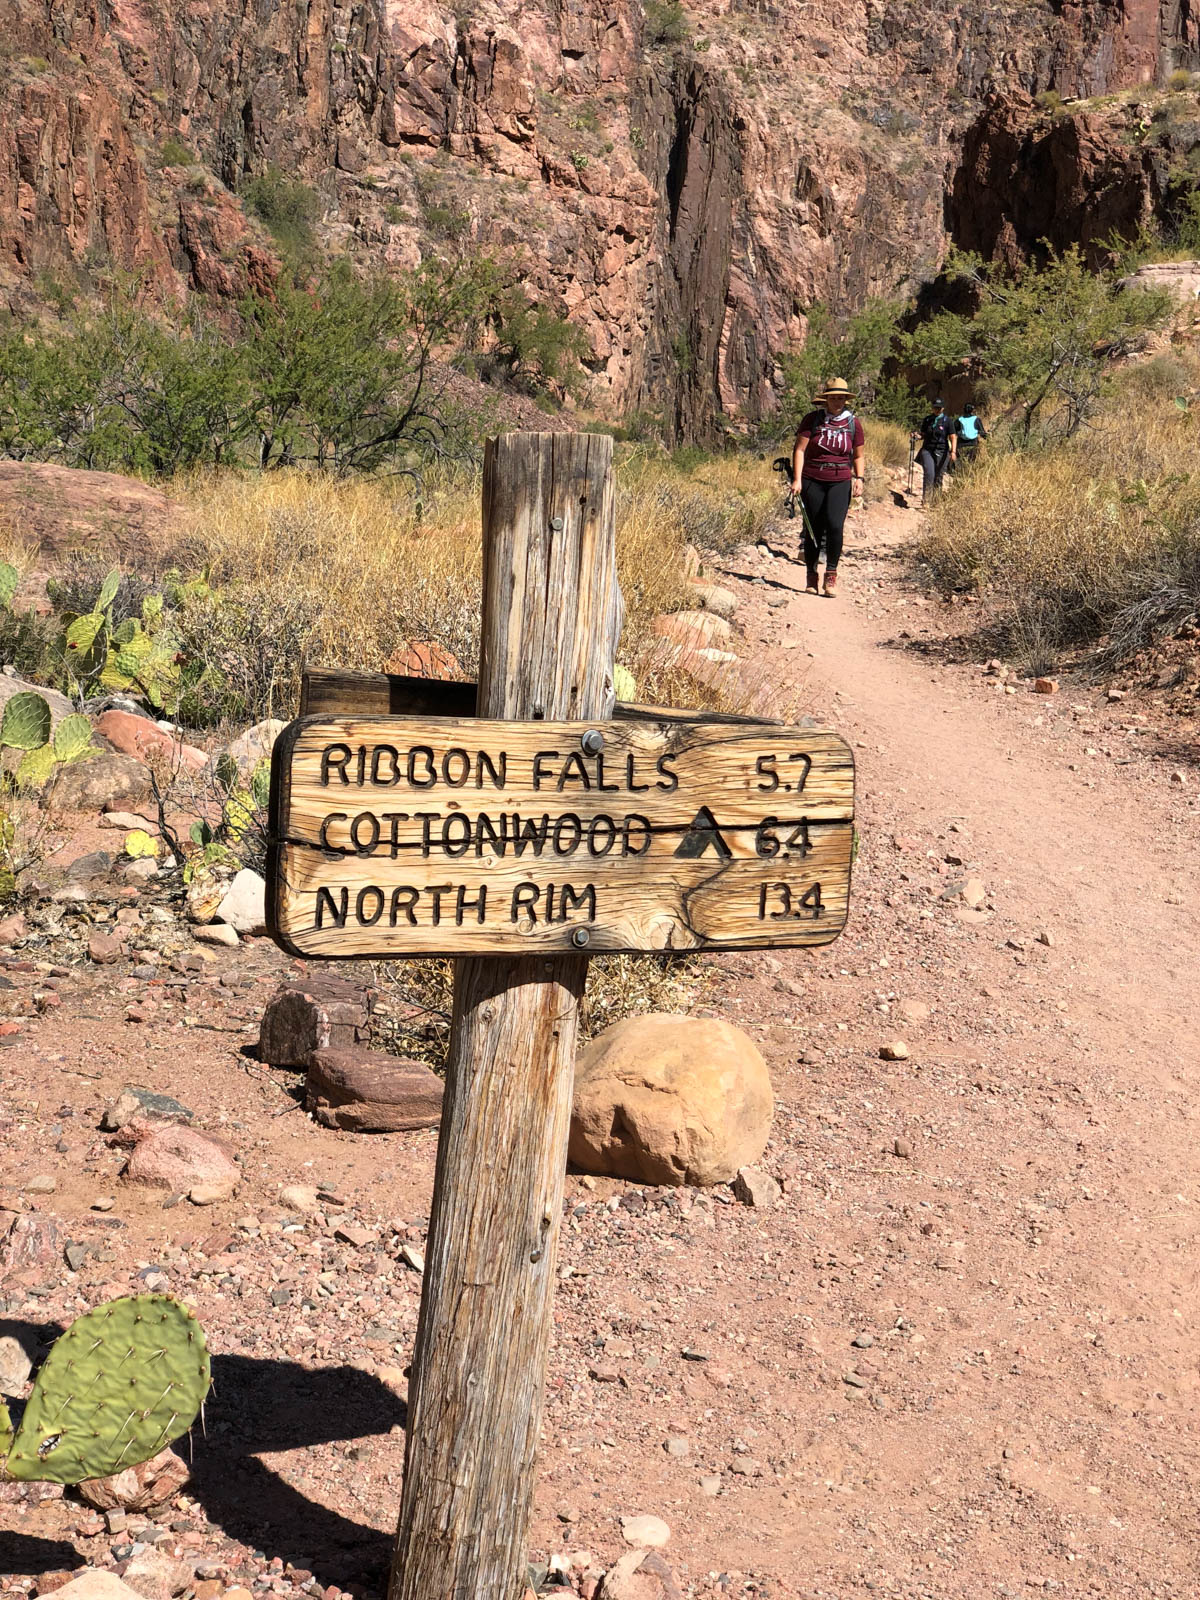
Start the trek on the North Rim will give you a less-steep down hill trek and a shorter uphill trek after leaving Phantom Ranch. Ending at the Bright Angel Trail to the South Rim also puts you right in front of several different hotels and lodges (no need for a shuttle!). There are the water stations + restrooms (yes, there are actual bathrooms) along this trail:
- North Kaibab trail head (bathroom + water) then 1.7 miles to
- Supai Tunnel (bathroom + water) then 3 miles to
- Roaring Springs (bathroom + water) then .7 miles to
- Pump House Ranger Station (bathroom + water) then 1.4 miles to
- *Cottonwood Campground (bathroom + water) then 7.2 miles to
- *Phantom Ranch (bathroom + water) then 1.5 miles to
- River Resthouse (bathroom) then 3.2 miles to
- Indian Garden Campground (bathroom + water) then 1.7 miles to
- 3-mile Resthouse (bathroom + water) then 1.5 miles to
- 1 1/2-mile Resthouse (bathroom + water) then 1.6 miles to
- Bright Angel Trailhead
There are ranger stations throughout the Canyon as well as a few emergency phones just in case. Mark these all down on a map you carry with you (I laminate an index card with all water stops + amenities so I can plan). You can also choose to camp (with a permit) at one of the campgrounds and split this hike up between 2 days, yet that means carrying more stuff for 24 miles.
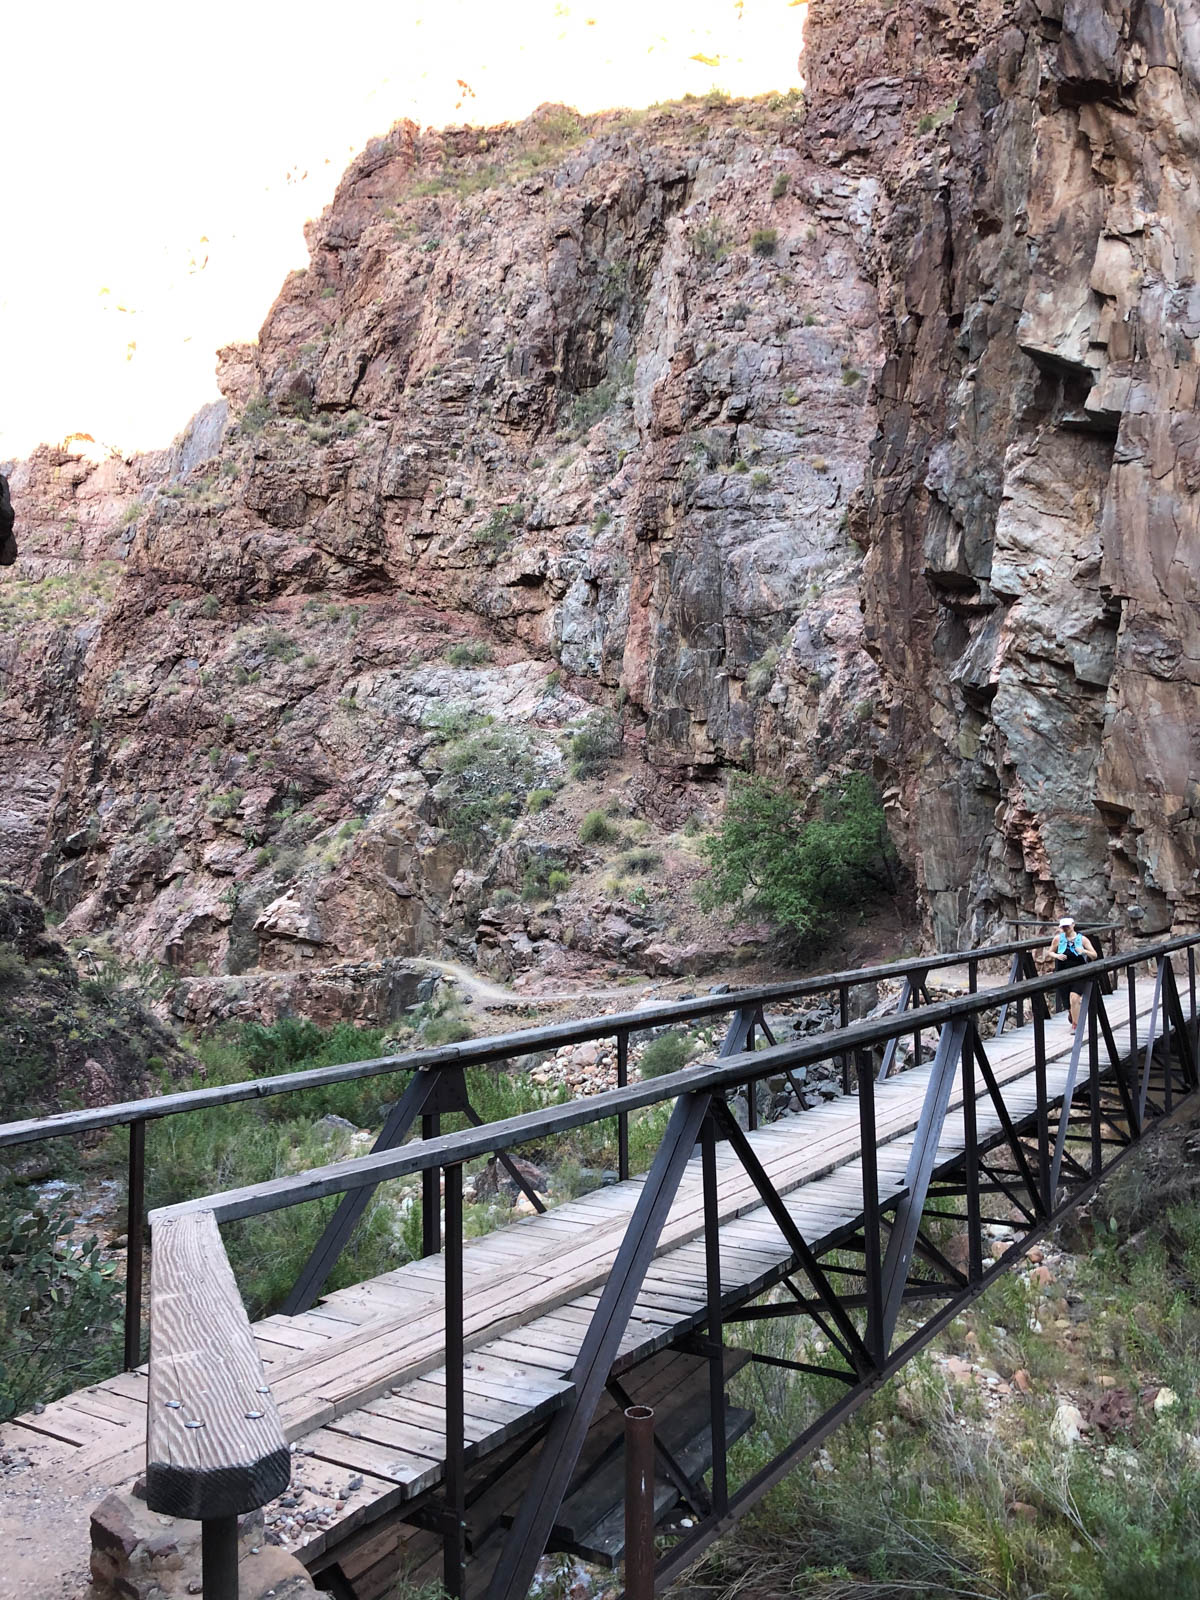
*Note: The stretch between Cottonwood Campground and Phantom Ranch is the longest between water, and also the hottest. It includes a section called The Box which heats up during the day and can easily be 130 degrees F depending on when you hit it. Be prepared, get as much water as you can, and try to stay out of this section during the hottest part of the day if at all possible. There is a waterfall and stream you cross— I always get my head wet and make sure my core temp is cool before leaving this area since it’s a long hot trek.
Start Hiking Before Dawn
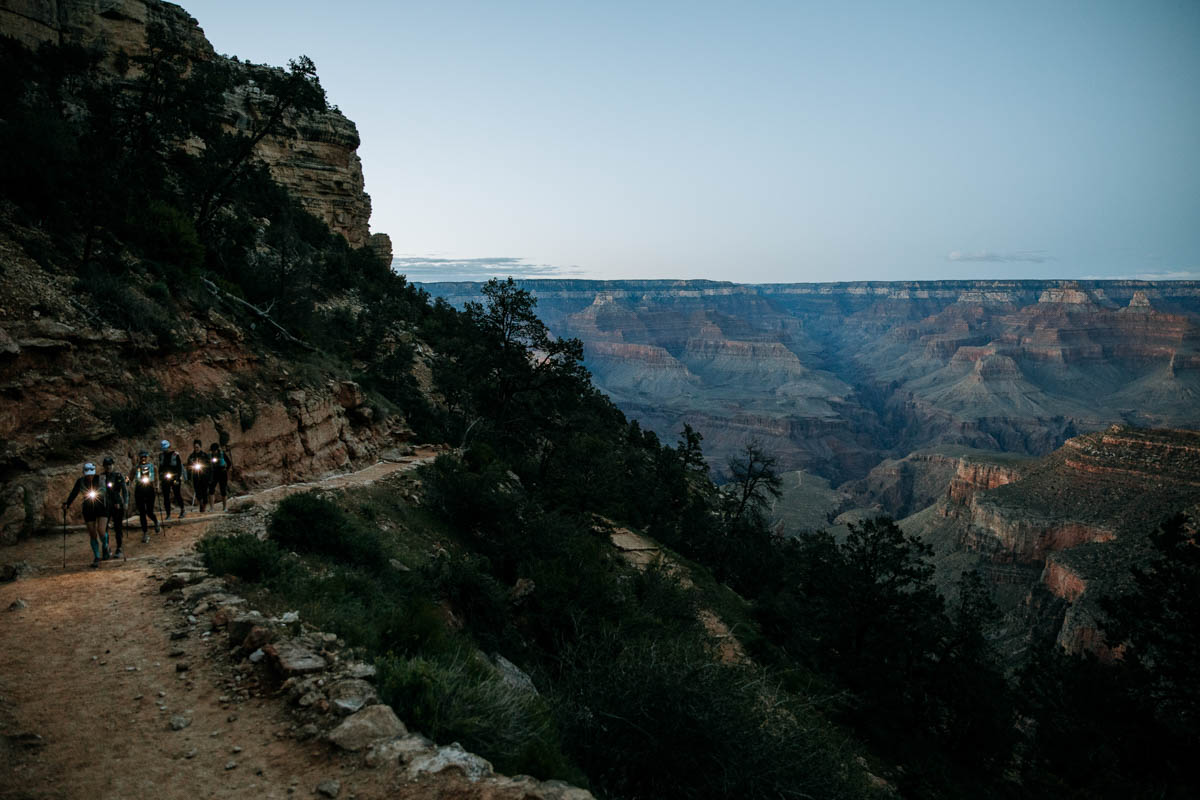
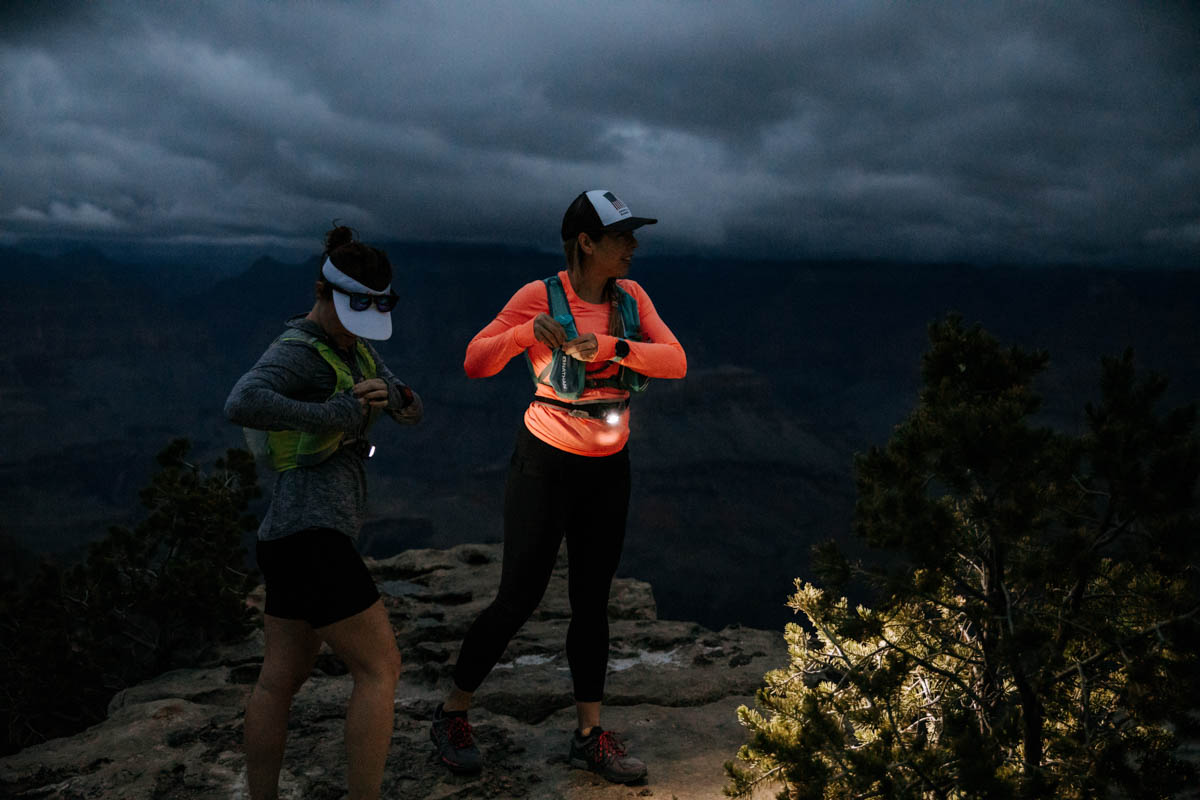
Remember when I recommended a headlamp for your packing list? That’s because I start each trek before the sun comes up. I do this to enjoy the sunrise in the canyon, where the colors are changing every minute. It’s beautiful! Plus this gives myself plenty of time to finish the rim to rim hike during daylight hours, though I haven’t always. The Hiker Express Shuttle Service starts at 5am and will take you to the South Kaibab Trailhead and also the North Kaibab Trailhead, depending where you’re starting.
Highlights of a Grand Canyon Rim to Rim
If you’ve read this far, I’m guessing you’re somewhat intrigued into actually doing a Grand Canyon rim to rim yourself. That’s awesome! Below are the top 5 places and activities I loved while in the canyon to make it a truly memorable experience.
1. Coffee + Lemonade at Phantom Ranch
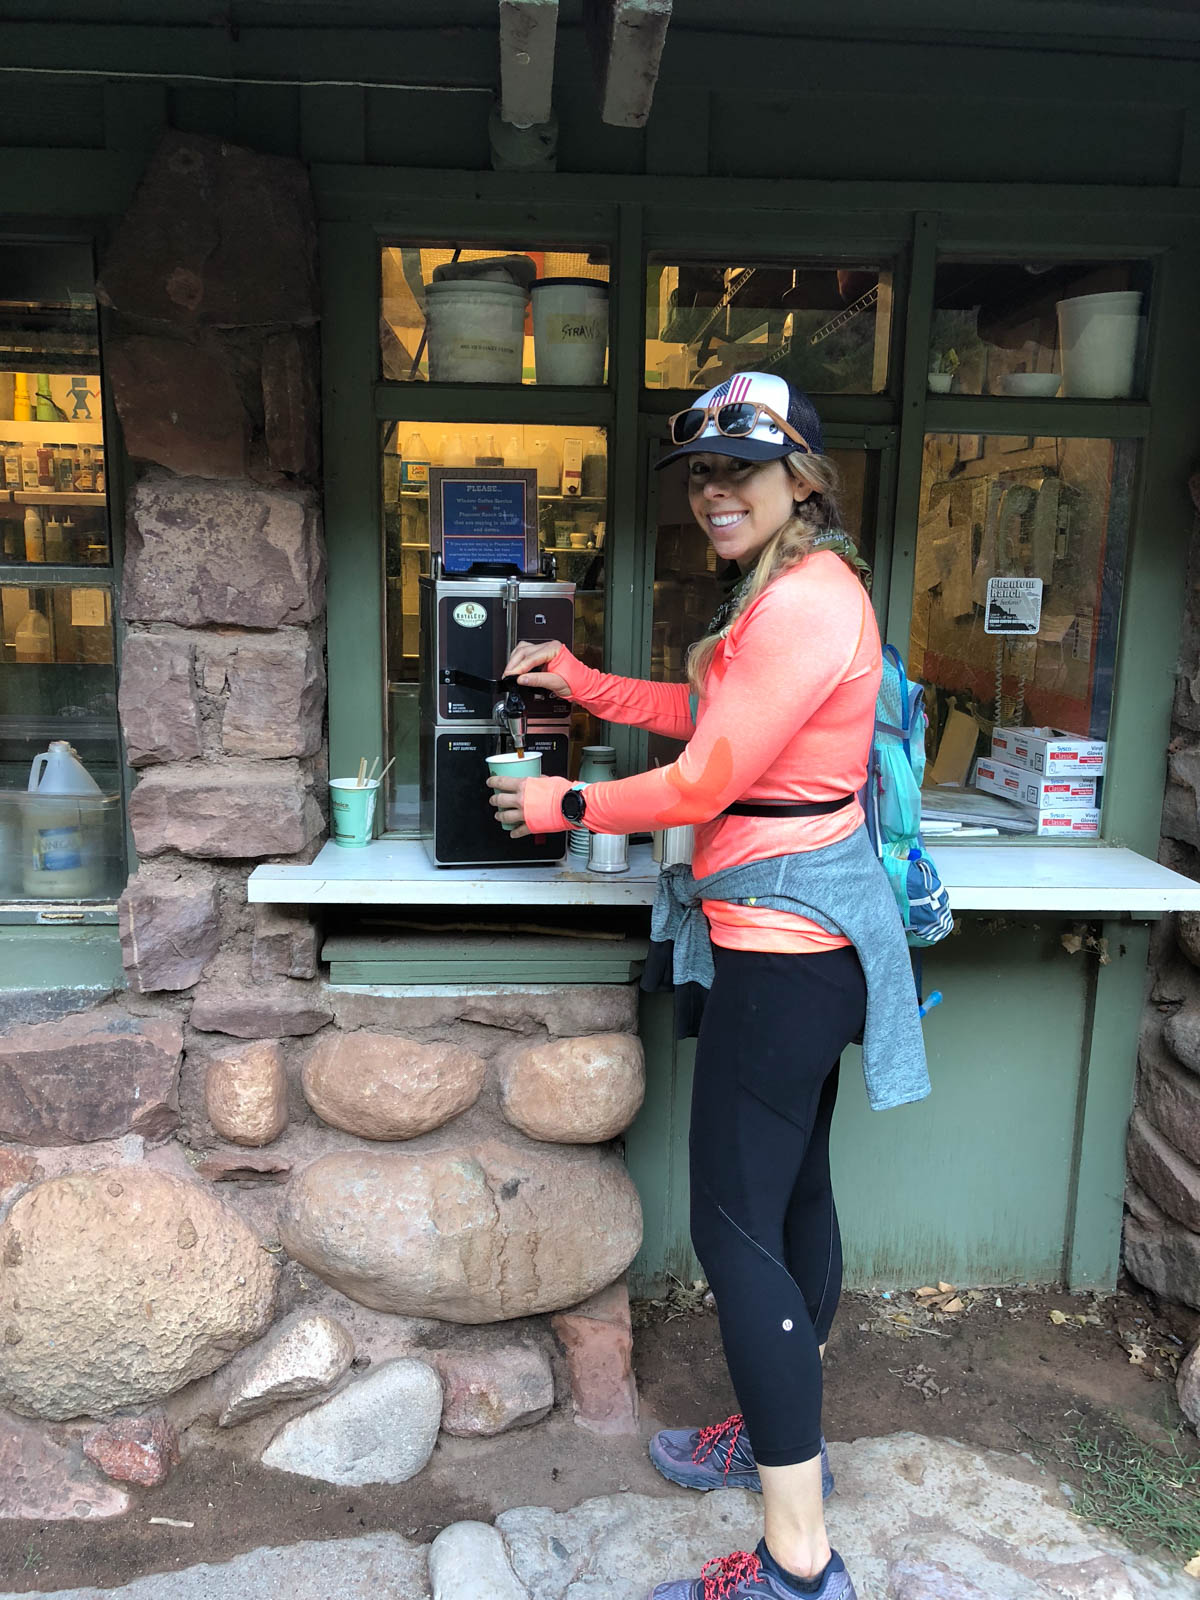
Nowhere in the world does lemonade taste more amazing than after trekking miles down through the dusty hot stretch of the Grand Canyon. After leaving the North Rim trailhead 13.7 miles ago, Phantom Ranch becomes an oasis to all who cross through it. The ice cold Minute Maid lemonade is the most refreshing thing on the menu, and gets you hydrated for the climb back up. First glass is $5, then refills are $1.
If coming from South Kaibab or Bright Angel, you’ll hit Phantom during coffee hours and can enjoy a hot cup of coffee. I’ve even added a packet of cacoa powder to it and made a mocha.
2. Sending Postcards up on a Mule
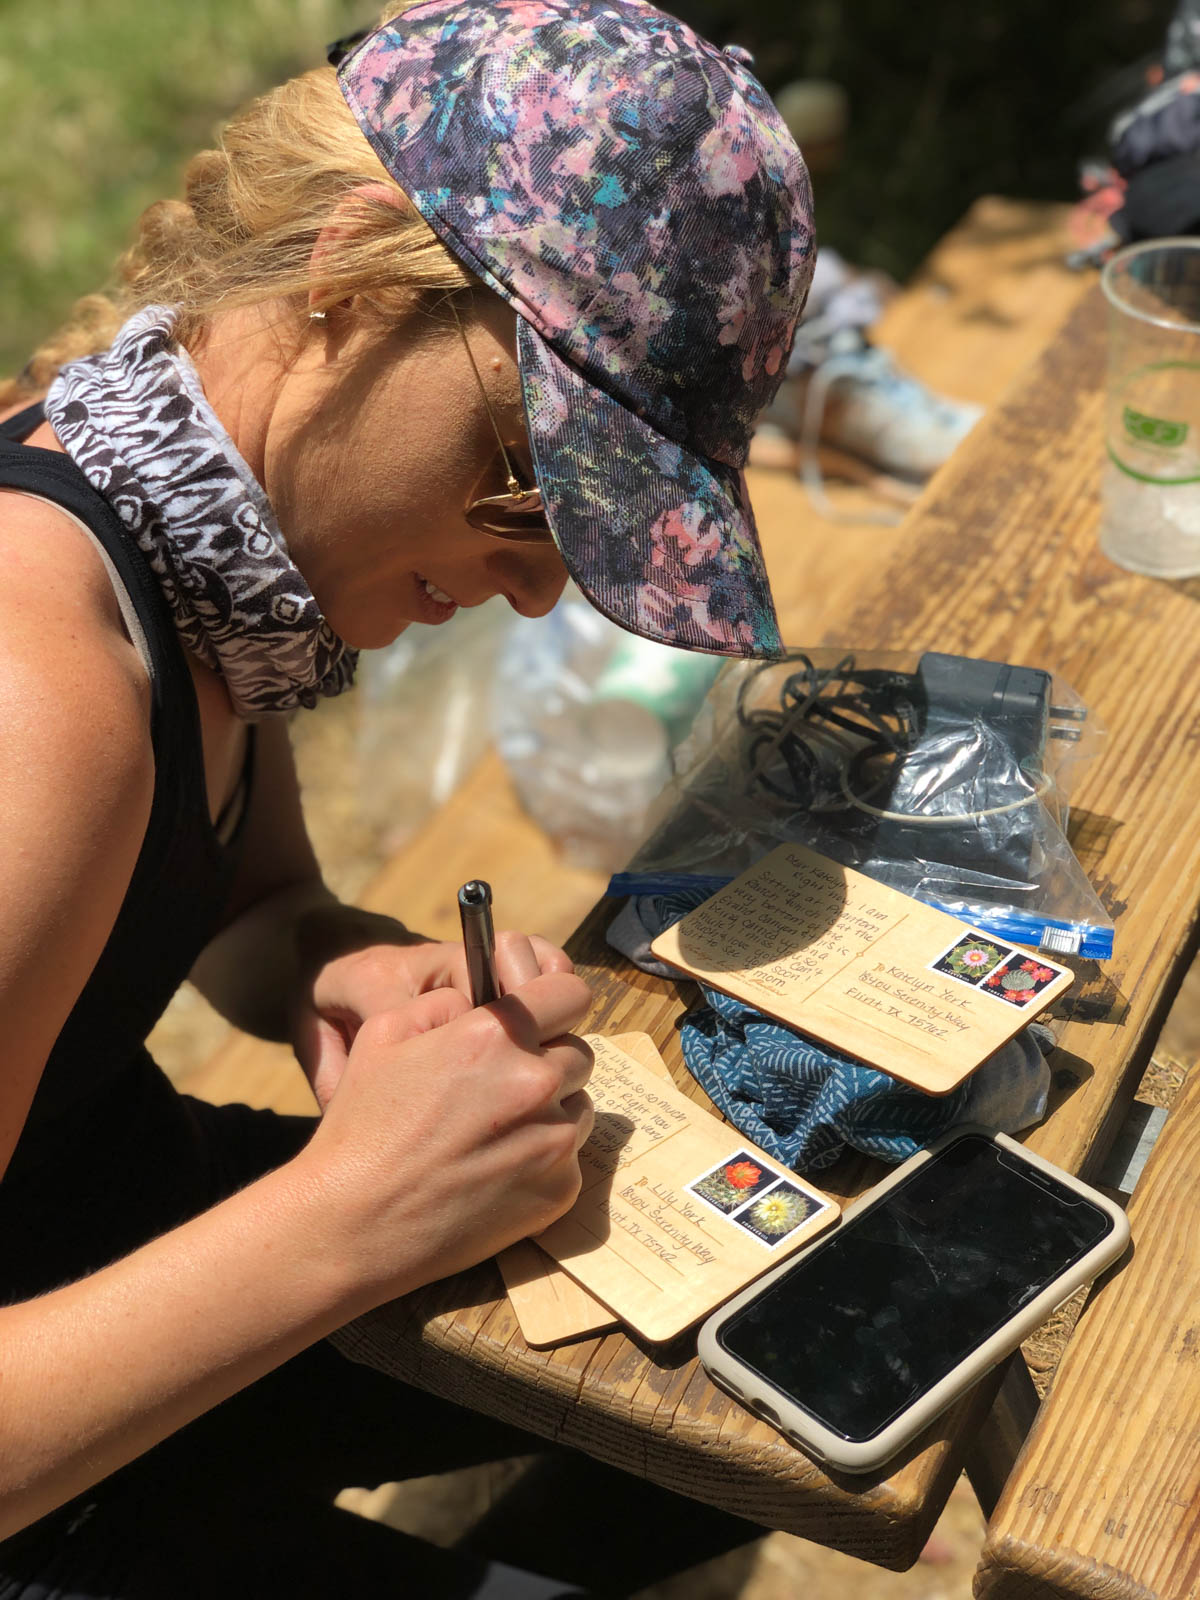
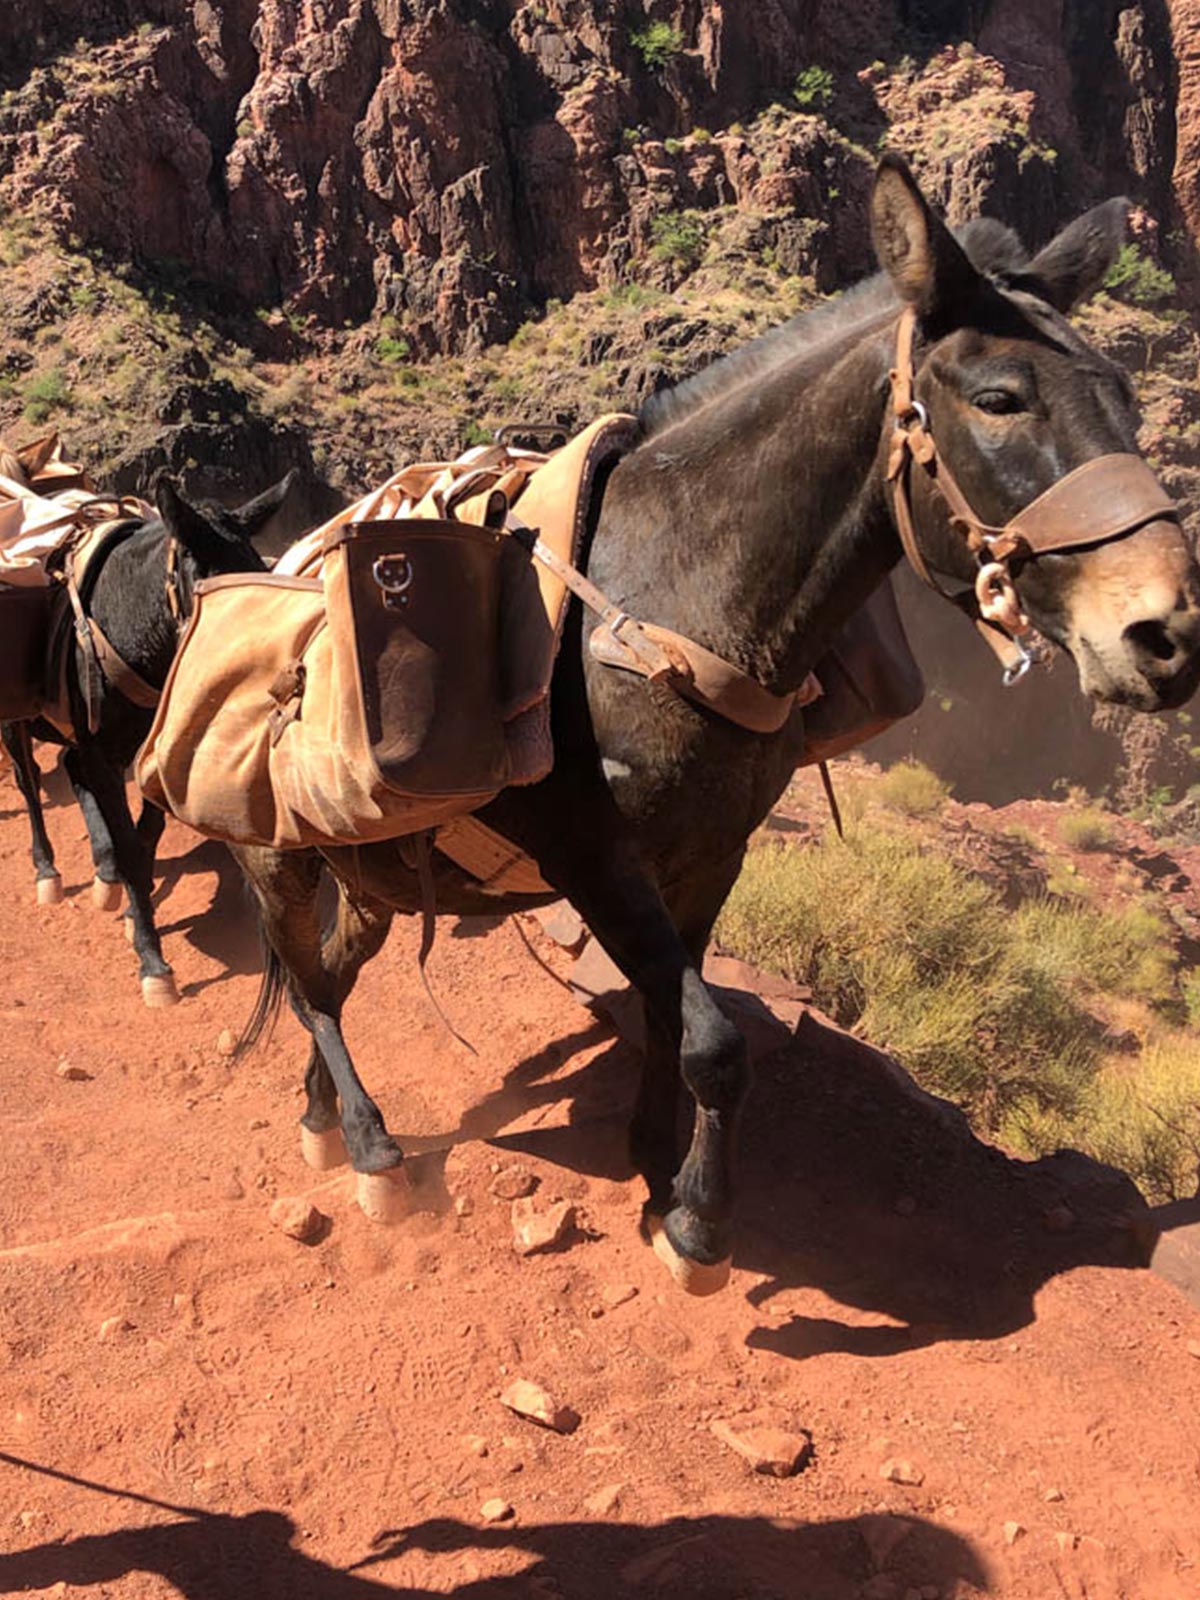
If you want to create a very special gift for your loved ones, write a postcard at Phantom Ranch. It’ll be taken outta the canyon the next morning on the back of a mule. Now that’s pretty neat! Pack a postcard + stamp so that you don’t have to rely on the Phantom Ranch general store being open.
3. Seeing the Best Stars in the Early Morning
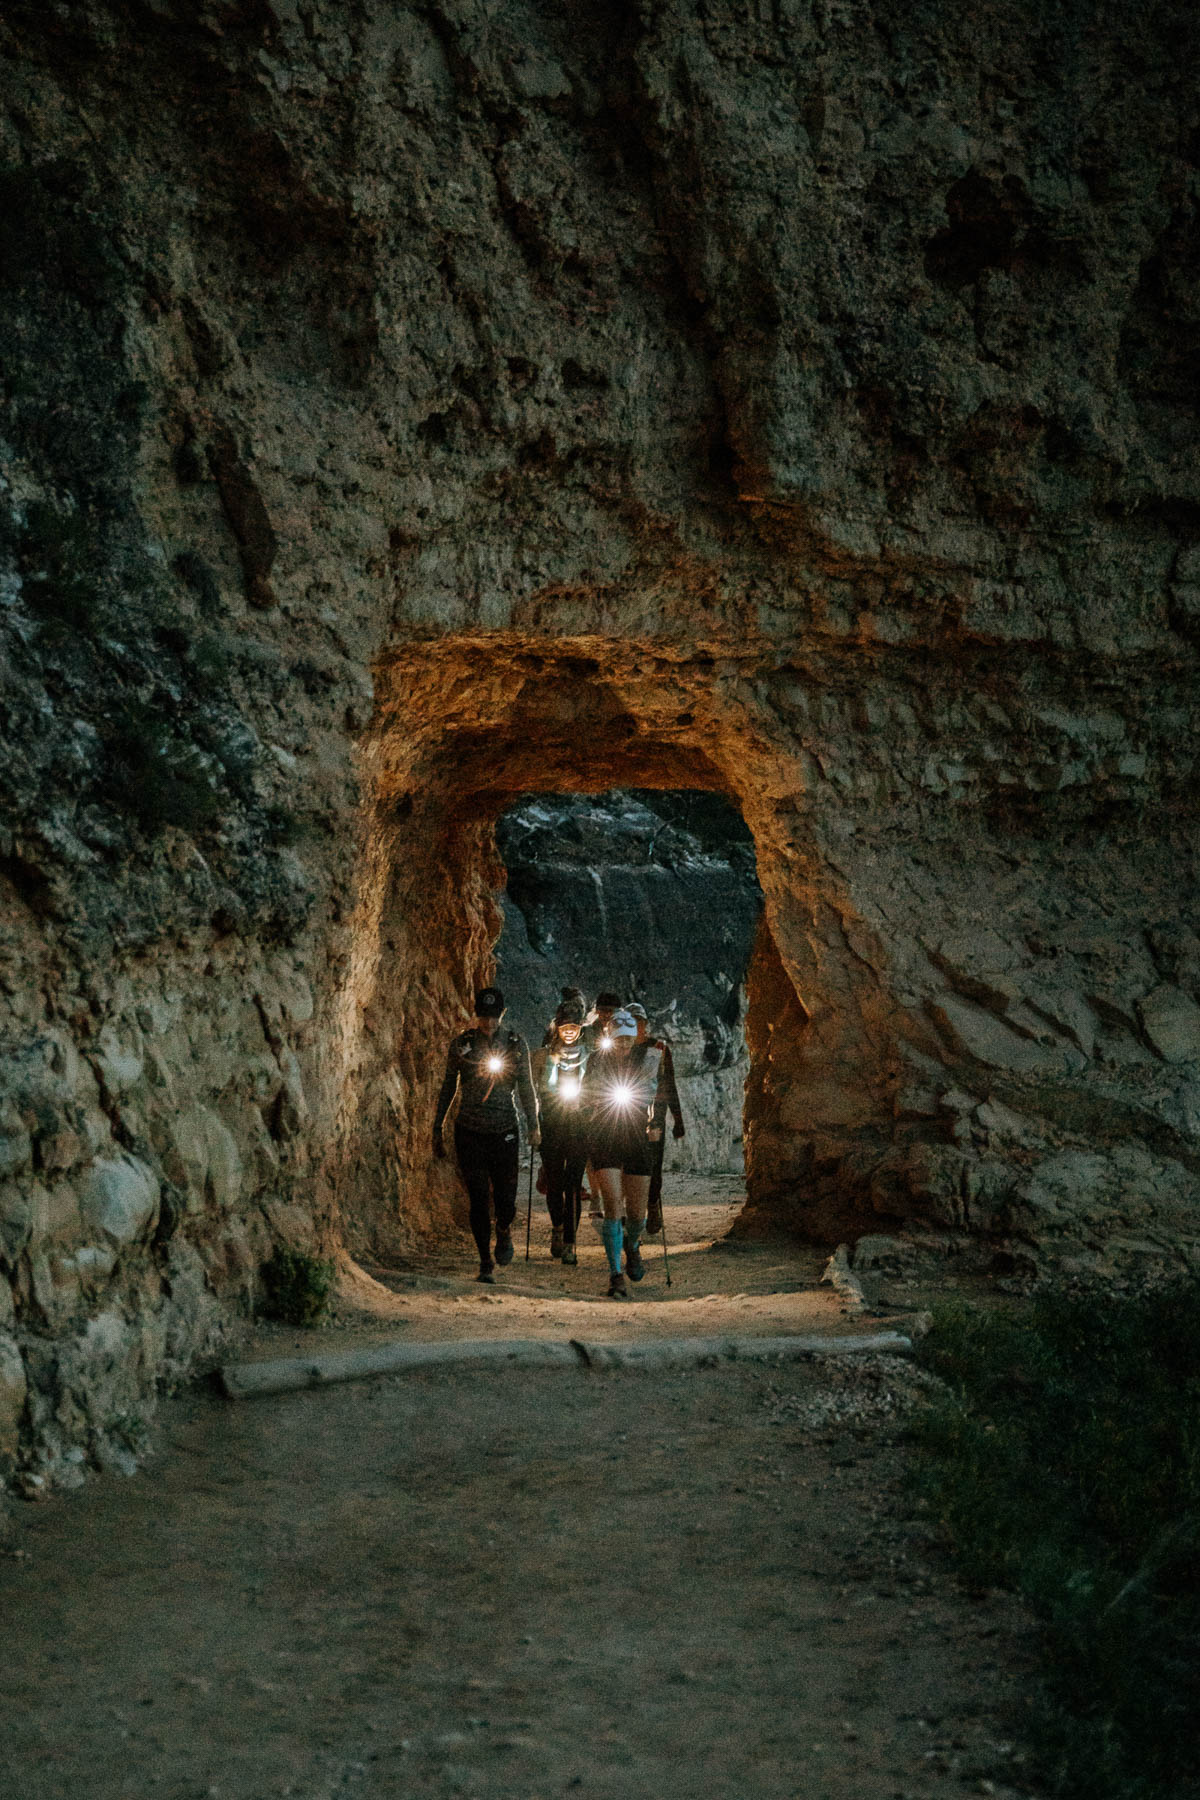
I mentioned this above, but it cannot be overstated. Start around 4am for the best stars (and give you more time to dodge the heat). As you descend into the canyon, make sure to stop and turn off your headlamp every so often. Then look up at the sky and revel in the beauty of the night sky.
The stars will take your breath away and probably cause you to shed a tear or two. It’s a magical moment.
4. Dipping your Toes in Bright Angel Creek
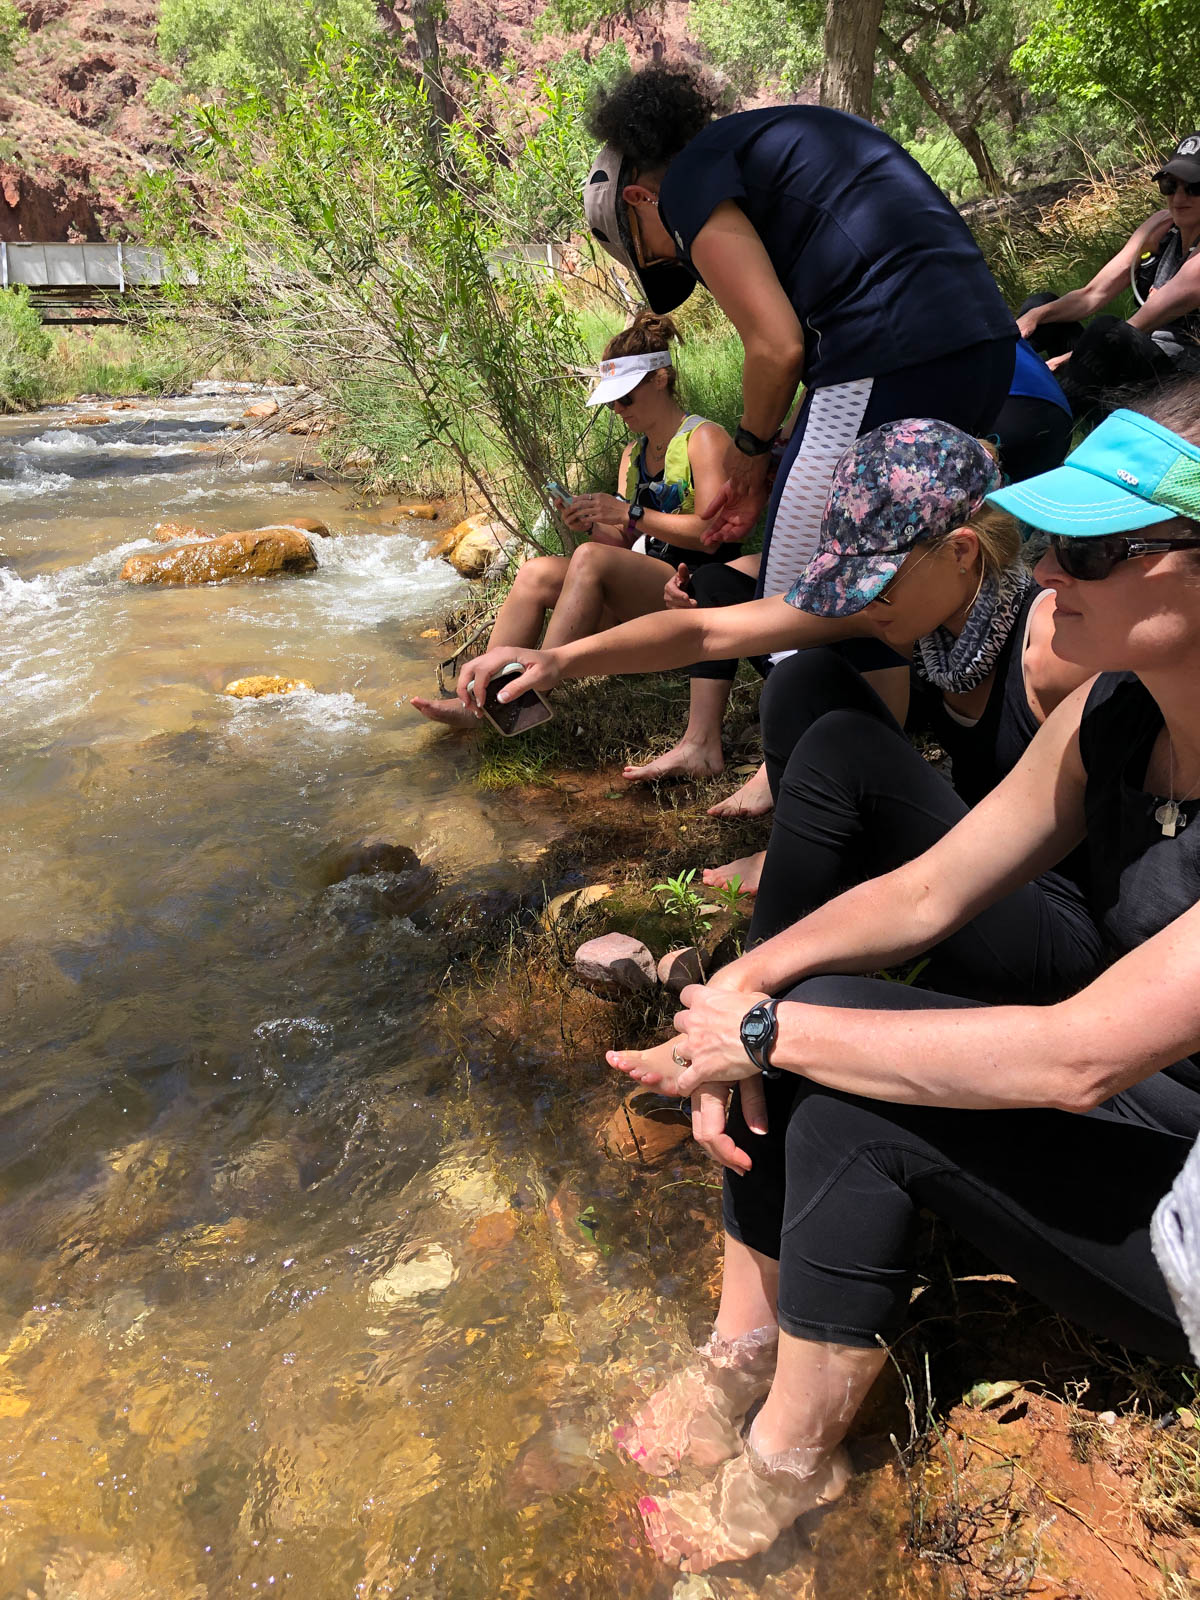
On the way down from the north rim, you’ll pass by Phantom Ranch. Stop there to refuel. Yet don’t forget to stop further down the trail by the campground to recharge. There’s a great shady, grassy spot along the creek where I always stop. My feet and calves feel rejuvenated after a dip in the icy cold creek.
By this point in your journey, you’ll be hot, tired, and sore. Re-energize here and know you’re already over half way through the rim to rim hike! You’ve made it this far, and you will get yourself out. Dig deep and trust that your training and strength will see you to the other side.
5. Drinking Cool Water from the Creek
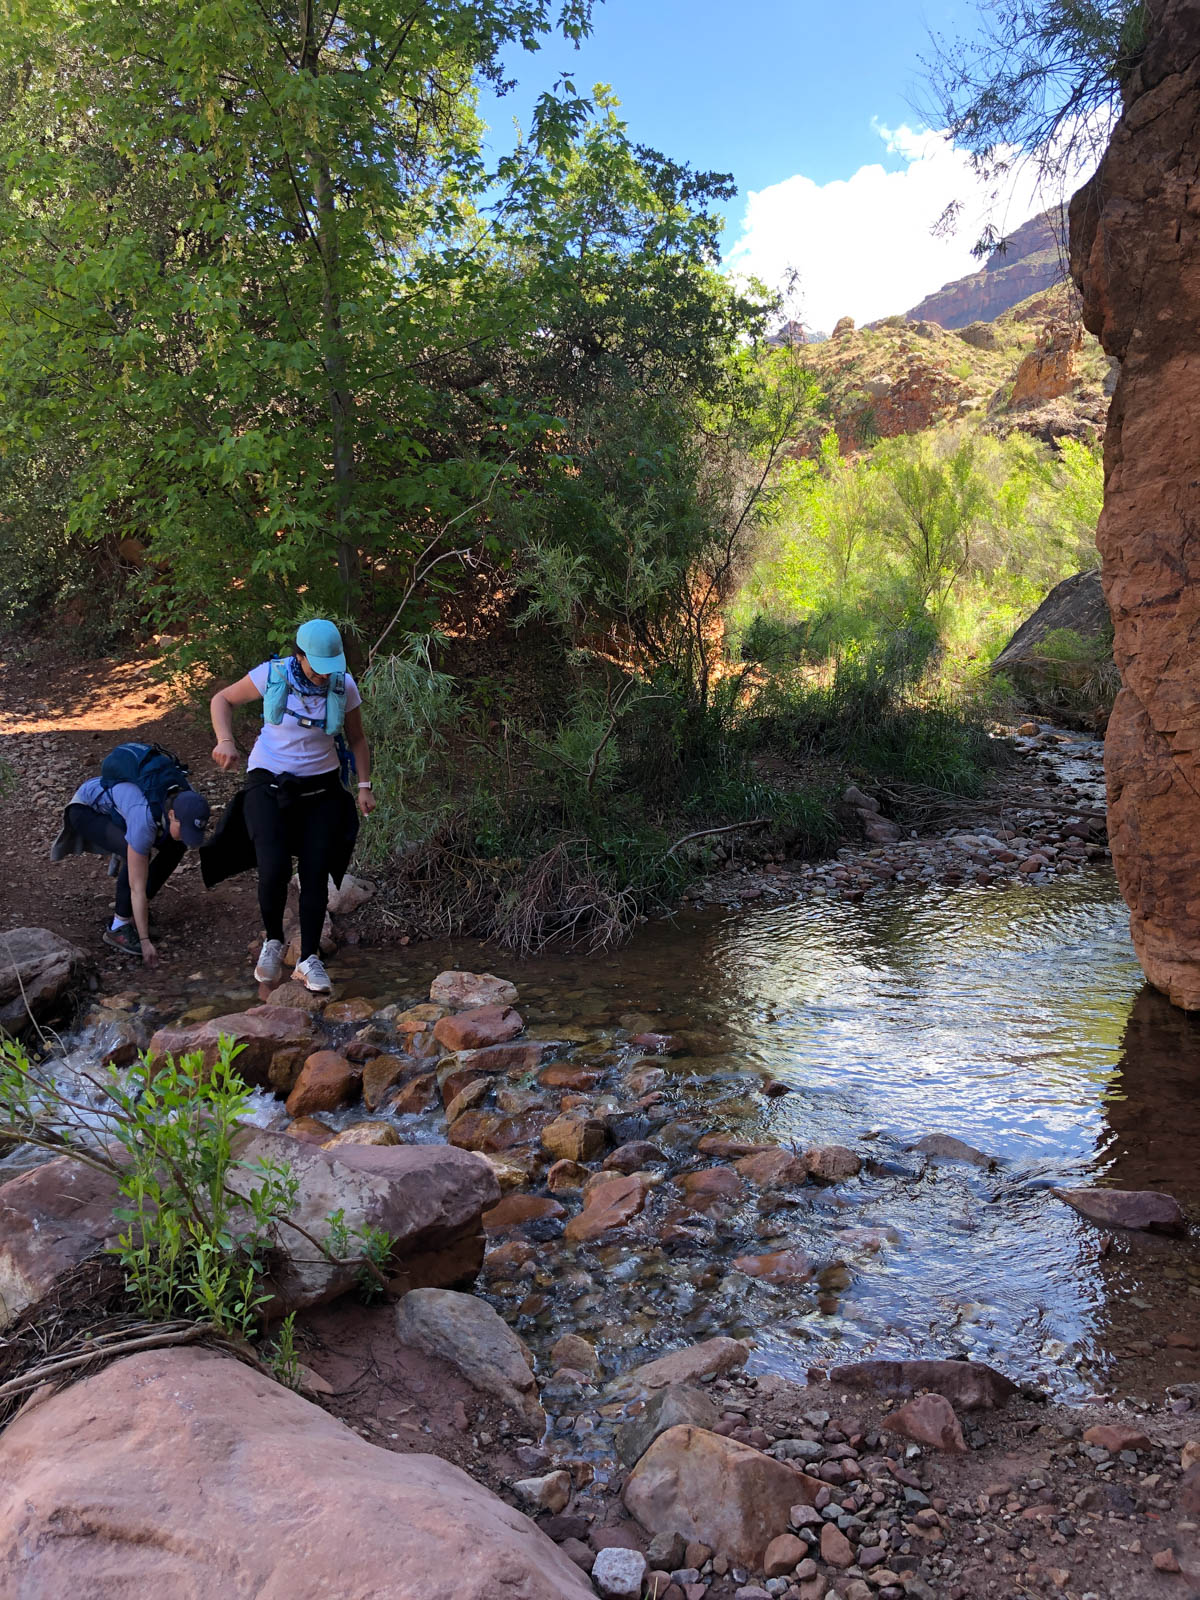
There is one main water line that descends into the canyon and occasionally it has issues. This is why it’s always recommended to bring a water purifier in case you need to hydrate from the creek. Whether you’re on the North Kaibab trail or the Bright Angel trail, you are by a creek almost the entire time.
Even if you have access to drinking water, I highly recommend filling up along the creek. This is the coldest water to drink. Gabby and I ran out of water in “the box” one time and happily filled up our hydration packs with 1.8 L of cool creek water. It acted as our built-in AC systems and cooled us down for about half an hour. I use my compact and lightweight backcountry SteriPEN Adventurer to purify the water before drinking.
Hardest Part of the Grand Canyon Rim to Rim
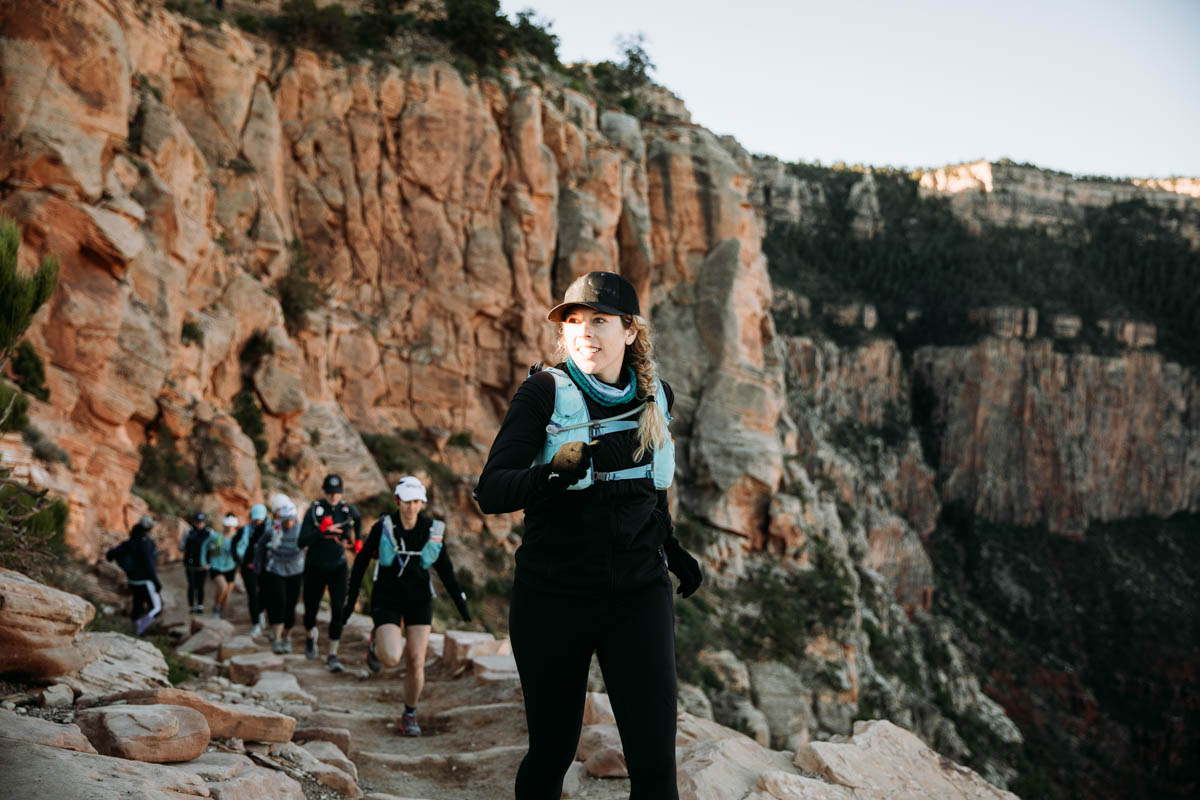
Climbing from the river up to the rim of the Grand Canyon is the hardest, slowest hours of my life. Time and distance get a little wonky in the canyon. For example, a 1-mile hike on flat trails would take about 15 minutes while whistling. Well, 1 mile of Grand Canyon switchbacks will take you 60 minutes of pure pain. It’s hard to understand how it can possible take so long and hurt so bad, until you experience it. (Trekking poles make this part a little more bearable.)
Depending on the type of person you are, this sorta pain might repel you… Or have you booking a Bright Angel cabin right now. I’m the latter. A true lover of endurance, pain with a prize, team work, and being outside as much as possible. You’ll get all that, and more, if you choose to embark on a Grand Canyon rim to rim.
Common Questions
If you are hiking (not running) it takes an average of 12-15 hours. This is based on the average time of trained hikers. Definitely train before attempting this! I do a mix of hiking and running, and it typically takes me about 9 hours.
If you don’t stay overnight in the canyon, you do not need a permit. Move quick and pack just enough food, gear and water to get from one rim to the next in a 20 hours or less— you’ll be fine. You only need a permit if you re trying camp in the backcountry, like at Cottonwood, Havasupai Gardens, etc.
It is 24 miles from the North Kaibab trail down to Phantom Ranch then back up the Bright Angel Trail to the South Rim. 6,000 ft of elevation loss then 5,000 ft of elevation gain.
This is an incredibly strenuous hike. I often start with temps in the 30s-40s at the rim, and reach up to the 120s at the bottom. Elevation loss/gain in and of itself is difficult for anyone not living in the mountains. I typically train for 4-5 months before each hike, with a mix of long and short runs, weight training, yoga and climbing (the stair stepper for me).
It depends! You’ll need to factor in flights, car rental, hotels on or near the rim, gear (clothing, shoes, hydration pack, trail snacks, medical supplies, hiking poles, etc). This hike is an investment that I think is worth it, yet should be taken seriously. You want good gear to avoid unnecessary chaffing, blisters, heat rash, proper hydration throughout the hike, and the right kind of energy foods. This last trip, I spent $1200 in flights, rental car, hotels, food, etc.
Is the Canyon calling you? Have you ever dreamed of doing something soooo outside your comfort zone? Something so big and crazy, it scared you but also excited you? If you’re starting to feel like the Grand Canyon might be that, let me know in the comments!!!





Love your story! Just got back from the GC this week and am already planning to start a weight loss program and then training for a R2 and eventually try my hand at a R3. I am wondering if you have done an R3, and how many days you schedule for it? Also, thanks for the tip on the post cards and stamps, didn’t know that was a possibility. Looking forward to reading as much information on my misogi as I can.
Way to stay moving, taking care of yourself in all the ways, Heather.
Which week in May and October do you typically go? I’ve dreamed of this hike for years and I’m finally going to go next year. I hope to get reservations at phantom ranch so I need to book next month. Thank you for your great inspiration! If you ever offer group trips for your Rawkstars, I’d like to go!!
I try and go end of may/early June or end of Sept/early October. That’s really the prime time to do it. If you’re trying to get a cabin at the bottom, you could go anytime really— since the amount of hiking in and out of the canyon is cut in half. If you wanna do it in a single day like I usually do, the date window above is really the best time for safety with heat and also mitigates the snow/water closures. (yet there is always a possibility of both!)
I did it a couple years ago. Loved it!!! The water was all off so phantom ranch was closed and they weren’t running the mules. I think I saw less than a dozen people. It was wonderful and eerie. My knee started to cause me massive issues after that so not sure I will ever be able to do it again.
Sounds like the trip of a lifetime, Crystal!
Thank you so much for sharing this! This year I turned 60 and I’ve been searching for something meaningful to celebrate it. This might just be it. The hike would be in October so I would have time to train.
I love your site. There is such a wealth of information here! Thank you so much 🙂
So glad you’re here and loving the blog, Fritzi! You’ll have to let me know if you decide to do it!
Hello Jen,
Loved your article. It has given me something to think about for my next visit to Arizona in May 2024. That or a dude ranch 🙂
I might do this on my own. Already have the gear. I wear hiking shoes, love them, super light weight.
Excited to do my research on this!!!
Thank you for sharing
Awesome, Claudia! Let me know how it goes!
I did this last year and 100% agree with everything!
Way to go Ashlee! Love hearing from others who have done it as well!
Hi Jen,
Your journey is so amazing. Thank you for sharing your knowledge, experiences and opportunities for others to better themselves. I and many other women appreciate you!
Can you please share your age? I am 58 and looking for some new metabolism boost ideas, but I realize age has alot to do with the ways we approach weight loss. Thank you again!
Hi Holly-Thanks so much for your kind feedback! There are rawkstars of all ages that are looking for ways to boost their metabolism or help with weight loss in our community. One of my favorite recipes is the Metabolism Boosting Tea!
I thought you take a group with you?
What a beautiful article Jen! And so close to my heart! I’m sending it over to my family for our trip next year ❤️
These are such great tips!!! And now I just wanna go back to the Canyon.