This post may contain affiliate links. Please read my affiliate policy.
Making homemade coconut milk is easy and only needs two ingredients, simple kitchen tools, and about 20 minutes of your time. As a result, you’ll find the end result to be a creamy, dairy-free milk with no gums, artificial flavors or sweeteners. Let’s learn how to make coconut milk and my fav ways to use it.
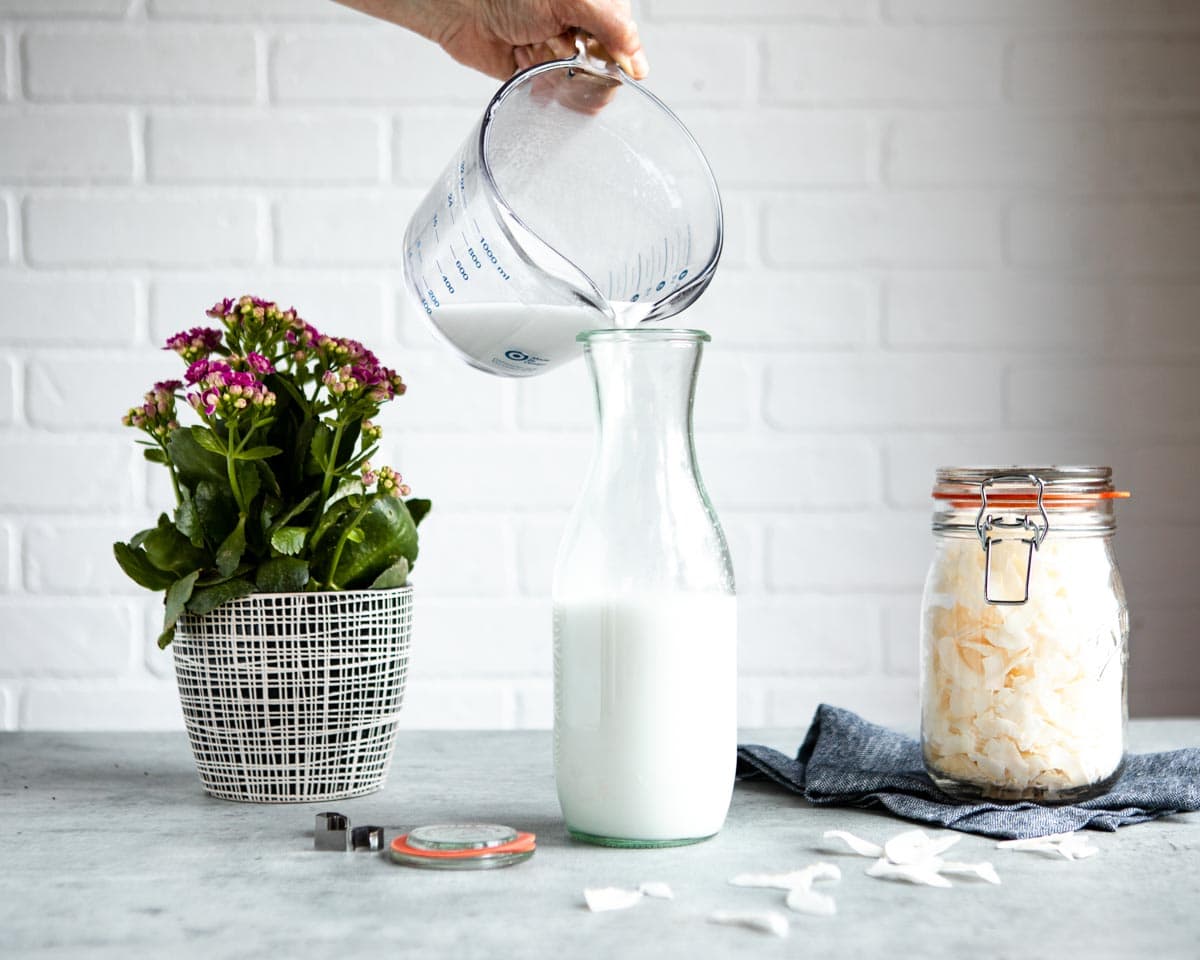
Knowing how to make my own plant-based milk helps me even when buying store-bought milk! If I’m in a pinch and need to get milk from the store, I know to look for limited ingredients as well as no fillers or sweeteners. Let’s be honest though… once you make your own coconut milk, you’ll never wanna buy it from the store again!
Table of Contents
Making Homemade Coconut Milk
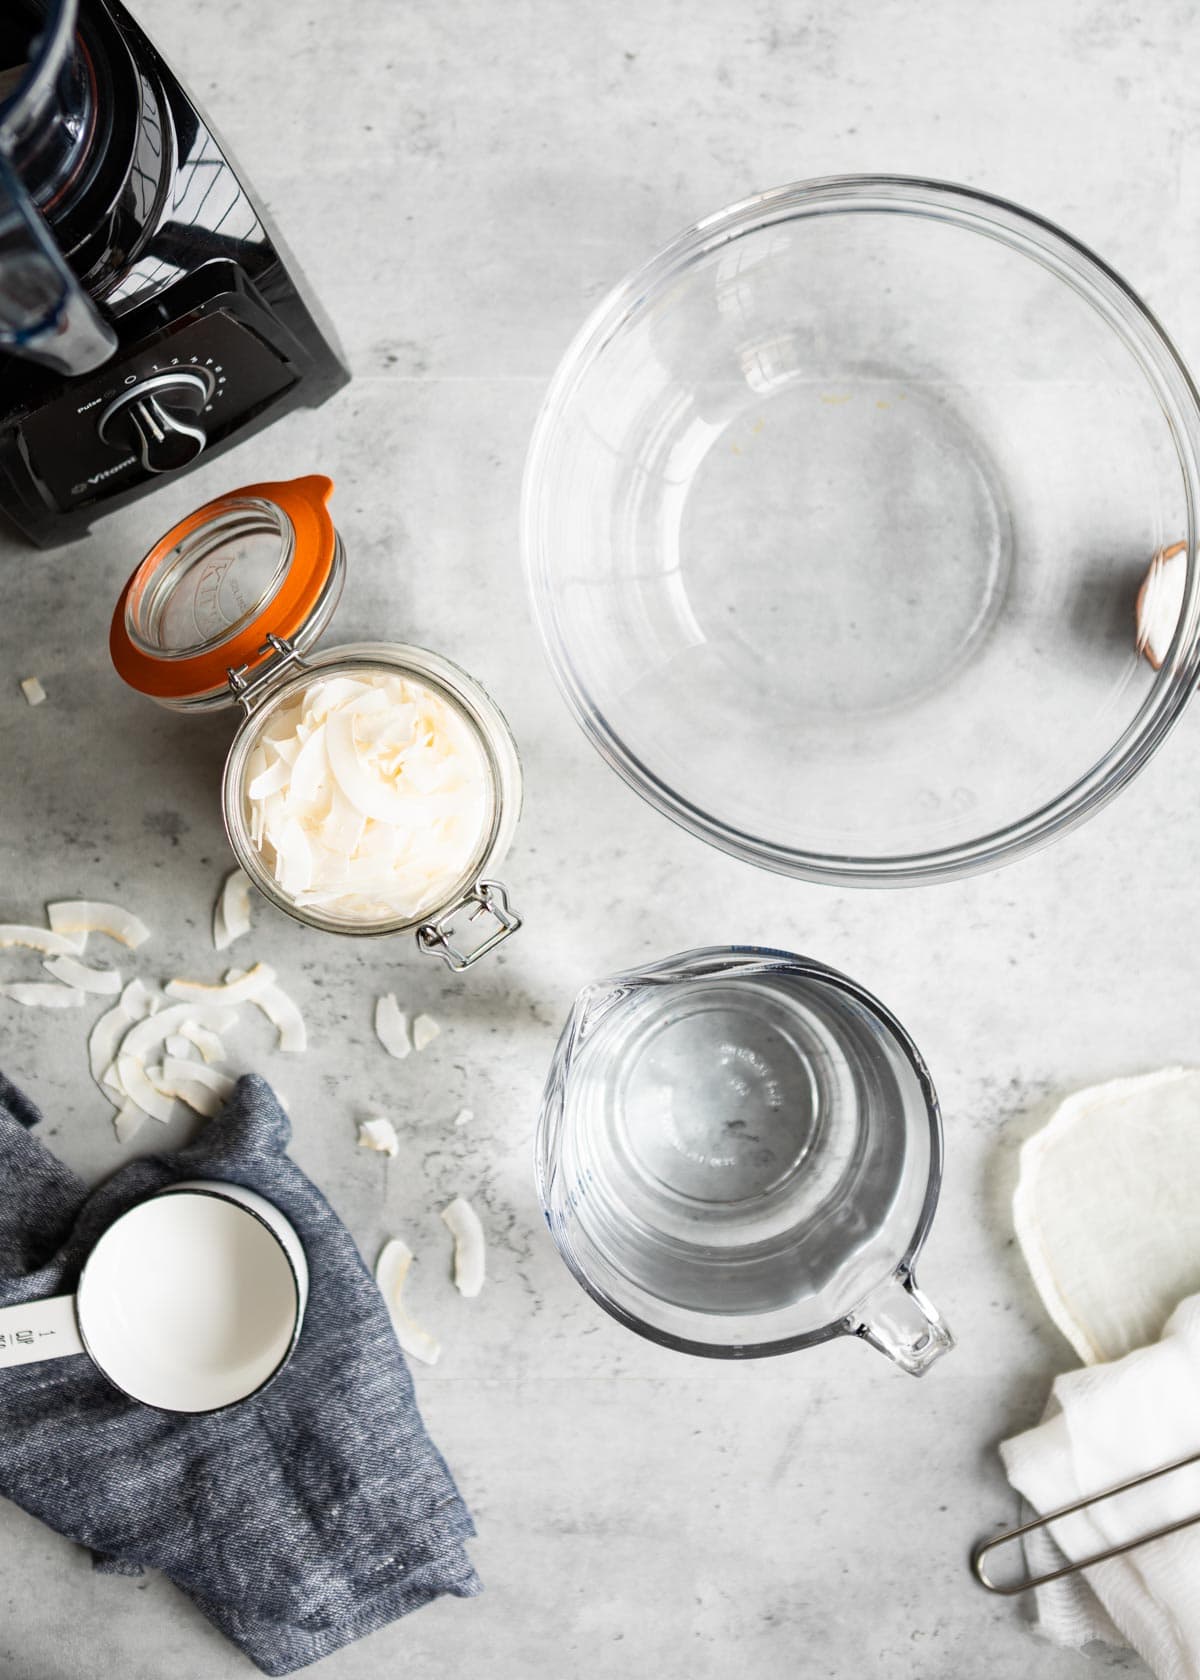
Once again, it can be difficult to find milk that’s free of additives, stabilizers, and gums (I’m looking at you carrageenan!) to use in recipes that call for coconut milk. Yet, never fear! Your blender’s here! All you need to make this homemade version is:
- 1 cup dried, unsweetened coconut
- 3 cups boiling filtered water
- Pinch of sea salt (optional!)
- High speed blender
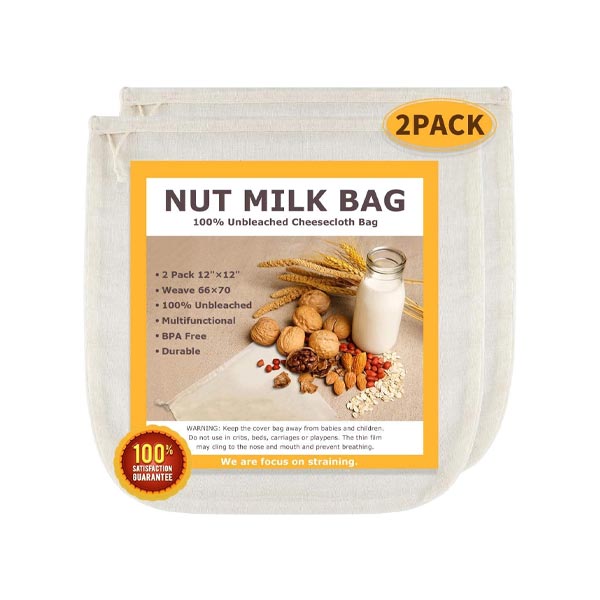
- Cheesecloth, tea towel, or nut milk bag
- Mesh strainer
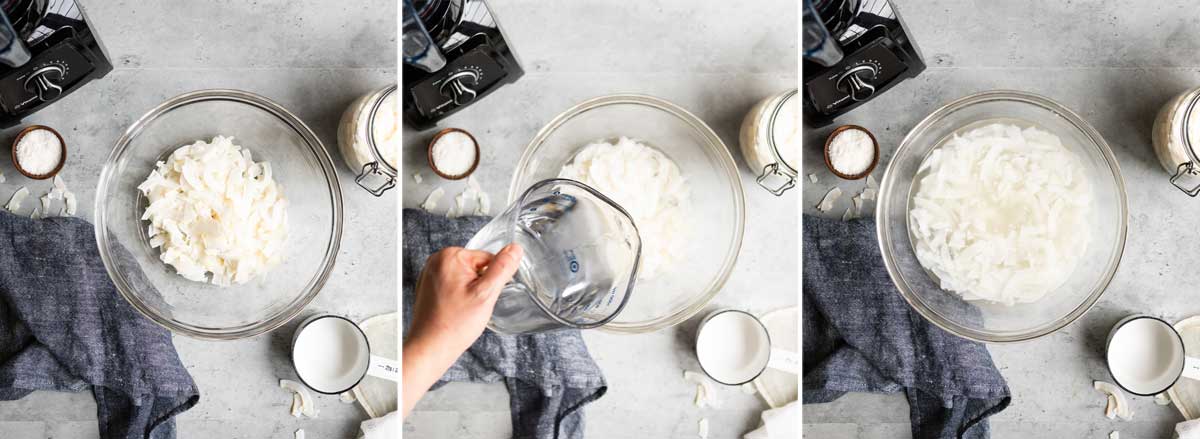
Now let’s get milking!
- Place the shredded coconut in a bowl of boiling water. Stir to encourage the flakes to stay submerged. They will naturally absorb some of the hot water during soaking, which will break down the flakes to a creamy goodness.
Cream is the best sort of homemade coconut milk, don’t you agree?
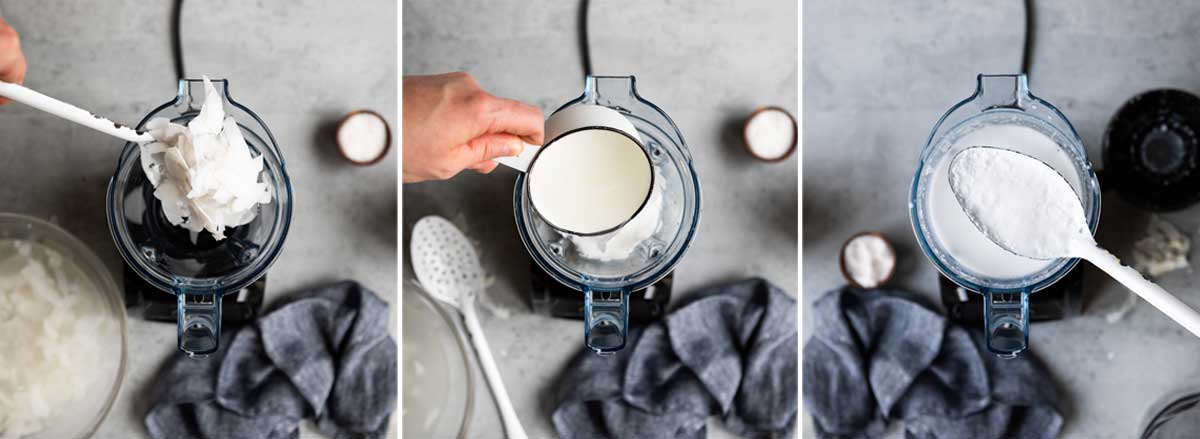
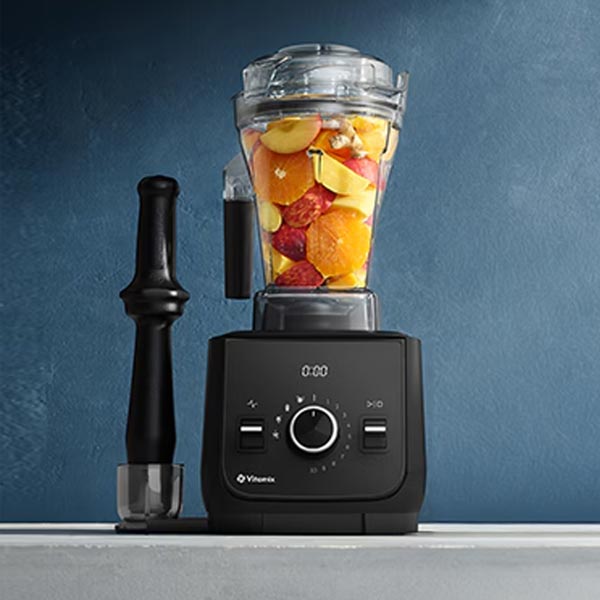
2. Blend. The #1 appliance in my kitchen is my blender. In addition to using it for my daily green smoothie, I use it for homemade hummus, pancakes and yep, even milk from plants.
A high speed blender will break apart coconut flakes the best, and gets you as many nutrients possible. I recommend checking out my blender guide if your blender isn’t up to the challenge.
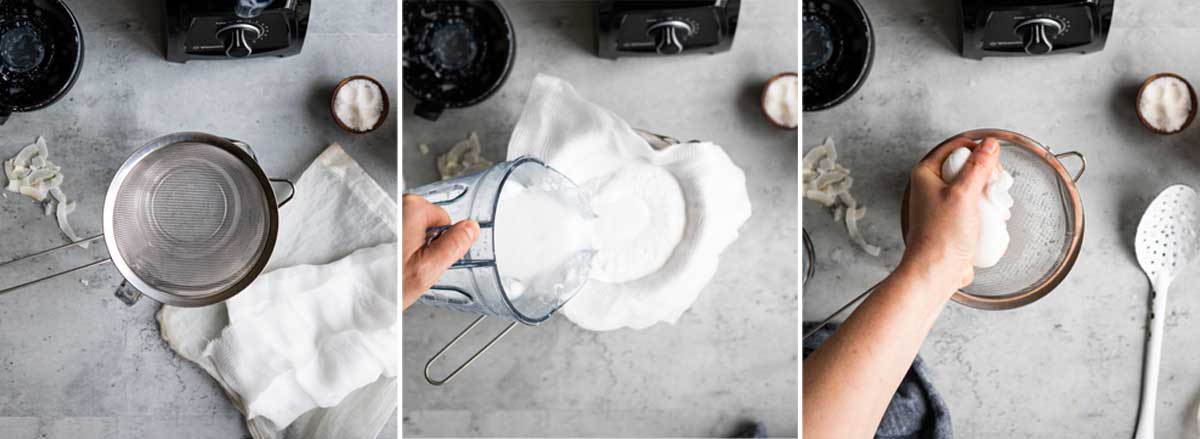
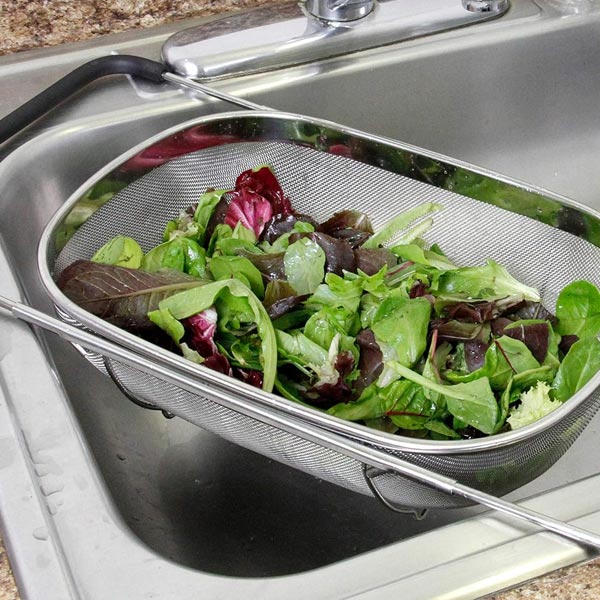
3. Strain your milk like a pro…Having a two-layered strainer will get you the creamiest results. To do this, I use a mesh strainer and a nut milk bag. Just place a strainer over a bowl and line with cheesecloth or a nut milk bag. Gather the cloth at the top, twist and gently squeeze as much milk from the solids as possible. The remaining coconut pulp should be fairly dry.
Pro tip: if you want a thicker milk, just use a cheese cloth. You may get a bit of ‘pulp’ from the coconut yet you’ll also get a creamier finished product.
How to Store Plant Milk
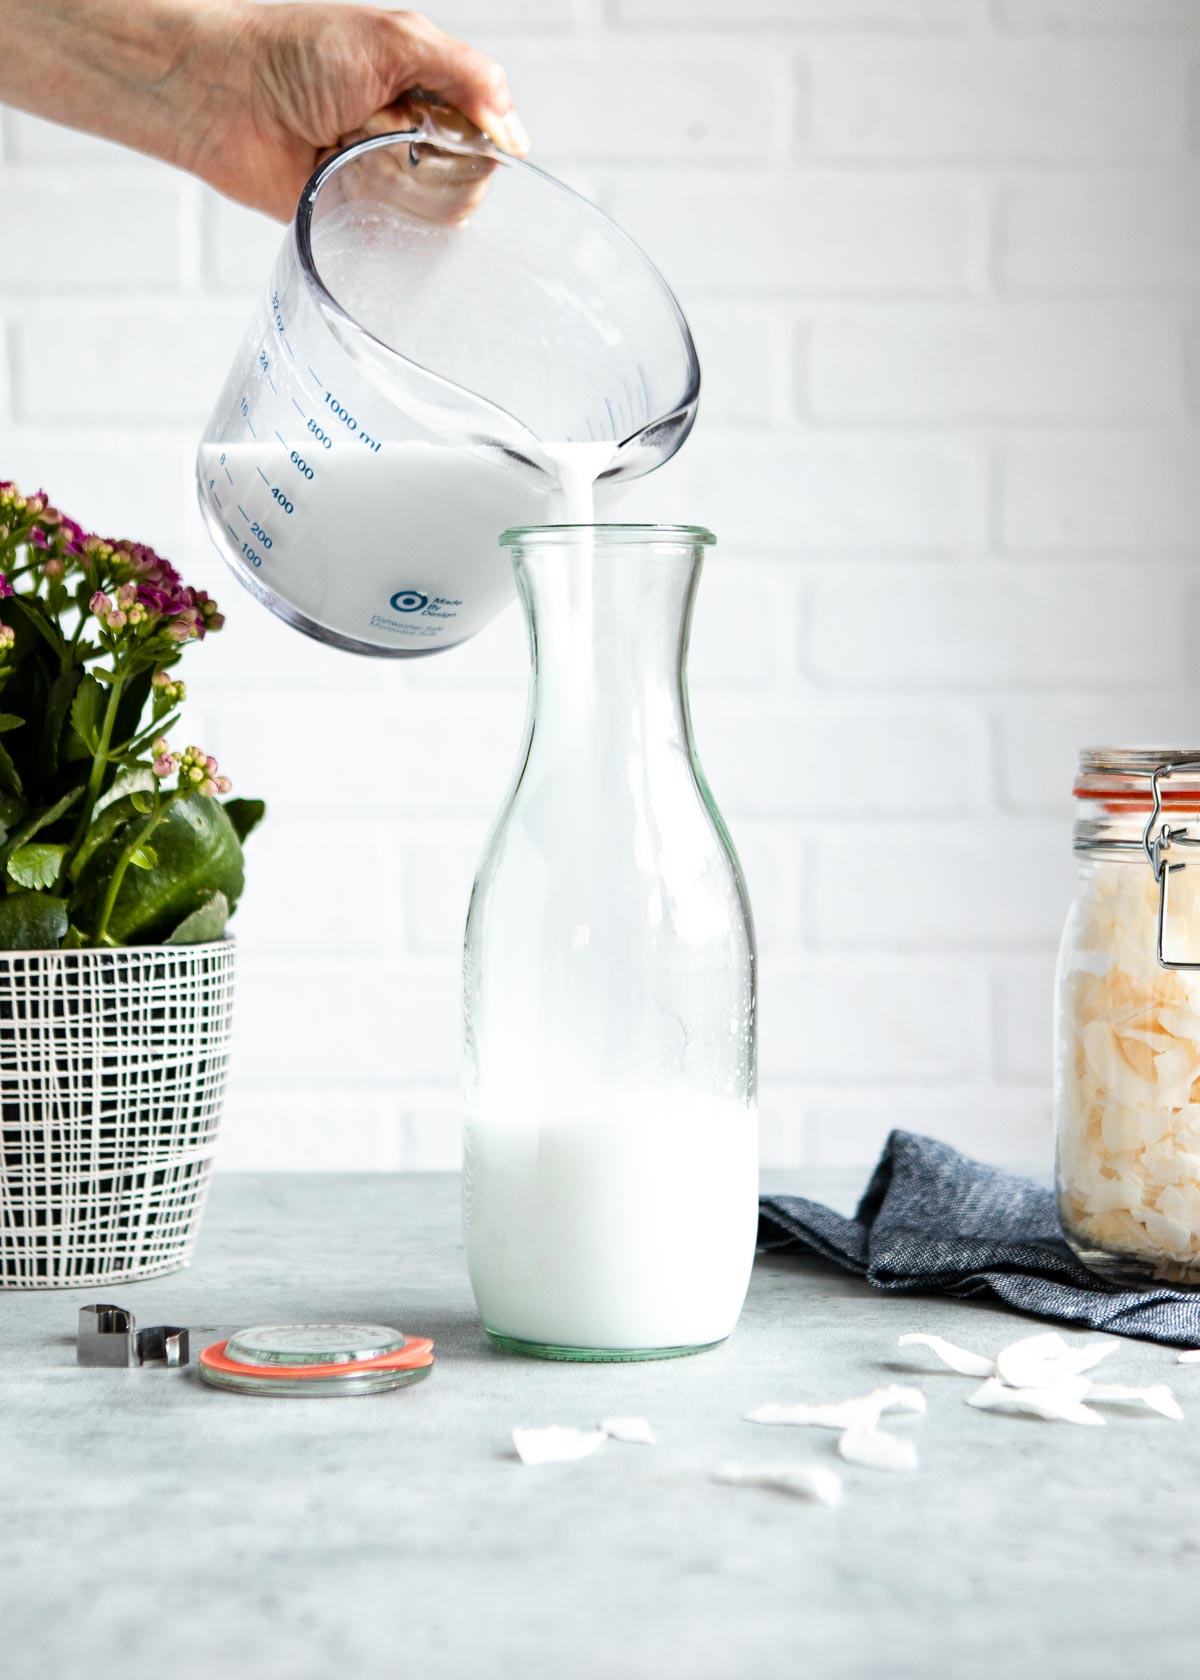
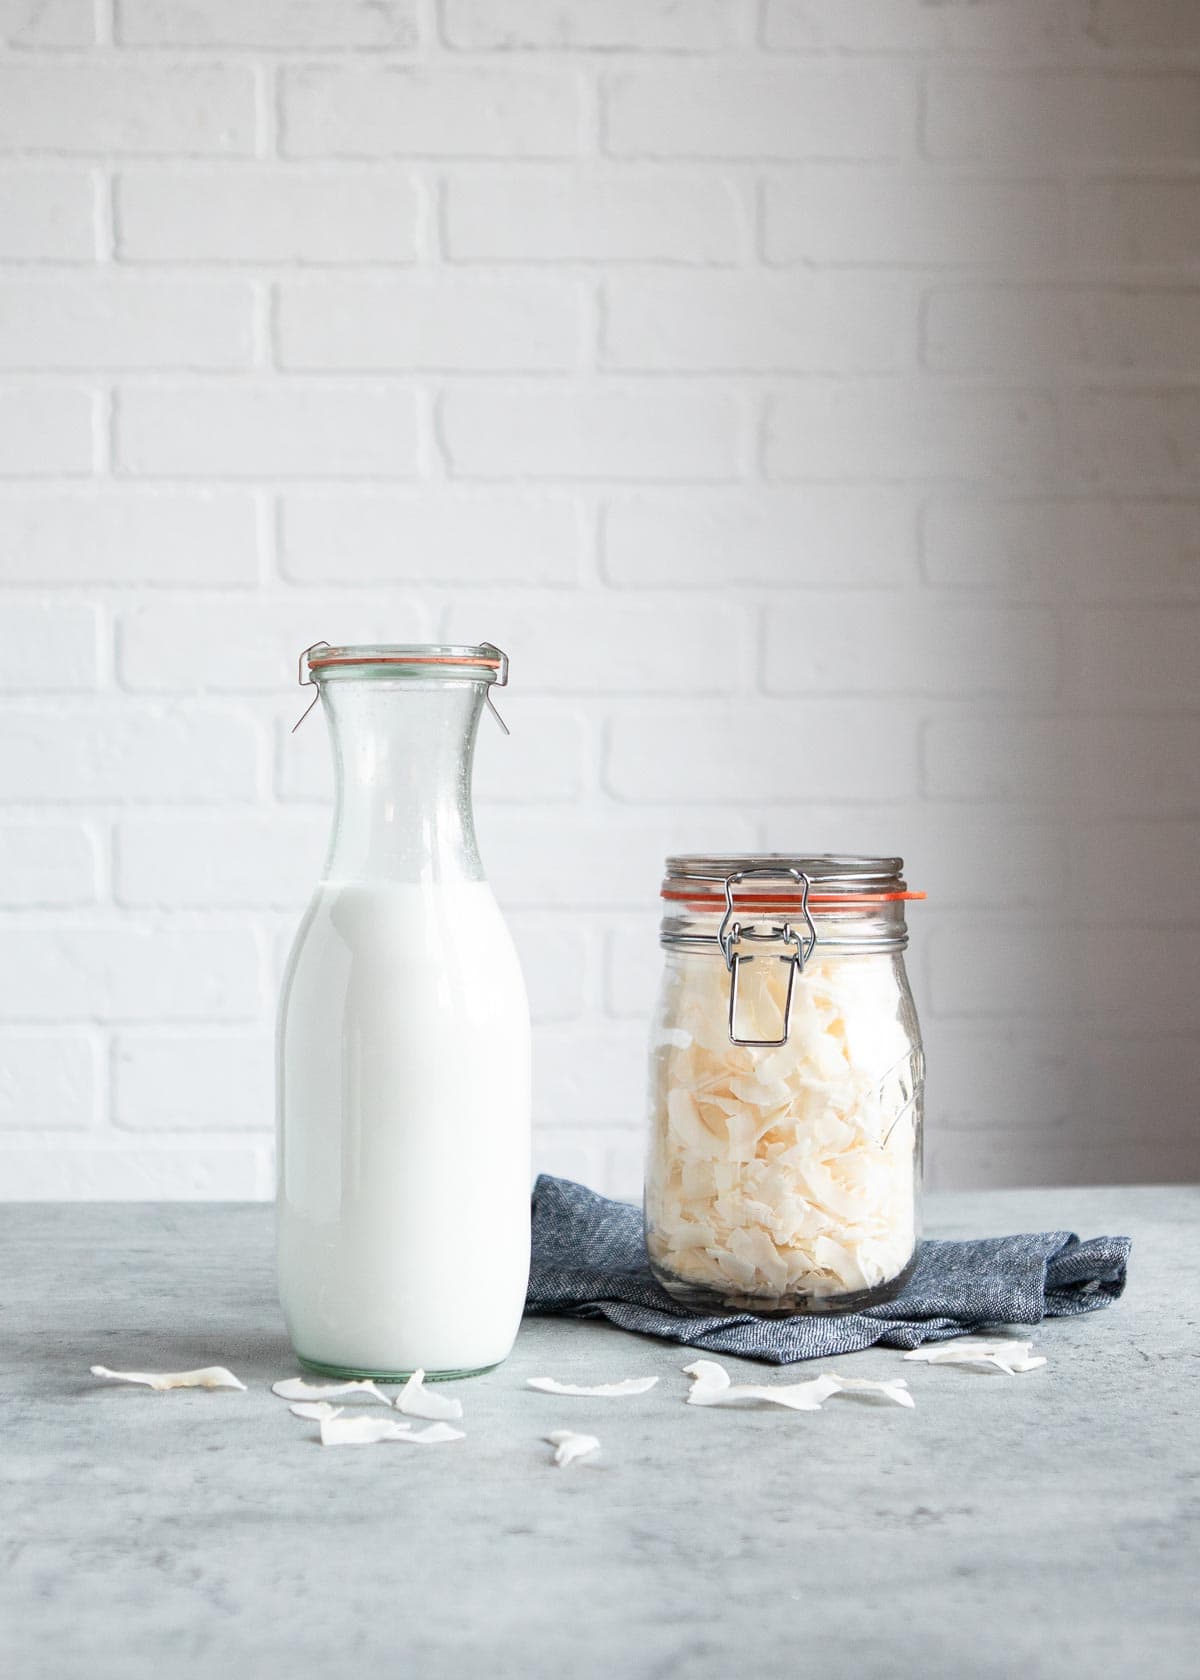
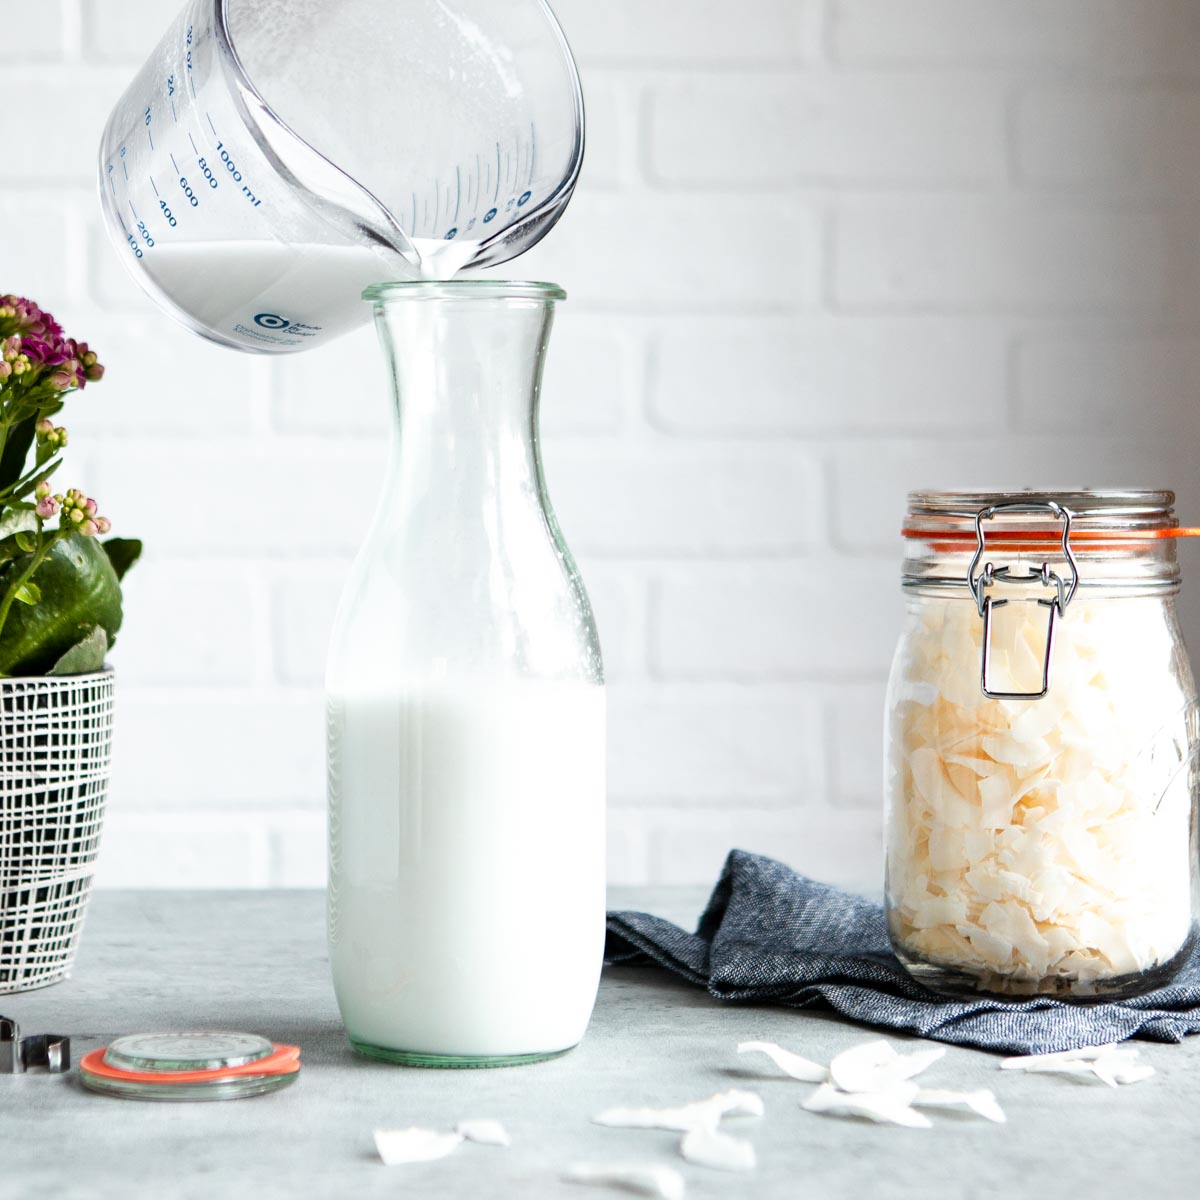
Transfer your freshly made beverage to an airtight jar or bottle and refrigerate until ready to use. The milk will keep 3-4 days, maybe a little longer. As a result of the (healthy!) fat content, the milk will separate into layers, so be sure to shake before using.
The top most layer is the coconut cream. In addition to other uses, it can be spooned off for recipes calling for the full-fat version.
Where Does Coconut Milk Come From?
After all, former FDA commissioner Scott Gottlieb said, “almonds don’t lactate“. Of course we’re talking about coconut here, yet the same confusion applies. Actually, according to the Smithsonian Magazine, the word lactate actually comes from the Latin root word of lettuce – meaning the milky white juice that comes out of certain plants.
In addition, various types of non-dairy milk, have been staples in Southeast Asian, African and Indian cuisines for ages.
Homemade vs. Store Bought
Meanwhile which is better? Recently we tested as many store bought almond milk, oat milk, and coconut milk brands as we could find in Central Florida to see which were best. When it comes to buying from the store, we’d def avoid brands that contain additional sugar, gums, fillers or those always mysterious ‘natural flavors’.
While there are always decently healthy options out there, if you want to know for sure what’s in your milk and going into your body – I’d opt for homemade when possible.
How to Use Coconut Milk
And speaking of recipes that use coconut milk, can I share a few? This particular kind of plant based milk is one of my favs to use, especially in dessert leaning recipes because it has a natural touch of sweetness. Now that you’ve made some of your own, give these a try:
- Veggie bowl with coconut sriracha sauce – the secret’s in the sauce here
- Turmeric golden milk – a warm + comforting bedtime drink
- Coconut joy vegan smoothie bowl – a plant based option to your candy bar addiction
- Blackberry coconut sorbet – refreshing on a warm spring or summer day
- Healthy peach smoothie – quick, easy and oh so delicious
- Coconut milk smoothie cubes – boosting your smoothie with healthy fat + a touch of protein
Don’t forget to rate + review this recipe once you’ve tried it. I wanna know how yours turns out!
How to Make Coconut Milk
Ingredients
- 1 cup raw coconut flakes
- 3 cup water boiling
- pinch sea salt, unrefined
Instructions
- Place coconut in a pot of boiling water and allow coconut to soak for a minimum of 10 minutes.
- Add to blender and carefully blend until smooth.
- Place a strainer over a bowl and line with cheesecloth, tea towel or pour into a nut milk bag, and allow the coconut milk to drop down into the bowl.
- Gather the cloth at the top, twist and gently squeeze as much coconut milk from the solids as possible. The remaining coconut pulp should be fairly dry. (The pulp can be added to baked goods and smoothies for extra fiber.)
- Transfer to an airtight jar or bottle and refrigerate until ready to use.
Helpful Tools
Notes
- Less water can be used for thicker, creamier coconut milk.
- The coconut milk will keep 3-4 days, maybe a little longer.
- Shake well before using. The milk will separate into layers. The topmost layer is coconut cream. It can be spooned off for recipes calling for full-fat coconut milk.
- This coconut milk recipe makes a similar product to refrigerated carton coconut milk from the store. It doesn’t have the fat content in canned coconut milk.



I was looking for this recipe! I saw in japanese channel but never find again! Thank you very much! Great post! Loved the content!
Hi Flavia,
YAY!! So happy you found it!
Parabéns pelo conteúdo do site gostei de como fazer o leite de coco, que delicia.Obrigado
Hi Eunice,
YAY! I’m so excited to hear you loved this recipe + making you’re own coconut milk! Thanks for reaching out.
Great recipe! I tried it and it worked.
Rawesome!
From now on I never again spent a penny buying coconut milk ready, thank you very much for sharing this delicious coconut milk recipe, I already did and it was very good, perfect.
very good
Thanks Casamento!
I really like natural foods. Our body thanks! Thanks for sharing!
Thanks for blending with us, Manollo!
I loved the recipe! It seems very easy to do and besides everything looks very natural. I will make!
Rawesome, Rian! Reach back out are you’ve given it a try! I’d love to hear your review!!
Im making my coconut milk, but it makes a mess :/
Hi Rana,
Oh no! Which step are you finding extra messy?
Wow what a delight, I love coconut milk, here in Brazil this recipe is a success, as a child I drink at least once a week.
Hi Anne,
YAY! So happy you could enjoy this recipe + start re-living your childhood days! 🙂 Thanks for blendin’ with us, all the way from Brazil!
Hellooo! Very nice tips! Thanks for share!
You’re so welcome, John!
I’ve never seen anything like it. Very good!
look delicious
Hi Peter,
We hope you give it a try! We love this recipe!
Wonderful recipes congratulations
Thanks Bianca! We hope you enjoy it!
Muito interessante (:
Give it a try, Marco! Then reach back out + let us know what you think!
Really good this recipe I loved. I’ll do it today, thank you.
Hi Bruna,
Rawesome! We love this recipe + hope you love it as much as we do!
Milk is life!!!
Very good, thank you
🙂
Very good article.
very very very good this content, congratulations!
amazing post!
Thanks Juan!
I’d love to have a go at this as it sounds amazing. I have a large bag of Organic Coconut Flakes that i have to use up. Can I make it with this, and if so, will it require extra soaking time?
Hi Cathi,
We love using coconut flakes in this recipe. As long as they’re dried and unsweetened you’re ready to rawk!! Simply follow the directions above.
Cheers!