This post contains affiliate links.
Table of contents
If you’re looking for a fun, healthy treat that both kids and adults can enjoy, homemade ice pops are where it’s at. They’re refreshing, customizable, naturally sweetened, and ridiculously easy to make. Whether you’re using fresh fruit, leftover smoothies, or a mix of whatever’s in your freezer, these ice pops are a cool way to beat the heat—and sneak in a few extra nutrients while you’re at it.
What You’ll Need
Making ice pops is super simple. You don’t need a fancy popsicle machine or hard-to-find ingredients. Here’s your basic supply list:
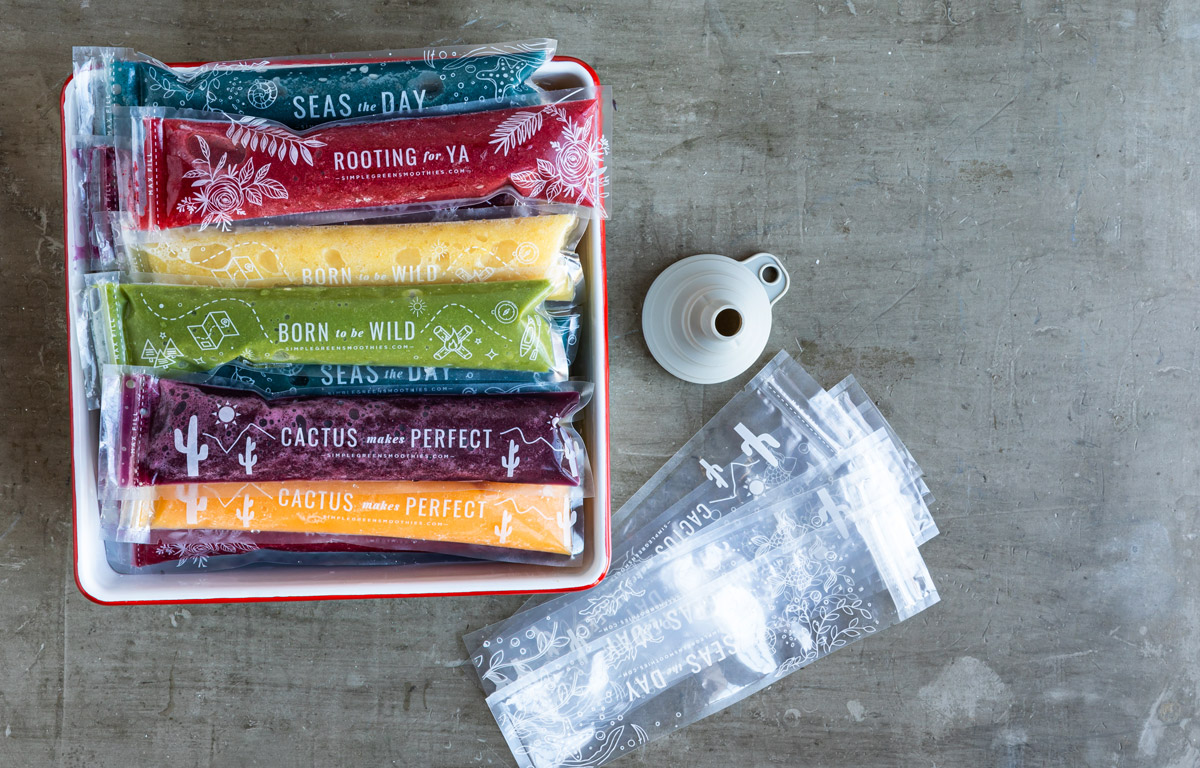
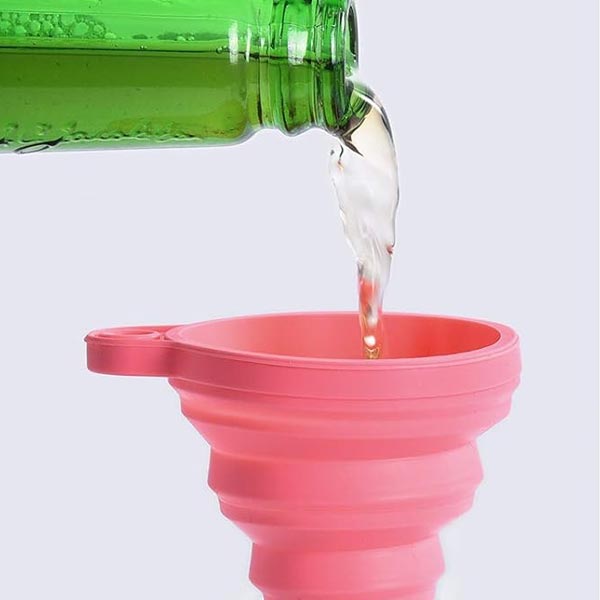
- A small funnel (trust me—this saves messes)
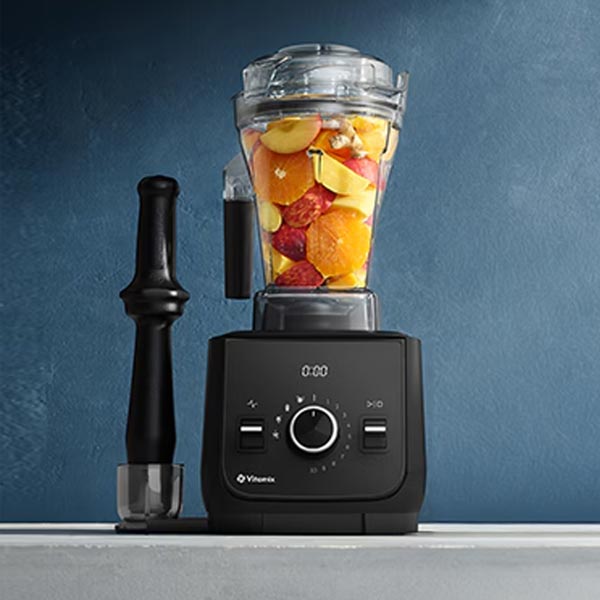
- A blender
- Your favorite fruit (fresh or frozen)
- Ice pop molds or sleeves
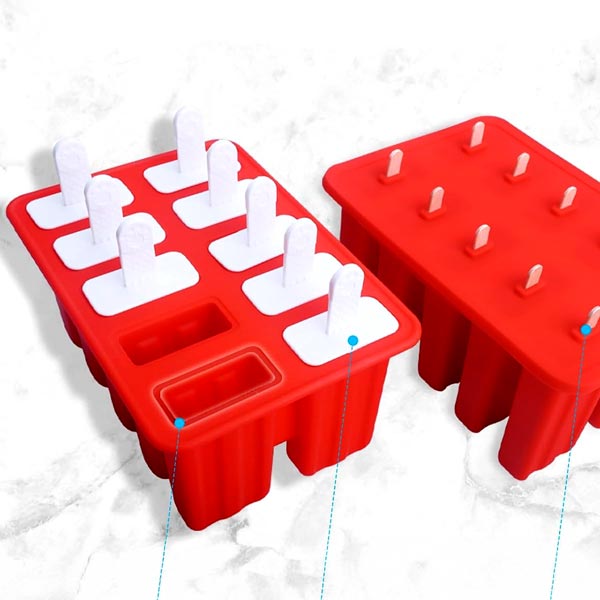
Where to Buy Ice Pop Molds
Now that you’ve got some gorgeous popsicles recipe ideas, how do you actually make them? I’ve got two great options when it comes to homemade ice pop molds based on your needs and how much room you have in your freezer.
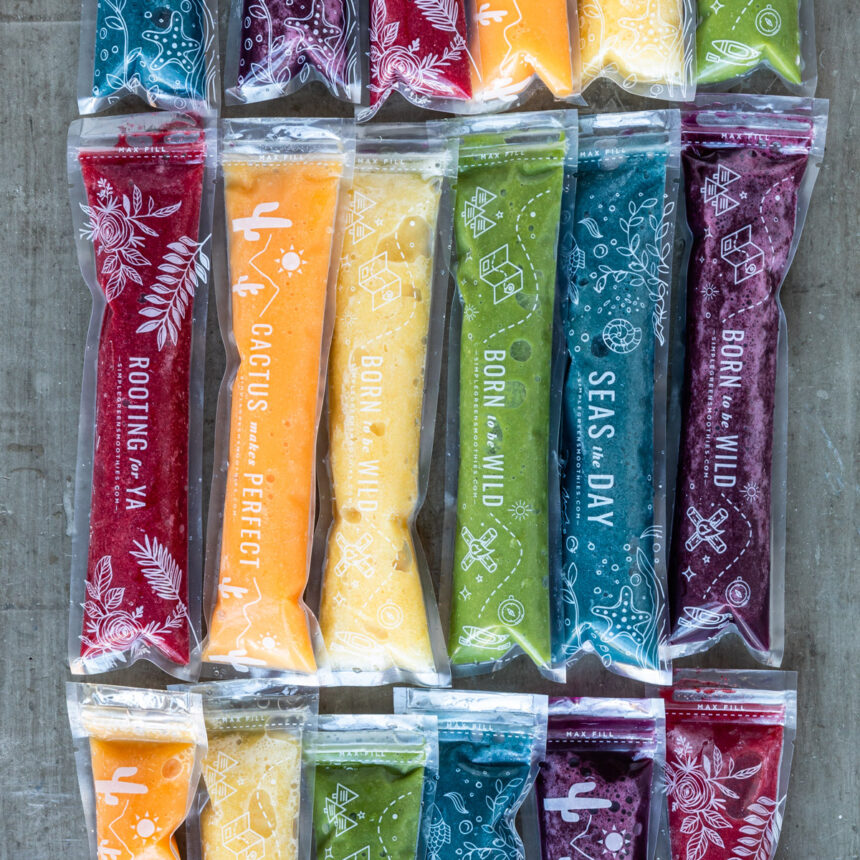
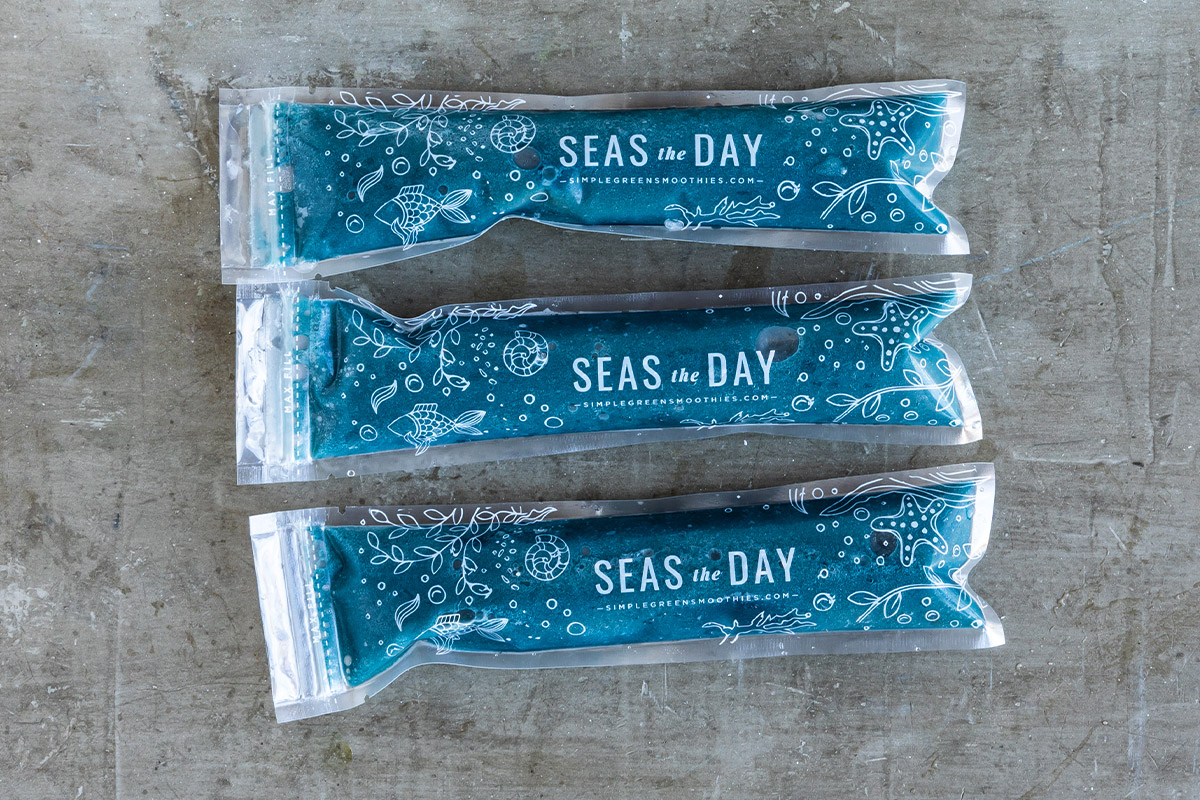
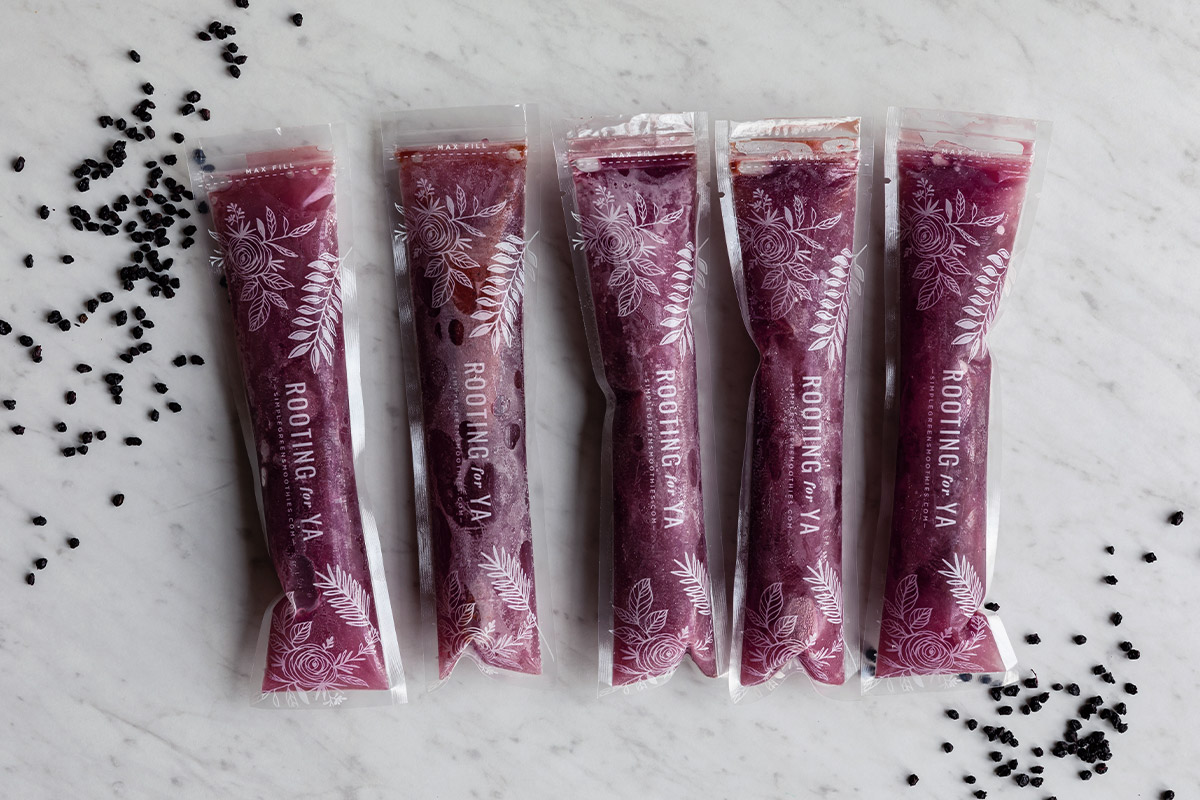
- Disposable Popsicle Sleeves: For those that can’t or don’t want to clean out molds, go with some disposable popsicle sleeves. These come with a funnel and a kline on them to tell you exactly where to stop filling to avoid a mess. Super convenient and kid-friendly (just snip the top and eat).
- Reusable Silicone Molds: If you can wash and store molds, go some environmentally-friendly silicone popsicle molds. Make sure you’ve got enough freezer space to keep them upright while freezing.
Fruit Ice Pop Recipes
I first made these ice pop flavor variations for my daughter’s gymnastics fundraiser. I wanted to do something fun and Florida-esque, and these seemed like a fun way to do that. They were super simple to make and sold out!

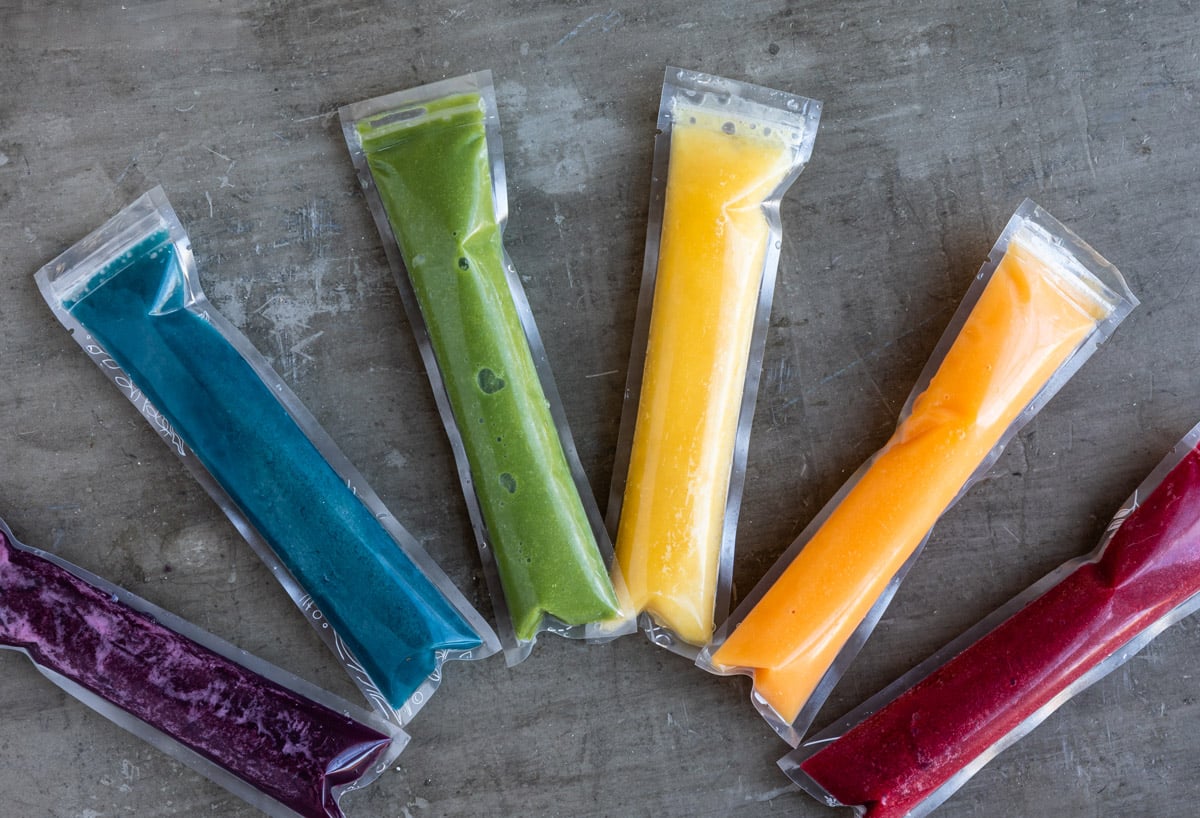
Bright + Tropical
Yellow Ice Pops 🍍
These are bursting with sunny flavors from mango, pineapple, and orange, making them sweet, citrusy, and super refreshing. The water base keeps them light and hydrating—like a tropical fruit punch on a stick.
1 orange
2 cups mango
½ cup pineapple
½ cup water
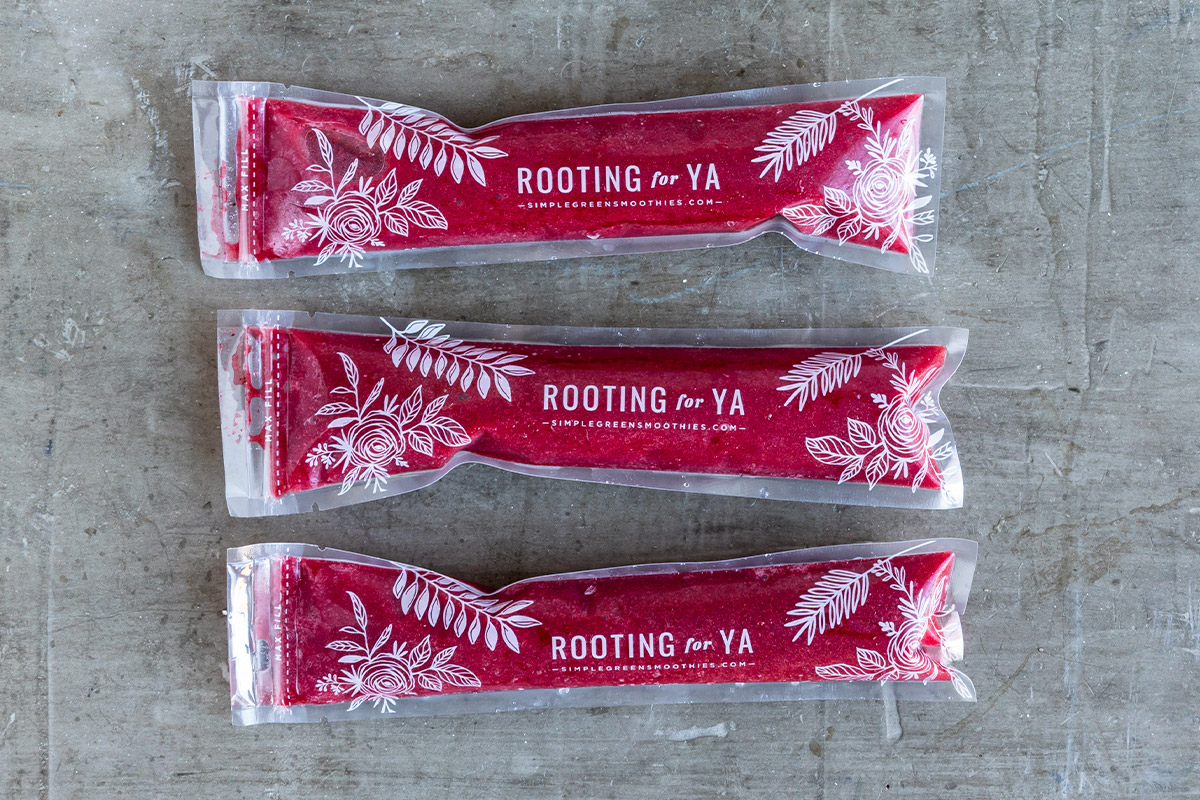
Berry Sweet + Tart
Red Ice Pops 🍒
A blend of cherries, strawberries, banana, and pomegranate juice creates a deep red, antioxidant-packed pop. These are juicy, slightly tart, and naturally sweet—perfect for berry lovers.
1 cup cherries pitted
1 cup strawberries
1 banana peeled
1 cup pomegranate juice
Creamy + Magical
Blue Ice Pops 🍒
This dreamy combo features bananas, peaches, coconut milk, and butterfly pea powder, which turns the mixture blue with a touch of baking soda.
2 bananas
1 tsp butterfly pea powder
2 peaches
¾ cup coconut milk
¼ tsp baking soda (helps it turn blue)
Fresh + Fruity
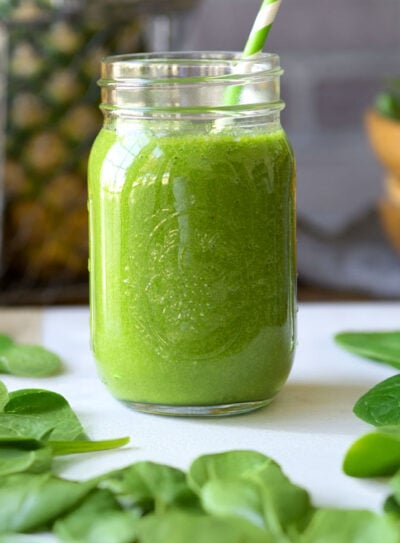
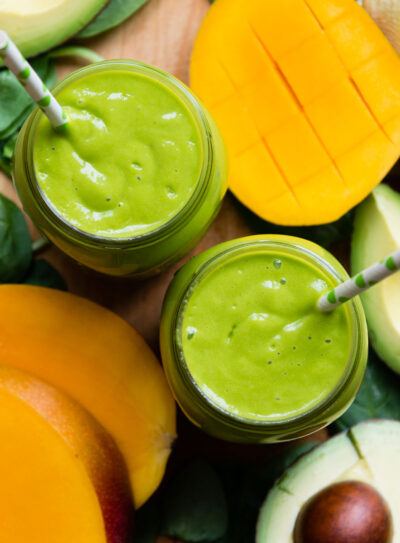
Green Ice Pops 🌿
Packed with spinach, pineapple, mango, and banana, these pops are sweet and vibrant with a sneaky dose of greens. Don’t worry—the fruit totally masks the spinach flavor. You get tropical vibes with a healthy twist!
1 cup spinach
½ cup pineapple
½ cup mango
1 banana
1 cup water
Sore Throat Support
Purple Ice Pops 🌿
Try this popsicle recipe I created for sore throats using ingredients that have been used for centuries to soothe symptoms and help the immune system fight back, like elderberry and echinacea.
How to Make Homemade Ice Pops (Step-by-Step)
These ice pops are quite easy to make. Each recipe makes roughly ten popsicles, so feel free to double or triple the ingredients to get the number you need. All you need is a blender, the molds of your choice and a funnel.
- Pick your color + ingredients: Start with one “color” of pop at a time. Think bright orange mango-carrot, deep purple blueberry, or classic pink strawberry-banana. You can use any fruit combo you like—fresh or frozen.
- Blend it up: Add your ingredients to a blender and blend until completely smooth. If you like your pops a little creamier, add a splash of coconut milk or yogurt.
- Pour carefully: Use a funnel to pour your smoothie mixture into the molds. Do not overfill—leave a bit of space at the top so they have room to expand as they freeze.
- Freeze: Pop them in the freezer for at least 4 hours, or overnight if you can. Once they’re frozen solid, they’re ready to enjoy!
Heads up: If you overfill the molds, they can break open in the freezer as they expand. If your molds don’t come with a small funnel, you should be able to find one at your local grocery store.

Homemade Ice Pops with Fruit
Jen HansardIngredients
Yellow Ice Pops
- 1 orange peeled
- 2 cup mango peeled, core removed
- ½ cup pineapple sliced into chunks
- ½ cup water
Red Ice Pops
- 1 cup cherries pitted
- 1 cup strawberries
- 1 banana peeled
- 1 cup pomegranate juice
Blue Ice Pops
- 2 bananas peeled and sliced
- 1 tsp butterfly pea powder
- 2 peach peeled, core removed
- ¾ cup coconut milk
- ¼ tsp baking soda helps it turn blue
Green Ice Pops
- 1 cup spinach fresh
- ½ cup pineapple sliced into chunks
- ½ cup mango peeled, core removed
- 1 banana peeled
- 1 cup water
Instructions
- Pick the color you want to make first. Then blend all ingredients listed under that color together until smooth.
- Fill popsicle sleeves using a small funnel.
- Freeze the molds flat for at least 4 hours. Enjoy!
Recipe Notes
- The nutrition facts are for the Green Popsicles.
- Yellow Popsicles: 30 calories, 8 carbs, .4g protein, .2g fat, 7g sugar
- Red Popsicles: 37 cals, 9 carbs, .4g protein, .2g fat, 7g sugar
- Blue Popsicles: 39 cals, 9 carbs, 1g protein, .5g fat, 6g sugar
- If making more than 1 color, rinse the blender well between blends to ensure the colors don’t mix.
- You can use frozen ingredients for these, but there is no need! You’ll freeze them inside the molds anyway.
- For the Red Popsicles: swap the pomegranate juice for red grape juice or cranberry juice. Look for 100% juice with no additives.
- For the Green Popsicles: swap the spinach with the leafy greens of your choice.
- For the Blue Popsicles: swap peaches for the stone fruit of your choice or for mango.
Nutrition
Common Questions
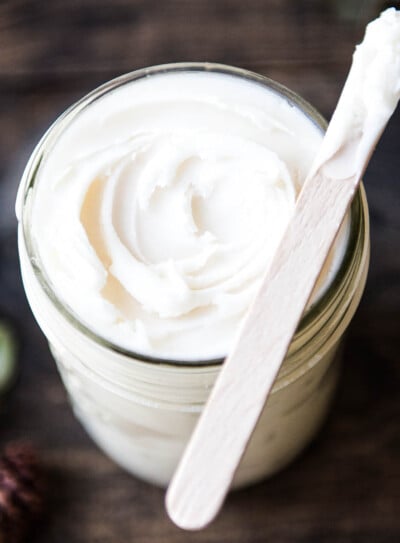
If you want your popsicles to be creamy instead of icy, here’s tips that really make a difference:
Use a creamy base like homemade coconut milk, cashew milk, or even a little vegan yogurt. These add healthy fats that give your pops that soft, creamy texture (like a smoothie pop!).
Add banana, avocado, or cashew cream to the mix. They blend up super smooth and help with creaminess without overpowering the flavor.
Blend really well. The smoother the blend, the better the final texture. I always give my blender an extra 20 seconds for good measure.
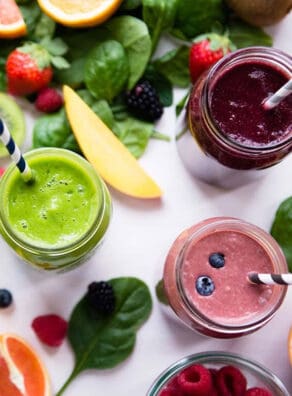
A few juices that work really well for ice pops are pineapple juice, orange juice, watermelon juice, and pomegranate juice—they’re naturally sweet, refreshing, and loaded with flavor. Just make sure they’re 100% juice with no added sugars if you’re buying them. That said, blending whole fruit is even better when it comes to homemade pops! You get all the fiber, nutrients, and natural thickness that juice alone just doesn’t offer. Plus, it gives your popsicles a creamier texture and helps avoid that icy, rock-hard finish.
I love blending combos like mango + orange, strawberry + watermelon, or peach + banana with a splash of coconut water or plant milk. You get all the goodness of juice, plus the benefits of whole food nutrition.
Using milk in ice pops is one of the best ways to make them creamy and satisfying. If you’re plant-based (like me!), I recommend using non-dairy milk like coconut milk (super rich), almond milk, oat milk, or cashew milk. These all blend beautifully with fruit and help create that soft, velvety texture instead of a hard, icy pop.
More Homemade Popsicles to Try
You can take any of my other popsicle recipes and pour into these popsicle sleeves to create ice pops using a wide variety of fruits:
These look so good. Can’t wait to try. How did you get printed bags? Adorable!
Hi Andrea! I bought these online
Do you still sell your own popsicle sleeves?
Cori-Lynn not at this time, but check back. You never know what kind of rawesome things we’ll have in our store.
Where do you get the butterfly pea powder? Such fun colors.
Hey Erin! You can find many brands of butterfly pea powder on Amazon. I recommend Suncore Foods ).
Here’s the link to their Butterfly Pea Flower Powder on Amazon: https://www.amazon.com/Suncore-Foods-Butterfly-Natural-Supercolor/dp/B07D7RS1CN/ref=sr_1_7?dchild=1&keywords=butterfly+pea+powder&qid=1599060596&sr=8-7
How long do the smoothies last in the freezer?
They can last a month or more but mine never make it that long! 🙂