This post may contain affiliate links. Please read my affiliate policy.
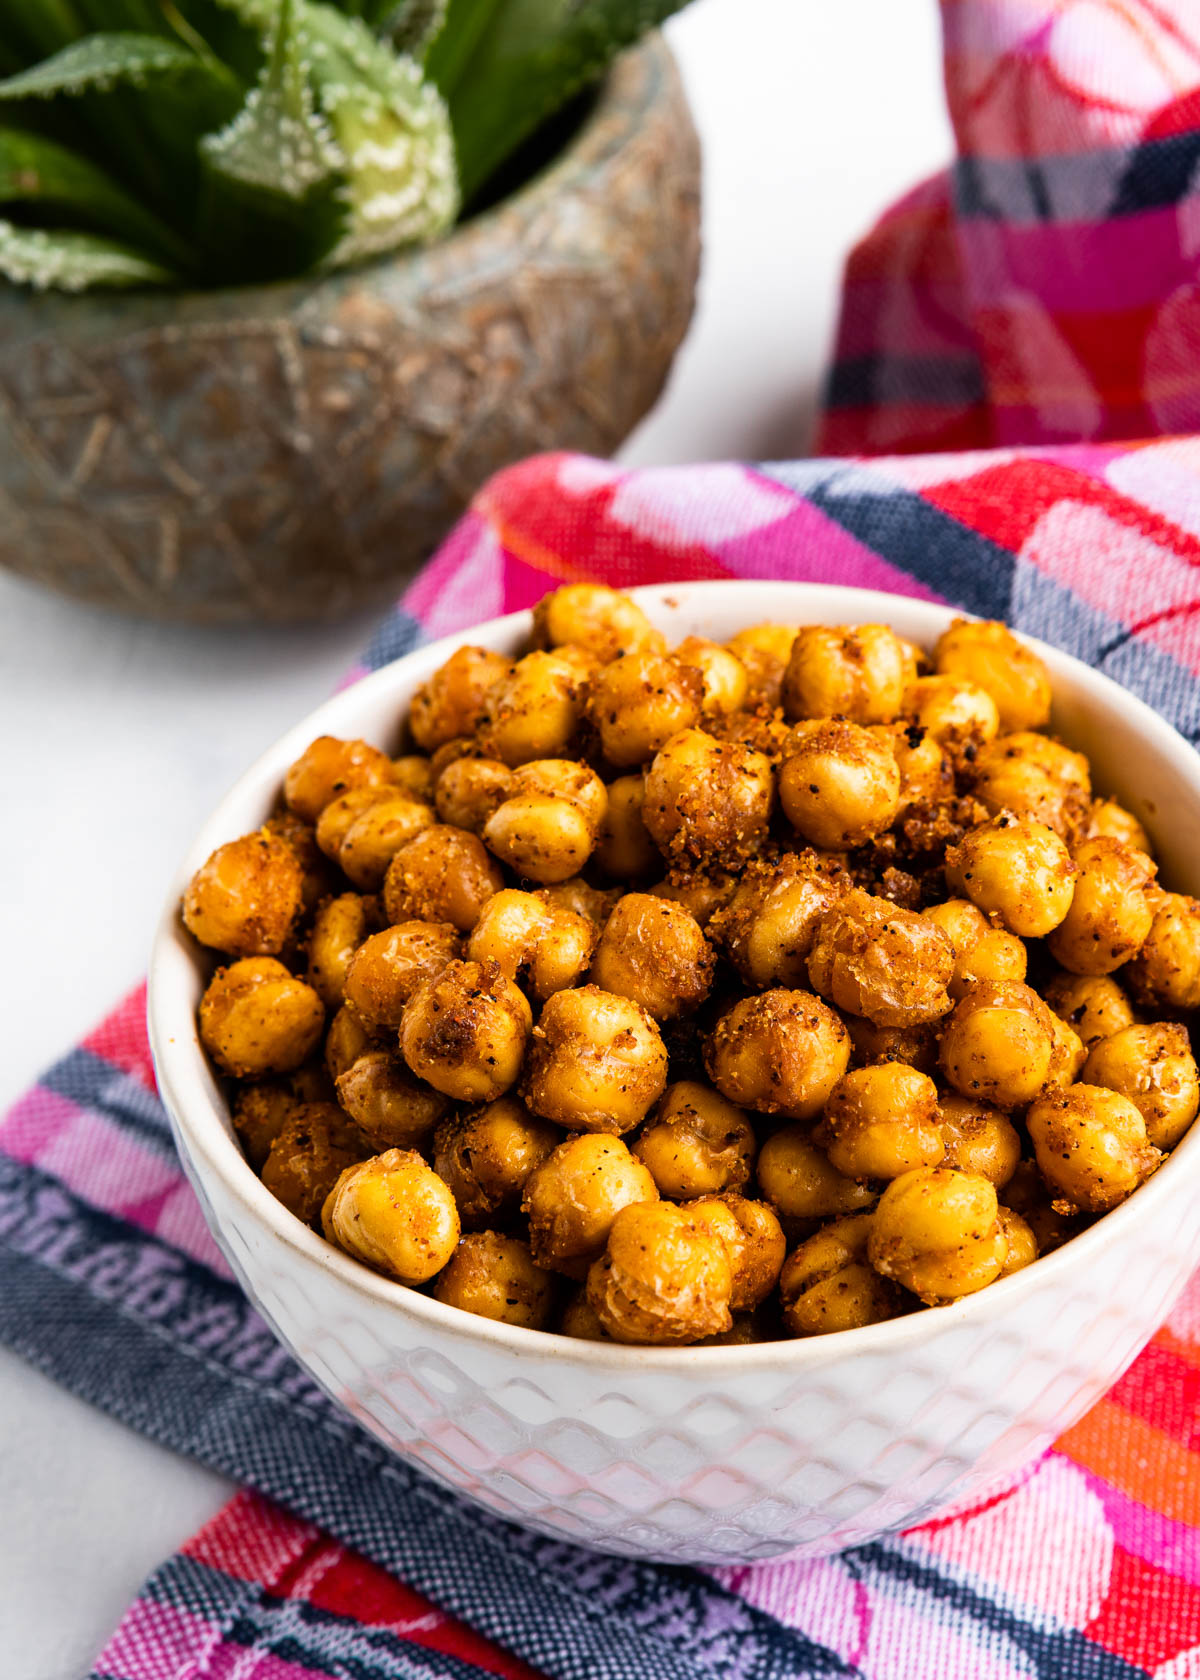
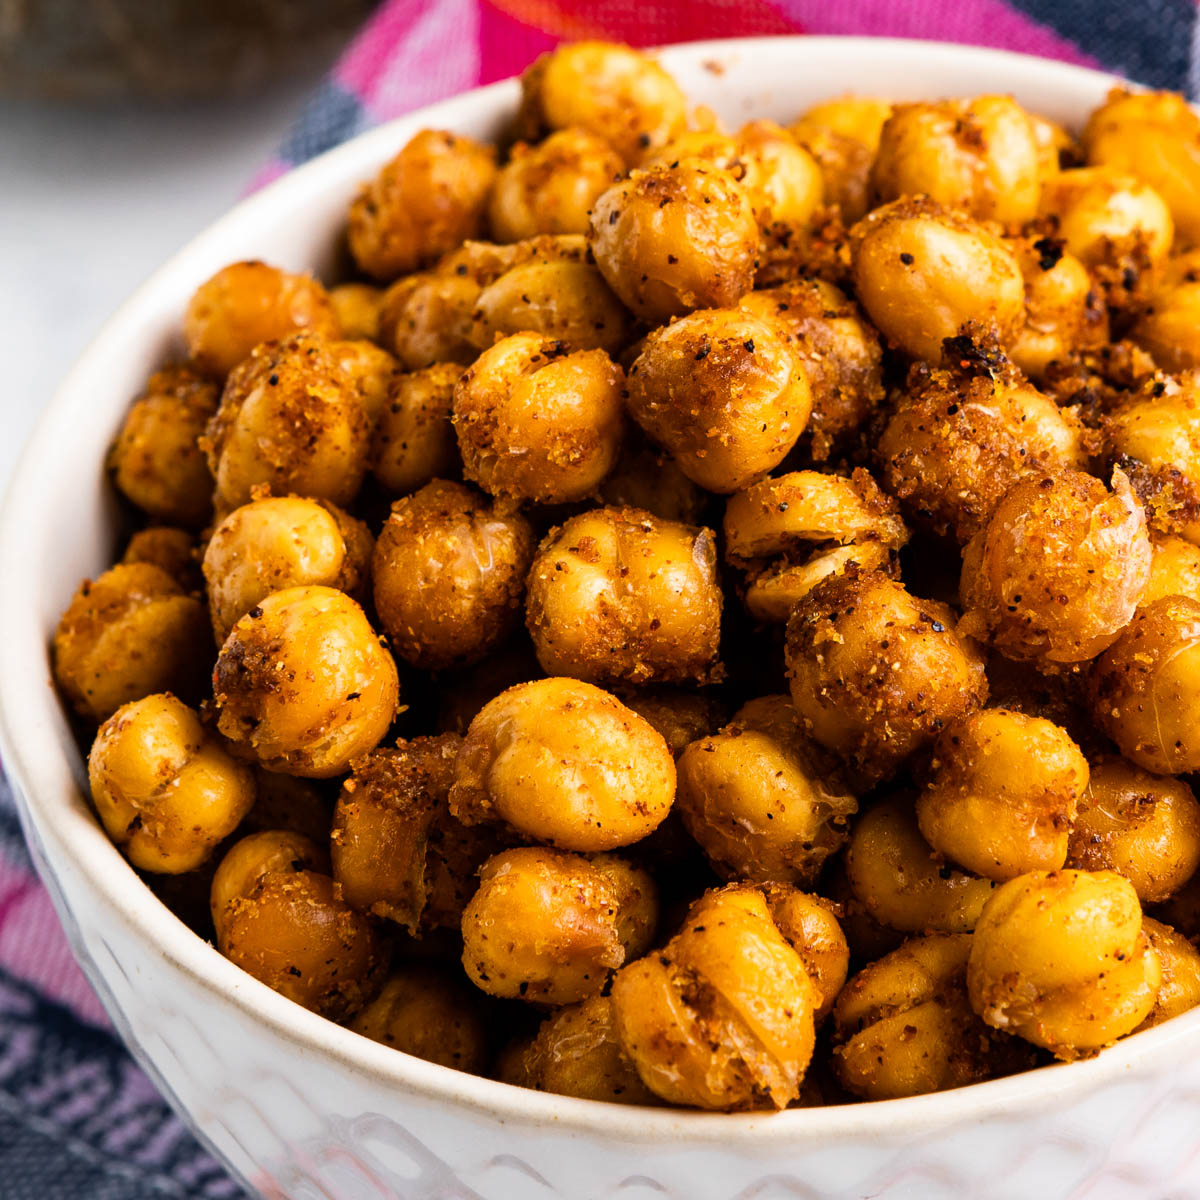
Lately, I’ve been craving salty, crunchy snacks. These easy garlic-baked chickpeas hit the spot in so many ways. My oven-roasted chickpeas are bursting with spicy flavor and contain 19 grams of protein. That’s the ultimate snack win in my opinion.
Looking for the best spice combo, this recipe and my Curry Roasted Chickpeas have been made on repeat… they’re both so good!
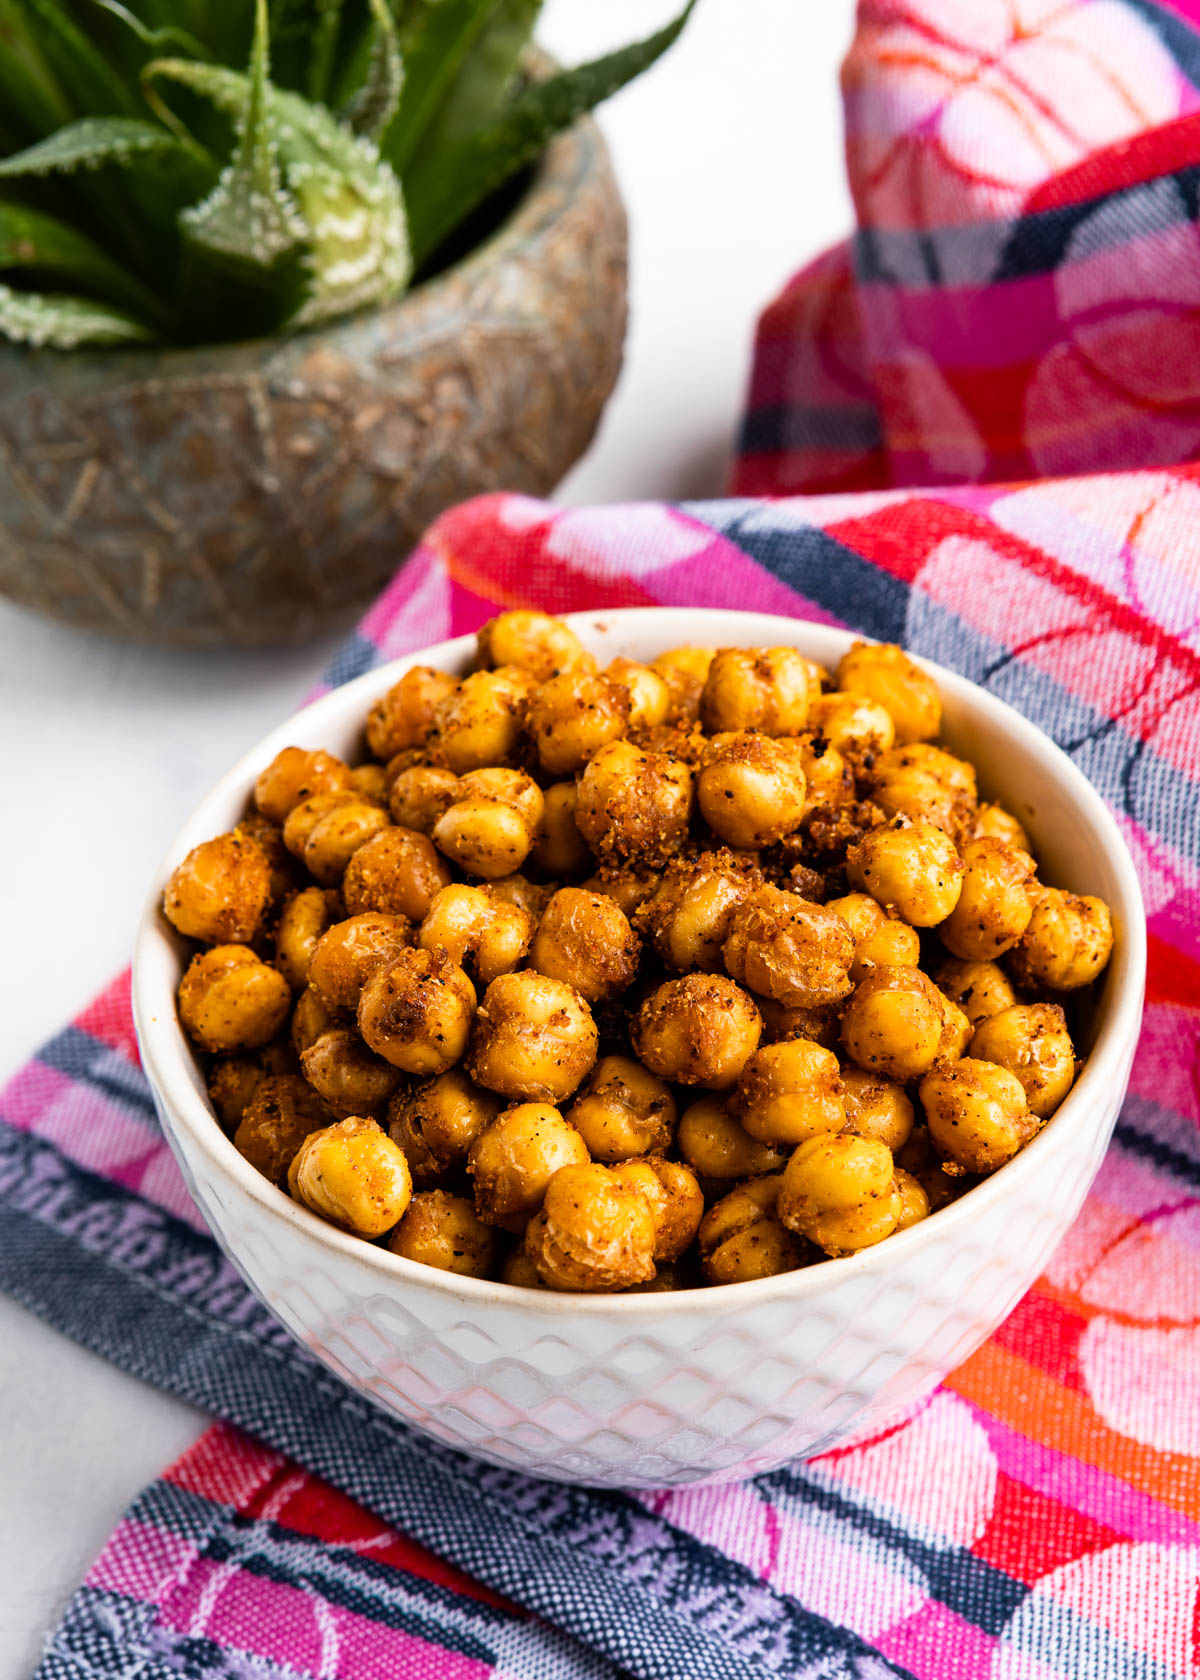
Whether you’re looking for a great healthy snack for work or a way to add more protein to your lunch salad, these crunchy gems are the way to do it. It’s a snack that’s easy to make and so satisfying to munch on. I’m here for it!
Chickpeas are a lot more inexpensive than nuts. I often top salads with some of these instead of almonds or pecans. They also make a great filling. You’ve probably seen my recipes for Creamy Potato Curry and BBQ Vegetarian Pizza.
Table of Contents
Ingredients for Oven-Roasted Chickpeas
Let’s start with this super simple ingredient list. It’s full of spices you probably have on hand! Then we can dive into the goodness that is in this power snack.
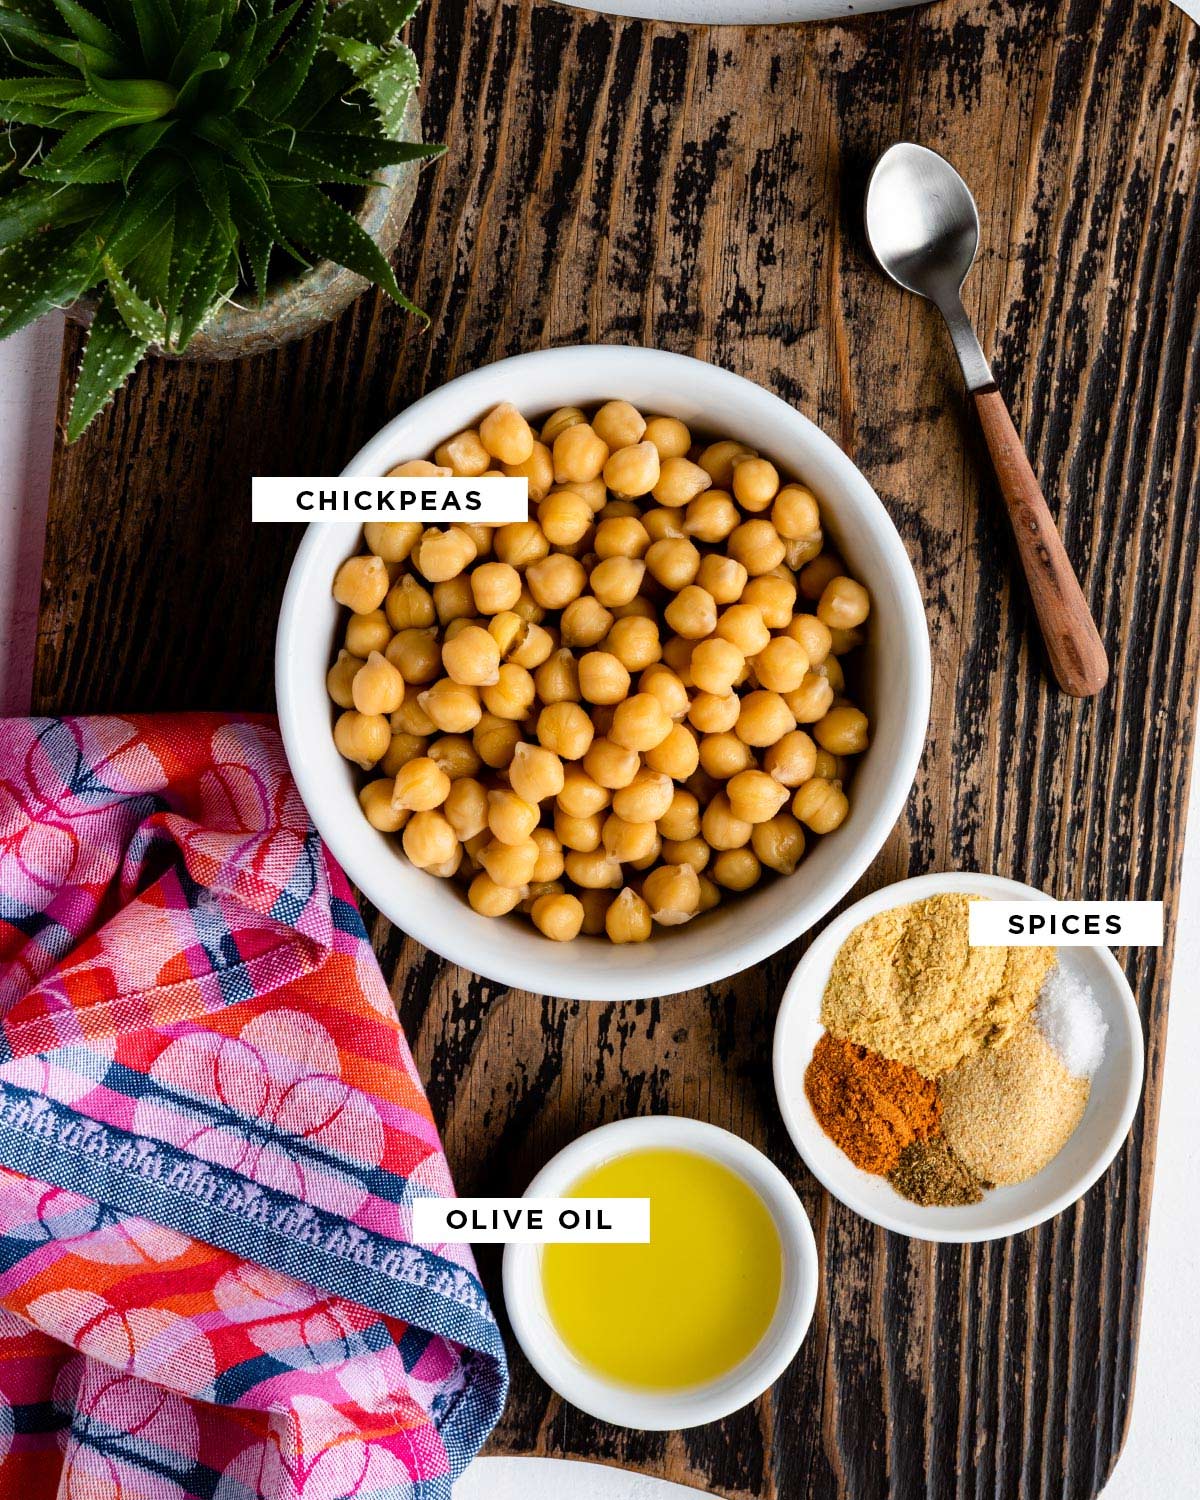
- Chickpeas: These funny-looking things are part of the bean family, so you know they are full of protein and carbs. Yet that’s not all! Chickpeas also have manganese, folate, iron and fiber, to highlight a few of their key nutrients. I use them for protein in a variety of dishes like chickpea tacos and to top my kale caesar salad.
- Olive Oil: I chose this oil as it has a milder flavor than avocado. Feel free to use the healthy oil of your choice. You will taste the oil on this snack, so I recommend using a high-quality one.
- Spices: My snack uses cayenne pepper, garlic powder, nutritional yeast, sea salt and cumin for the perfect flavor combination. The nutritional yeast gives it a slightly cheesy finish while the other spices combine for a spicy, garlicky result.
Since this recipe is so simple, don’t sweat if your spice drawer is missing one of the seasonings. You really can season this how you want to. Let me know any winning combinations you come up with so I can try too!
How to Make Baked Chickpeas
One reason I love this recipe is how easy it is to make a batch. With one can of chickpeas (which you can find for under $2 per can) and some oil and spices, you’ve got a versatile dish for snacks or meals.
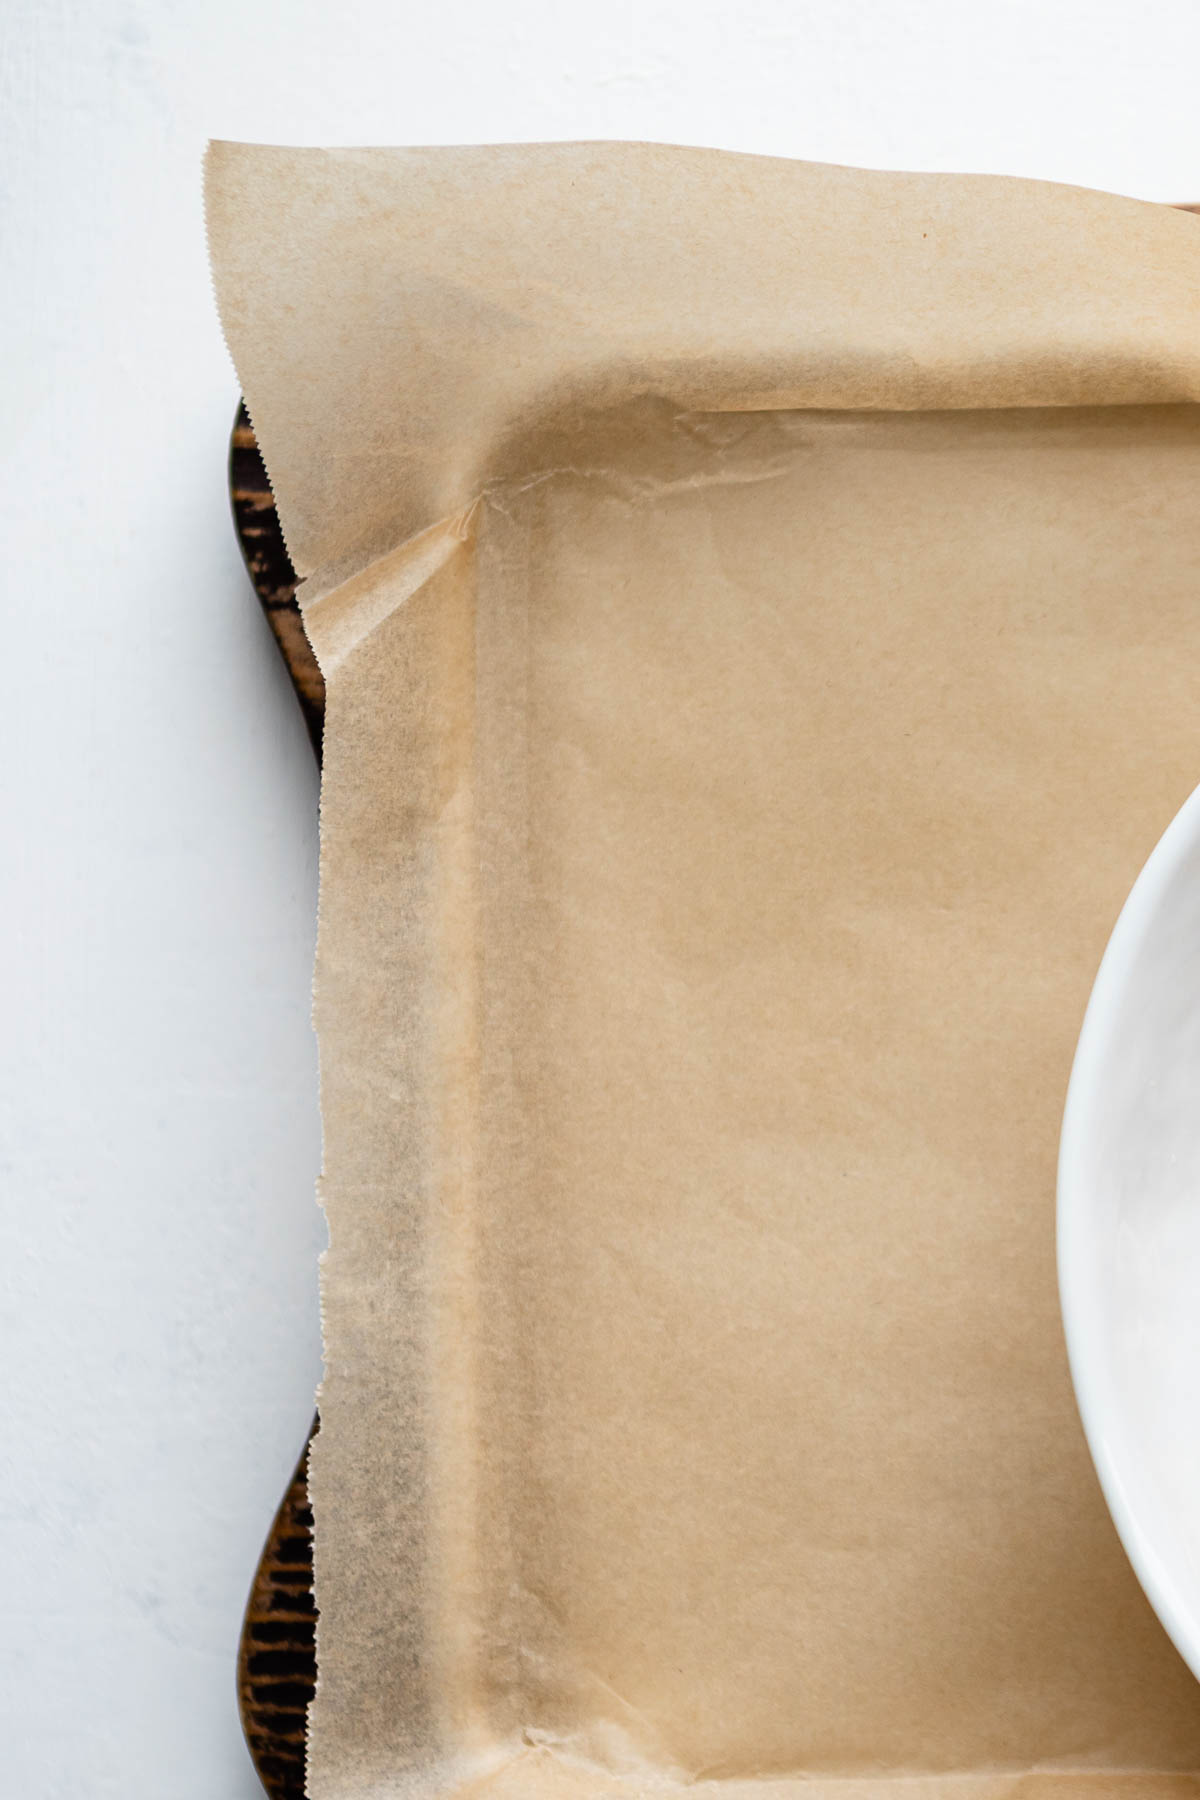
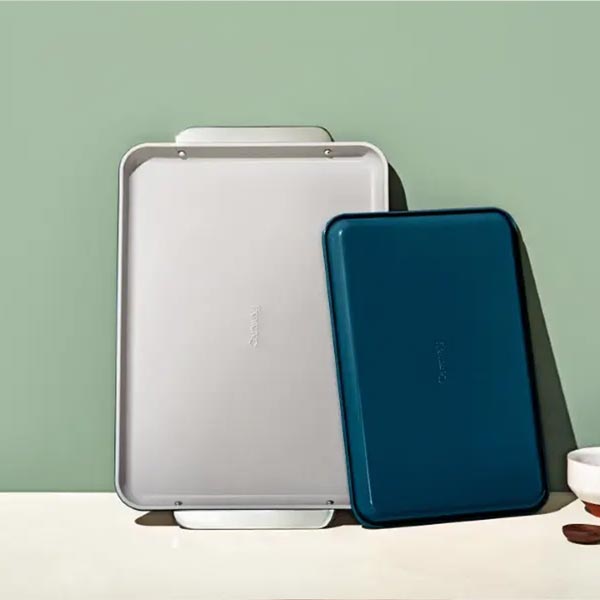
Step 1: Start by preheating your oven to 425°F and lining a rimmed baking sheet with parchment paper.
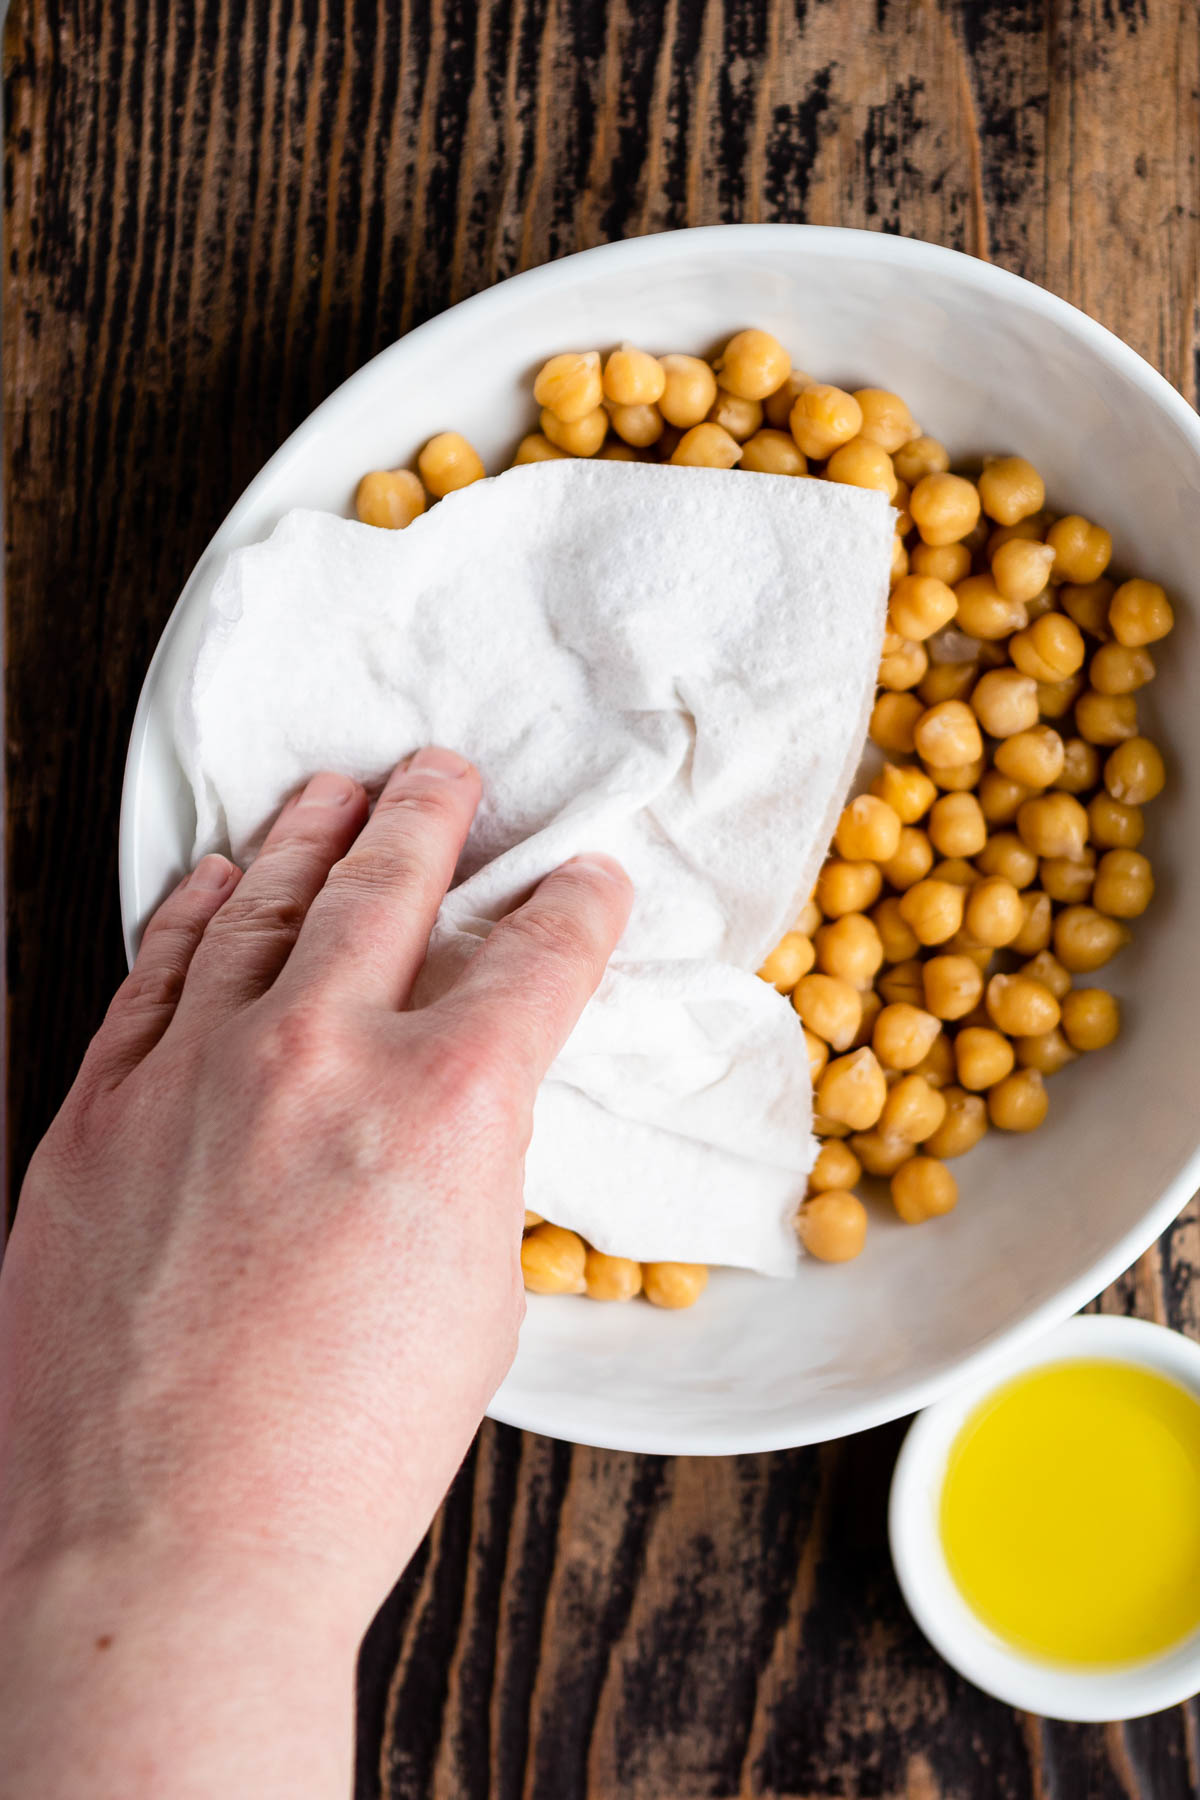
Step 2: Make sure your canned chickpeas are drained and rinsed well. Then spread out and gently pat with a paper towel to remove any moisture.
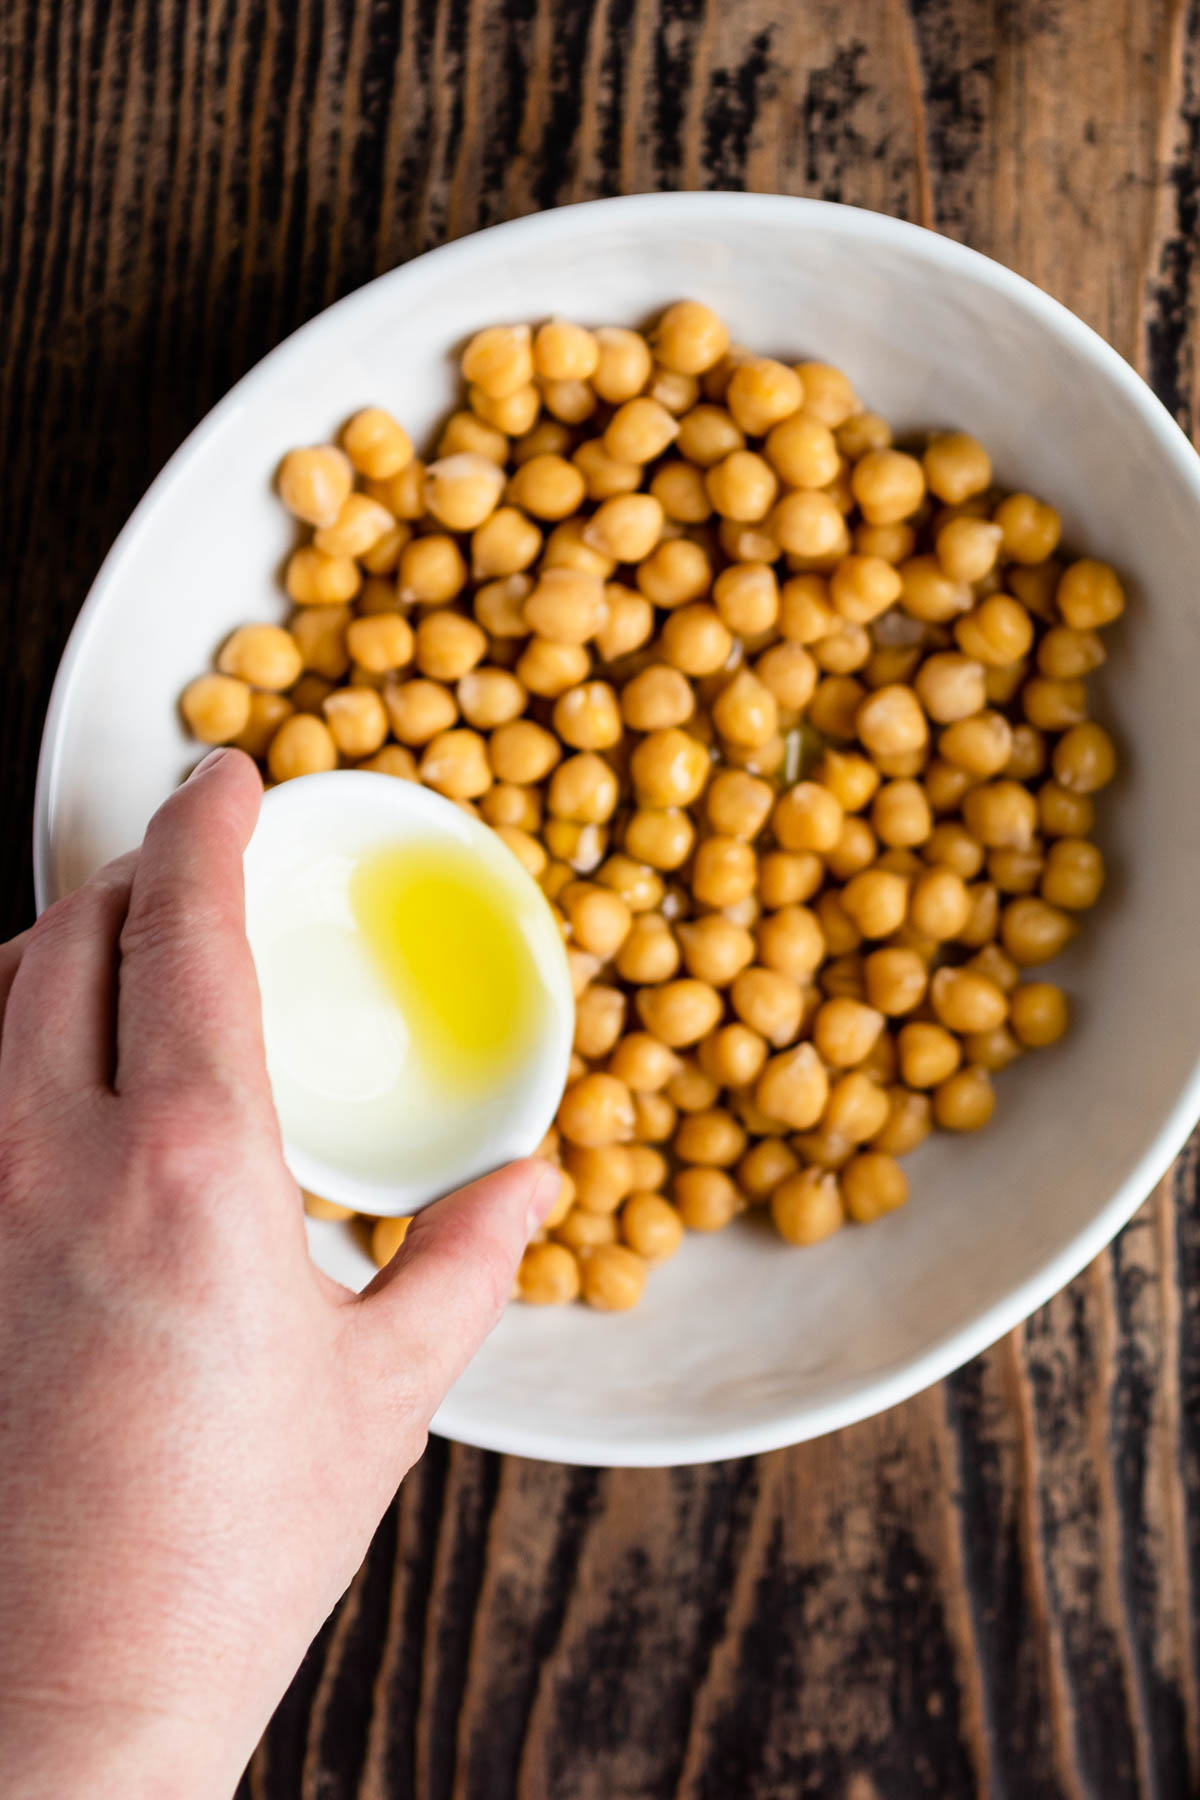
Step 3: Grab a medium-sized bowl and toss those chickpeas with oil until they are well-coated.
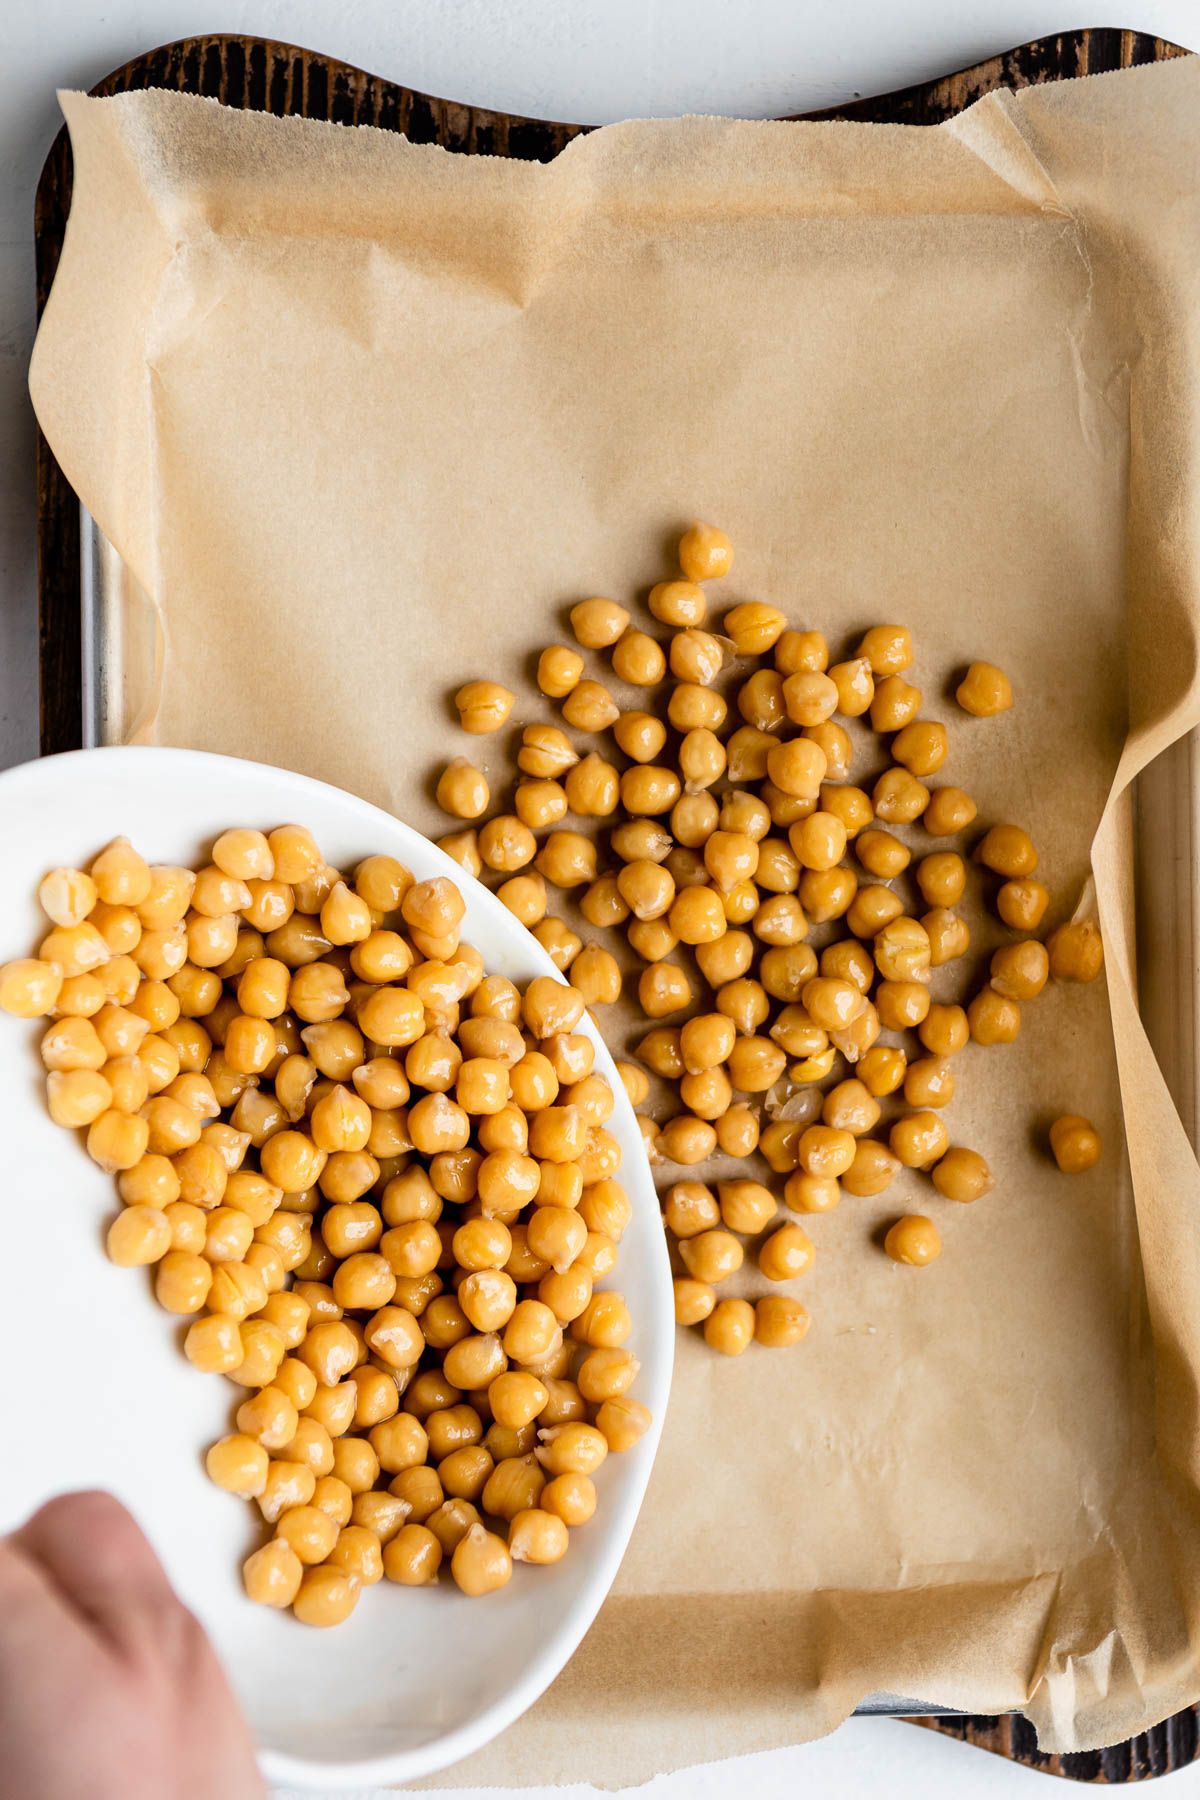
Step 4: Spread them out on the prepped baking sheet and bake for 15 minutes.
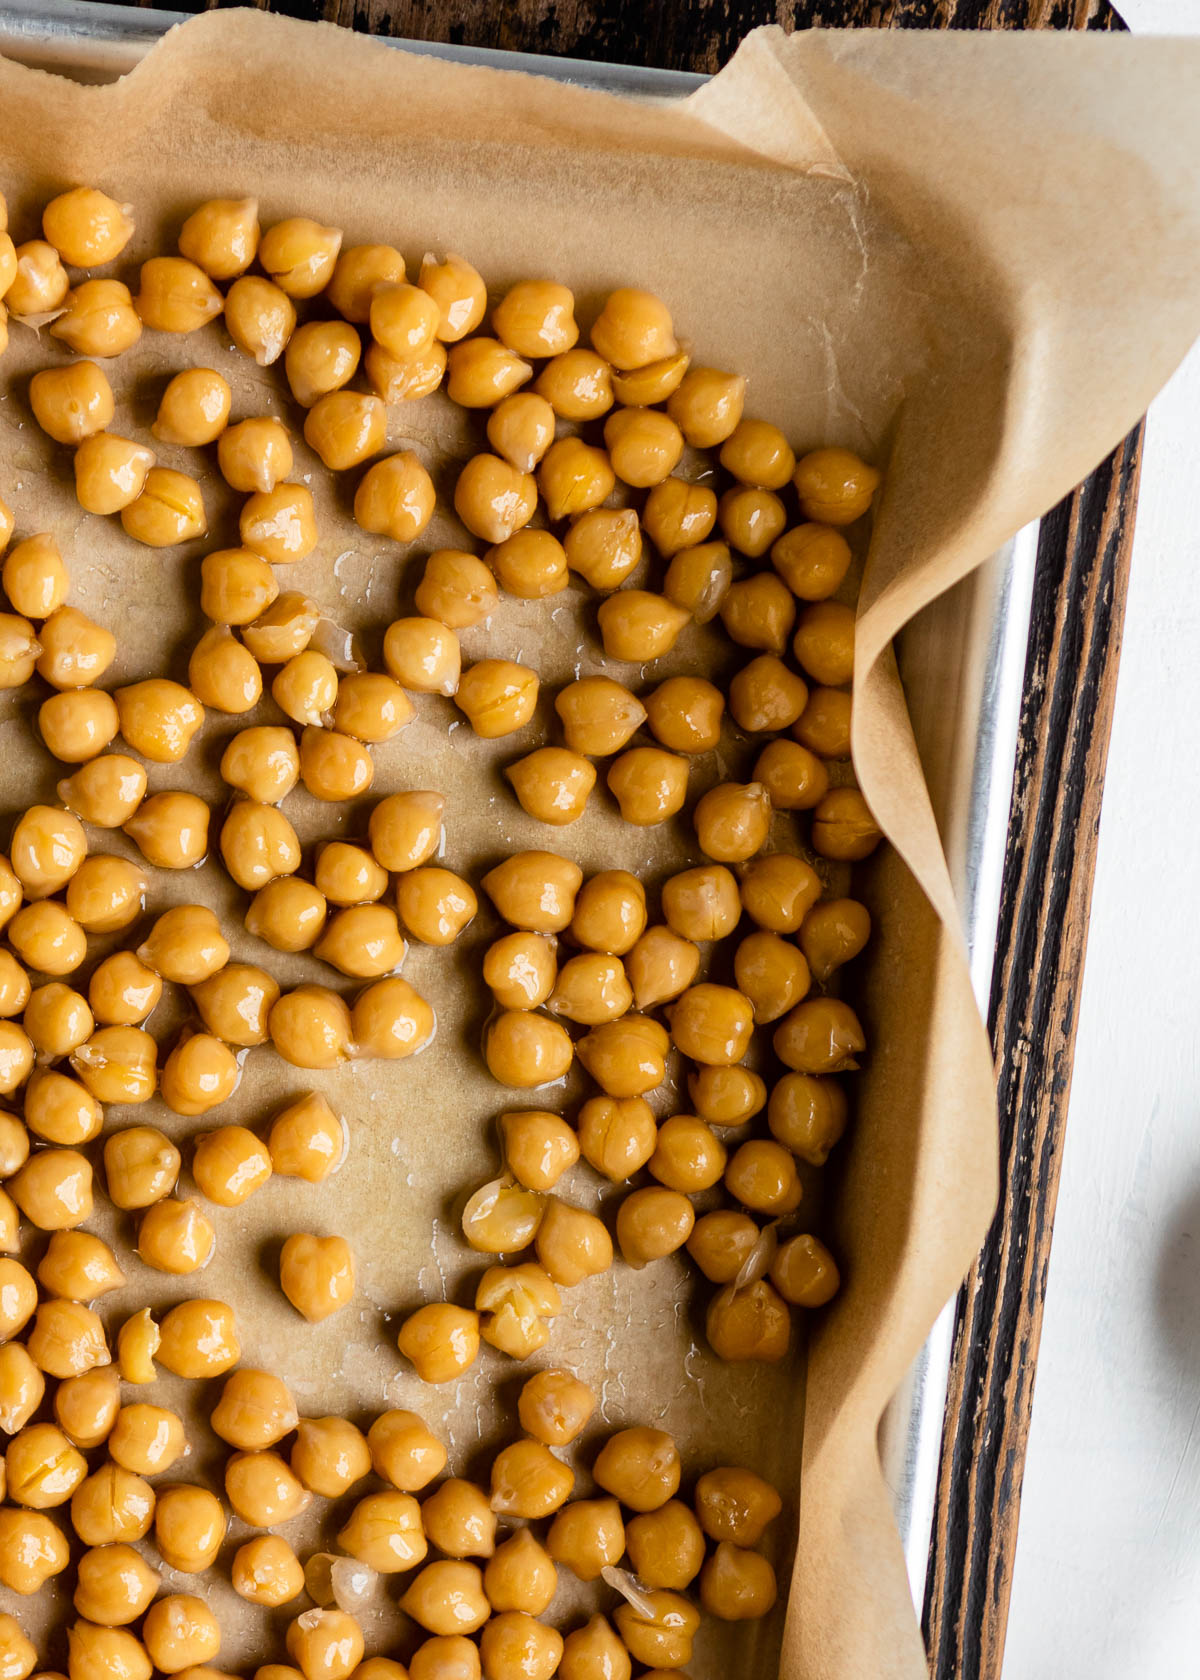
Step 5: Remove from the oven and sprinkle with the spices, gently tossing to coat again. Return to the oven for 10 more minutes or until desired crispiness is reached.
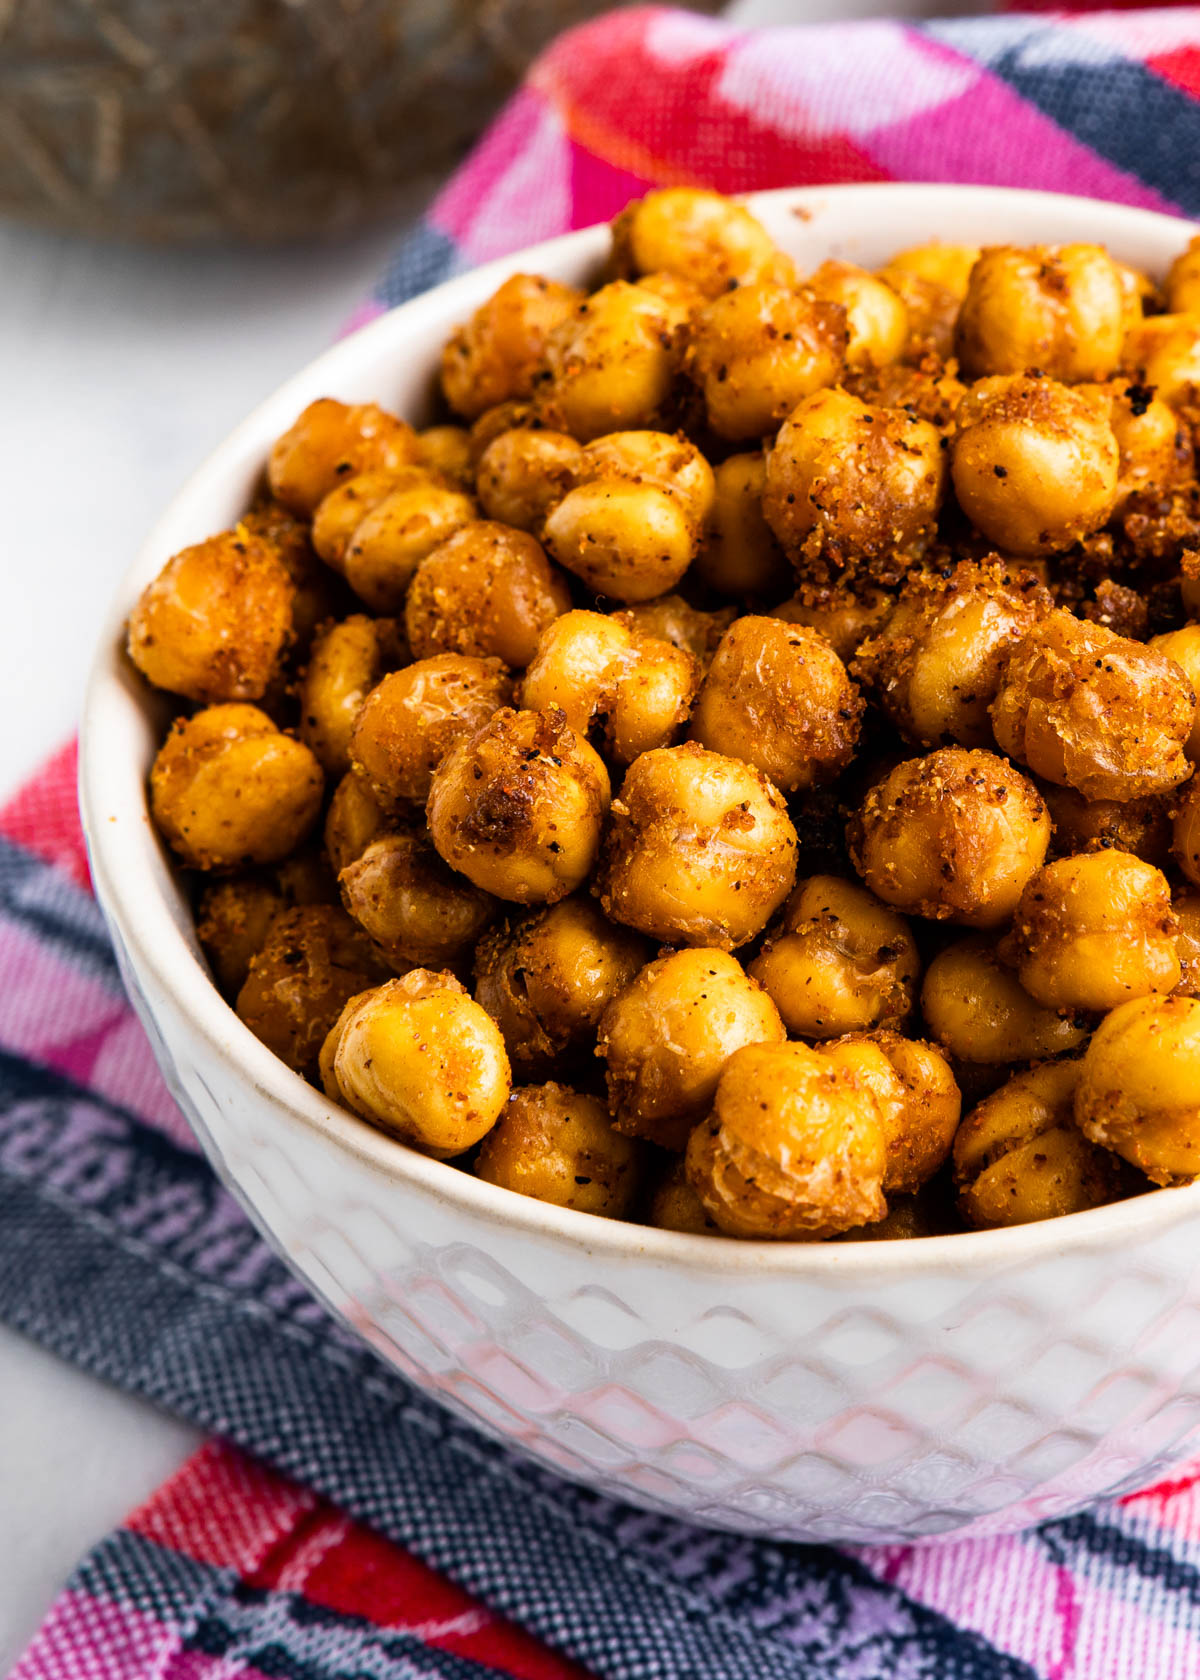
Step 6: Remove from oven and allow to cool slightly before enjoying.
Recipe Tips and Tricks
Make sure the chickpeas are completely coated in the oil for the crispiest result.
If you are sensitive to spice, omit the cayenne pepper.
Swap olive oil with avocado oil.
These are best enjoyed right after baking. You can store them for later, but they will lose some of their crispiness.
Since moisture softens, store your oven-roasted chickpeas in an open bowl lightly covered with a paper towel or tea towel instead of an air-tight container.
Baked Chickpeas FAQs
They can be. If you are comparing them to other potential, processed food snacks then yes! They have 19 grams of protein per serving, which is awesome in a snack. They are not low calorie or low carb, yet they keep you full between meals or make an excellent plant-based protein addition to a salad.
There are a few things to follow closely when making oven-roasted chickpeas. First, make sure the chickpeas are well-coated in the oil. Whether you use olive or avocado oil, make sure each chickpea is well coated for more even and crispy baking. Second, your oven may not bake as quickly as mine. Be sure to watch so nothing burns, but feel free to keep them in the oven longer to get a crispier result. Make a note for next time of how long the bake time was for you.
They can be. My recipe has 19 grams of protein per serving. It is not a low-calorie snack, but it is a filling one that will help you get from lunch to dinner. It has protein, healthy fat and carbs so your body will feel full longer, has usable energy and will not get sluggish.
No. In fact, I recommend draining and rinsing the chickpeas from the can, then patting them dry with a paper towel before coating them in oil so that they aren’t wet prior to cooking.
More Plant-Powered Snack Options
I believe in snacking smarter, not harder. You’ll often see me trying a variety of snacks throughout the day, based on what my body needs. I love using this recipe after long runs for renewed energy. It also works as a mid-afternoon pick-me-up if I eat a light lunch. Here are some more great plant-based snack options:
- Vegan Yogurt + Healthy Granola: My current snack on repeat, and an easy way to get in healthy fat, carbs and protein.
- Apple Donuts: A fun snack for the whole family. Top them how you want and enjoy!
- Pumpkin Chia Pudding: I love making a batch of these cups and grabbing them when I need some energy.
- Vegan Protein Bars: A great breakfast or snack option depending on the energy you need for the day.
- Oven-Roasted Almonds: Another great baked snack that takes almost no time, yet tastes incredible.
- Curry Roasted Chickpeas: Don’t sleep on this flavor explosion of a snack. SO tasty!
Would you please rate + review this recipe once you’ve made it? I love getting your feedback and am here to answer any questions you have while making this!
Garlic Baked Chickpeas
Ingredients
- 13.5 ounce chickpeas rinsed and drained
- 2 teaspoon extra-virgin olive oil
- ½ teaspoon cayenne pepper
- 1 ½ teaspoon garlic powder
- 1 tablespoon nutritional yeast
- ⅛ teaspoon sea salt, unrefined
- ⅛ teaspoon ground cumin ground
Instructions
- Preheat oven to 425°F. Line a rimmed baking sheet with parchment paper.
- Toss rinsed and dried chickpeas with olive oil until well coated.
- Place chickpeas on a baking sheet and bake 15 minutes.
- Remove chickpeas from oven and sprinkle with spices. Return to oven for an additional 10 minutes, or until desired crispiness is reached.
- Remove from oven and allow to cool slightly before eating.
Helpful Tools
Notes
- Baked chickpeas are best when they are fresh from the oven. They can be made ahead of time but will lose some of their crispiness as they sit.
- Omit the cayenne pepper for a less-spicy snack.
- Swap olive oil with avocado oil.
- For the crispiest result, make sure the chickpeas are completely covered in the oil before baking, so they evenly crisp throughout.



I made this tonight to add to Jen’s recipe of the Kale Ceasar Salad. They are extemely crunchy, full of flavor and in the kale salad acted as croutons. Garlicky in taste are the perfect pair with the cashew garlic aioli in the kale salad.
Made this for my toddler’s snack today and they were a hit! I used just a pinch of cayenne since she doesn’t like spicy (I love it) and that worked well.
Hi Olivia! So glad these are toddler approved snacks! We have a whole section of snack recipes you should check out!
Super yum! I’ve bought crunchy chickpeas from the store in the past but I like the flavors of these (and could easily use different spices if I wanted for different flavor). I had all the ingredients in the house already and made them in my air fryer on the “air roast” setting. They are pretty spicy (for me, anyway) as the recipe is written, so I might reduce the cayenne next time but not completely leave it out. But definitely will make again. Great snack also for hungry runners who crave more salty foods at this time of year when it starts to get warm.
Hi Rachel! The air fryer method is honestly the BEST when making these, super crunchy. Definitely reduce the cayenne if it’s too much, but so glad you enjoyed them!
What an easy yet tasty recipe! I love the inclusion of nutritional yeast for a slightly cheesy finish.
Hi Erin! You are so right, it gives it just that little extra oomph of goodness