This post contains affiliate links.
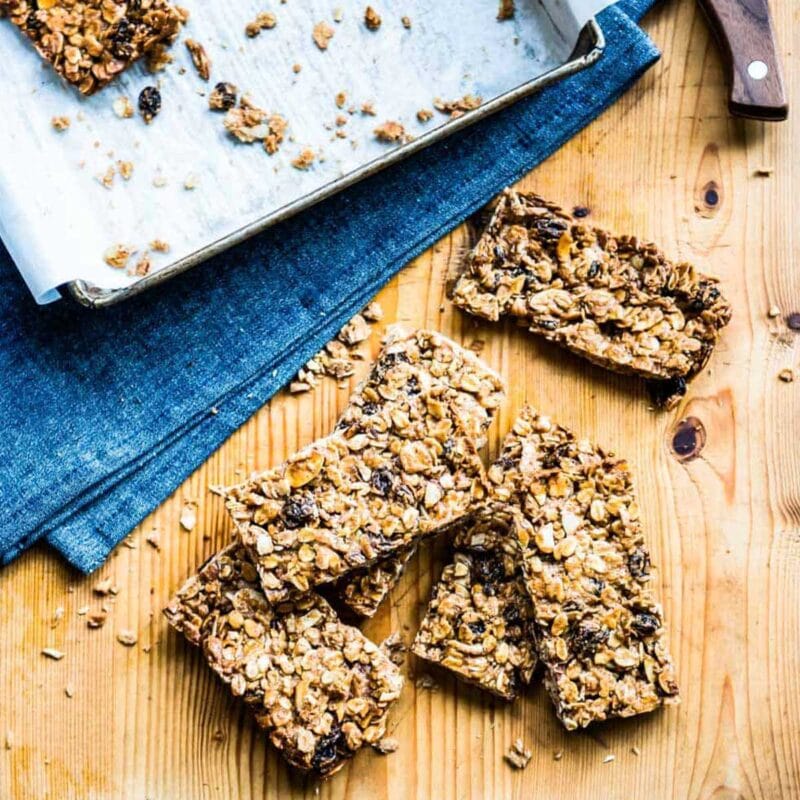
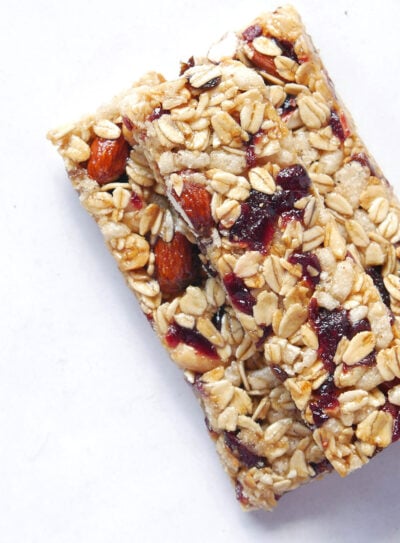
These homemade granola bars are chewy, lightly sweet, and packed with healthy ingredients like oats, almond butter, and maple syrup. Baked to golden perfection with a hint of cinnamon and crunch from sliced almonds, they’re the perfect grab-and-go snack or quick breakfast for busy days. Simple to make and easy to love, these bars are a healthy upgrade from store-bought granola bars.
For Active Days, I Make Homemade Granola Bars
I love to hike, walk and run for the fitness benefits but also because of the snacks I get to enjoy along the way. These homemade granola bars are one of my healthy motivators to do more miles. Here’s why:
- Wholesome, flexible ingredients: Made with simple, plant-based pantry staples you can easily swap (nuts, seeds, dried fruit), so you can customize every batch to your taste or what you have on hand.
- Sustained energy that actually lasts: A balanced mix of oats, healthy fats, and plant-based protein (thanks to almond butter + chia seeds) keeps you full and fueled longer—no crash an hour later.
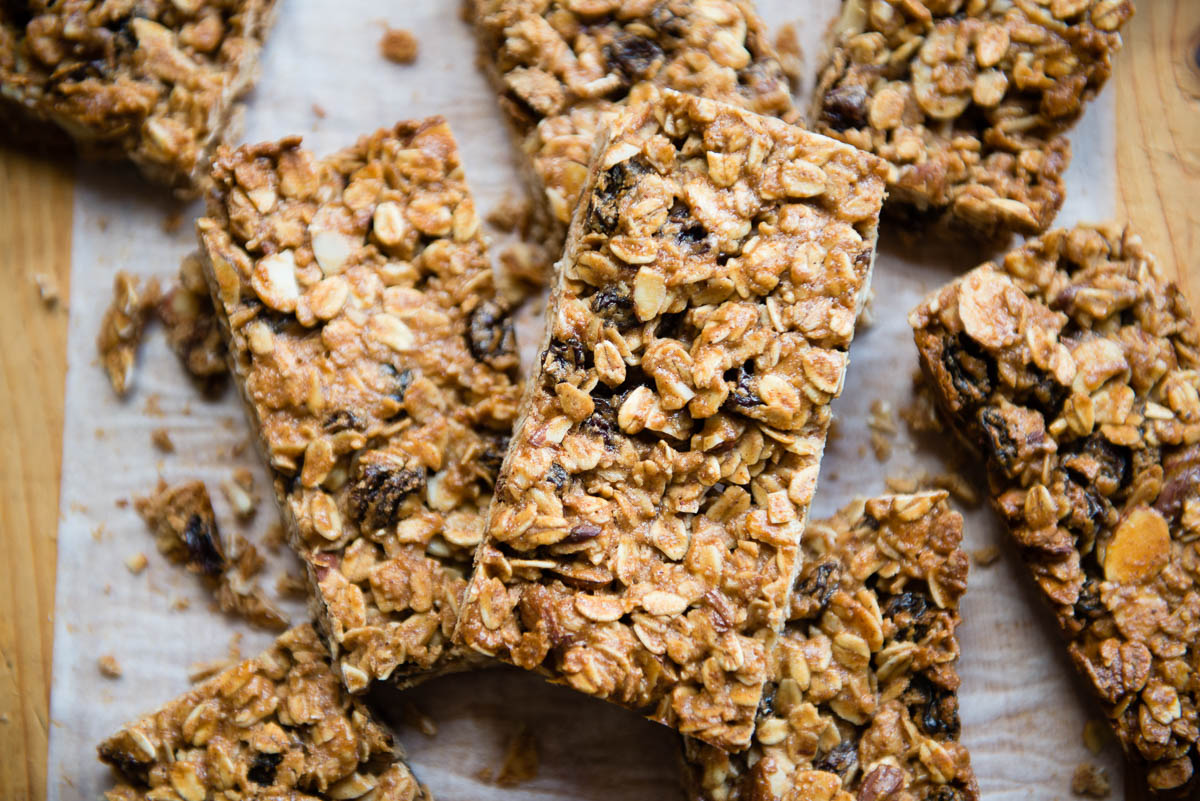
- Naturally sweet, warm, and cozy flavor: Maple syrup, cinnamon, nutmeg, and vanilla create that classic oatmeal raisin vibe with a soft, chewy texture and just the right amount of crunch.
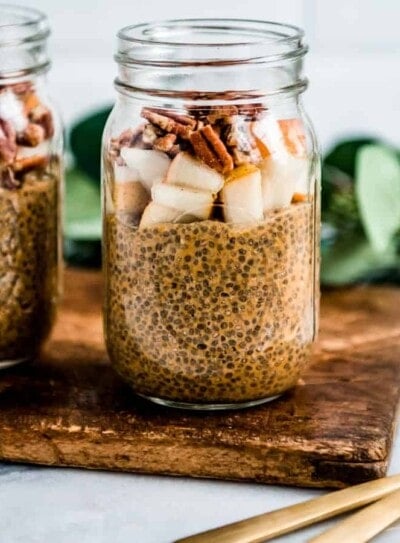
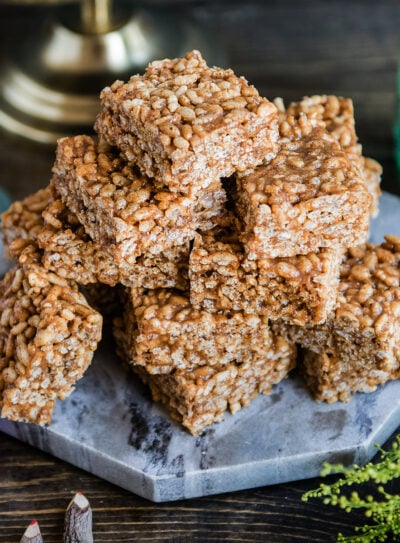
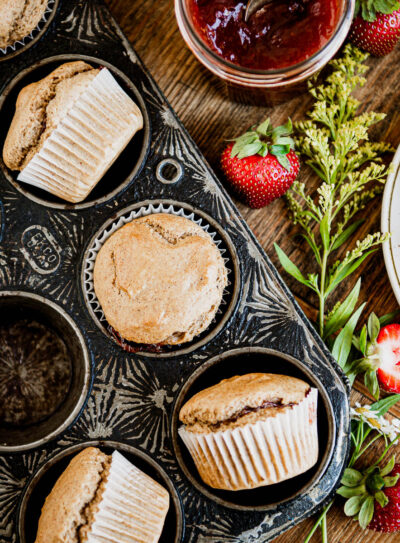
More healthy snacks recipes: roasted almonds, healthy granola, lemon chia pudding, vegan protein bars, no-bake energy balls, and banana muffins.
Save this Recipe
Enter your info & I’ll send it to your inbox.

How to Make Healthy Homemade Granola Bars
This recipe makes eight bars and needs an 8×8-sized pan (like what you use for brownies). You also need a bit of parchment, an oven and a mixing bowl. Ready? Set. Bake!
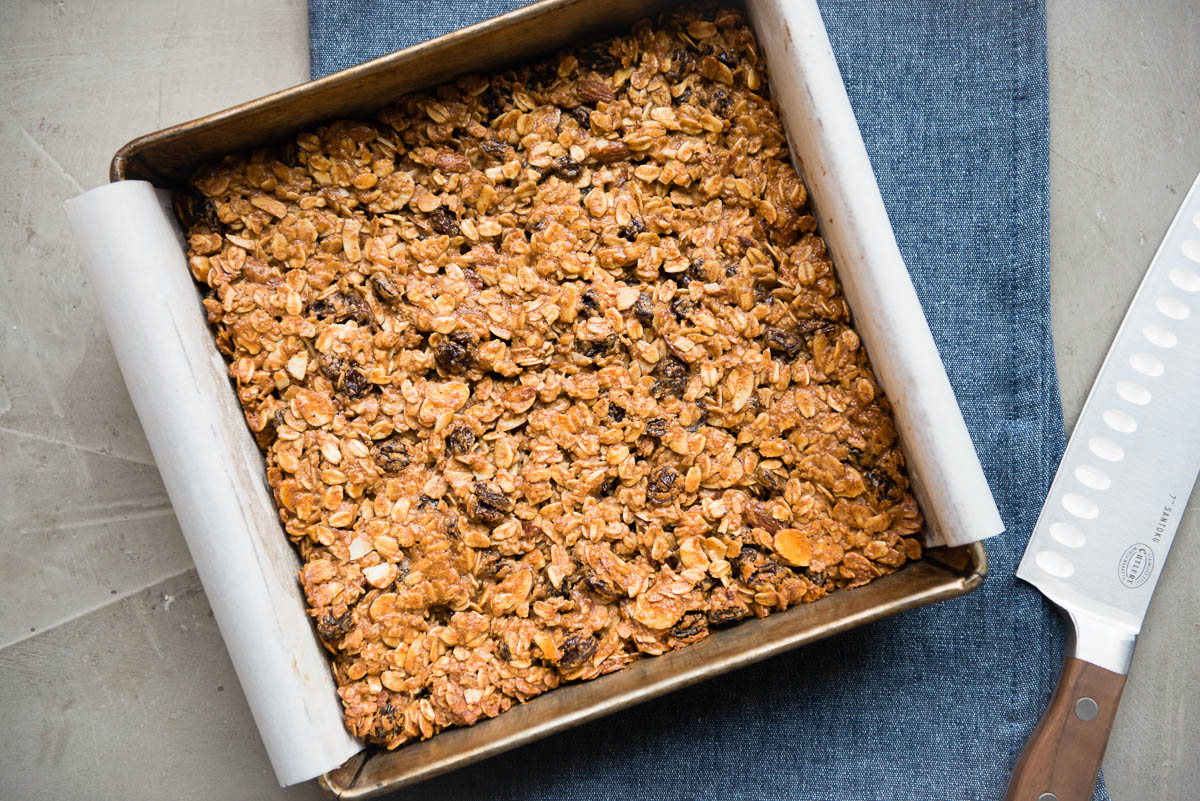
- Preheat the oven to 325°F. Line the bottom of an 8×8 pan with parchment paper. You can grease the pan instead, but I find parchment works better.
- In a large mixing bowl, combine all the ingredients. You can either mix them well with a spatula or use the beater attachment of a standing mixer to combine them.
- Press the mixture into the prepared pan. Bake 25 to 30 minutes, or until the edges are lightly golden. Let the bars cool completely in the pan before removing them, as they will be crumbly if still warm.
- Cut into eight rectangles and wrap in parchment paper or enjoy immediately.
Homemade Granola Bars
Jen HansardVideo
Ingredients
- 1 ½ cup rolled oats
- ½ cup almond flour
- ½ cup sliced almonds
- ½ cup pure maple syrup
- ½ cup raisins
- ¼ cup almond butter
- 2 tbsp chia seeds
- 1 tbsp coconut oil, unrefined melted
- 1 tsp pure vanilla extract
- ½ tsp ground cinnamon ground
- ¼ tsp sea salt, unrefined
- ⅛ tsp nutmeg ground
Instructions
- Preheat the oven to 325°F. Grease an 8×8-inch baking pan or line the bottom with parchment paper.
- In a large bowl, combine the oats, almond flour, almonds, maple syrup, raisins, almond butter, chia seeds, oil, vanilla, cinnamon, salt and nutmeg.
- Press the mixture into the prepared pan. Bake for 25 to 30 minutes, or until lightly golden on the edges. Let cool completely in the pan.
- Cut into 8 rectangles. Enjoy!
Recipe Notes
Nut-free: skip almonds, increase oats to 2 cups, and use sunflower butter. Storage: Store in an airtight container with parchment between layers for up to 1 week (fridge or cool place). Freezer-friendly: Freeze in a silicone bag for up to 6 months. Enjoy straight from your bag once thawed—perfect for hikes or busy days.
Nutrition
Common Questions
I think it’s worth it to make homemade granola bars since they are super easy to make and then I know exactly what’s in them. It’s not easy to find good snack options with ingredients I love, so I make my own to get the taste and texture I want with ingredients I can feel good about giving to my kids.
My chewy granola bars recipe uses all real, plant-based ingredients. I’m sure you could find some store-bought ones with even fewer ingredients, yet this is a pretty affordable option and easy for me to make.
My granola bars use almond butter as the main binder. Stir them together well and make sure any mix-ins are chopped up so that they aren’t too large and cause the bars to crumble.
I was so looking forward to having homemade granola bars. I did not get bars. There was very little of the recipe that held together and instead I have granola crumble.
Thank you Marianne for reaching out. You could try pressing the ingredients tightly into the pan as well as freezing them for a bit before you cut them into squares or rectangles. Let us know how it goes!
These are awesome!! I made a single batch yesterday, almost gone so a double batch today! These are the first healthy granola bars I’ve made that actually stay together fairly well when you cut them. There is some crumbling, but can be put back together easily if you want to. Next time I make them I will freeze for a short period then cut!
Glad they worked for you, Sandi. These bars would be great in lunchboxes, my kid’s and mine.
tasted the sweet potato smoothie just now, used romaine instead as cant eat spinach, used regular yogurt, and frozen peach instead of mango, coconut milk, and added lots of ice, wate at end cause it was way too thick, as those tatos always are, but thanks for sharing:) kelli
Way to make a recipe work for you, Kelli.
Are these a recipe you could freeze? How would you prepare them to freeze? I wasn’t sure if I would do the mixture and put it in a bag or cook the bars and put them in a freezer bag
Hi Sheena! They will keep for about 1 week if wrapped well and stored in a cool place. I’ve never frozen them but you could try freezing them after they are made so once they thaw they are ready to eat. Let me know how it goes!
Darn – I don’t know what I did wrong, but my didn’t hold together. Maybe I didn’t cook them long enough? They were brown on the edges, but once they cooled and I cut them up, they crumbled.
My thought on this is perhaps you didn’t press them tight enough into the pan??? I know I’ve had other recipes (like bean burgers) that if they aren’t compressed together tightly enough before baking, they tend to crumble apart. However, if I’m sure to “smash” them tightly together then they hold together perfectly after baking. Perhaps this is the same thing with this recipe?? Just a thought.