This post may contain affiliate links. Please read my affiliate policy.
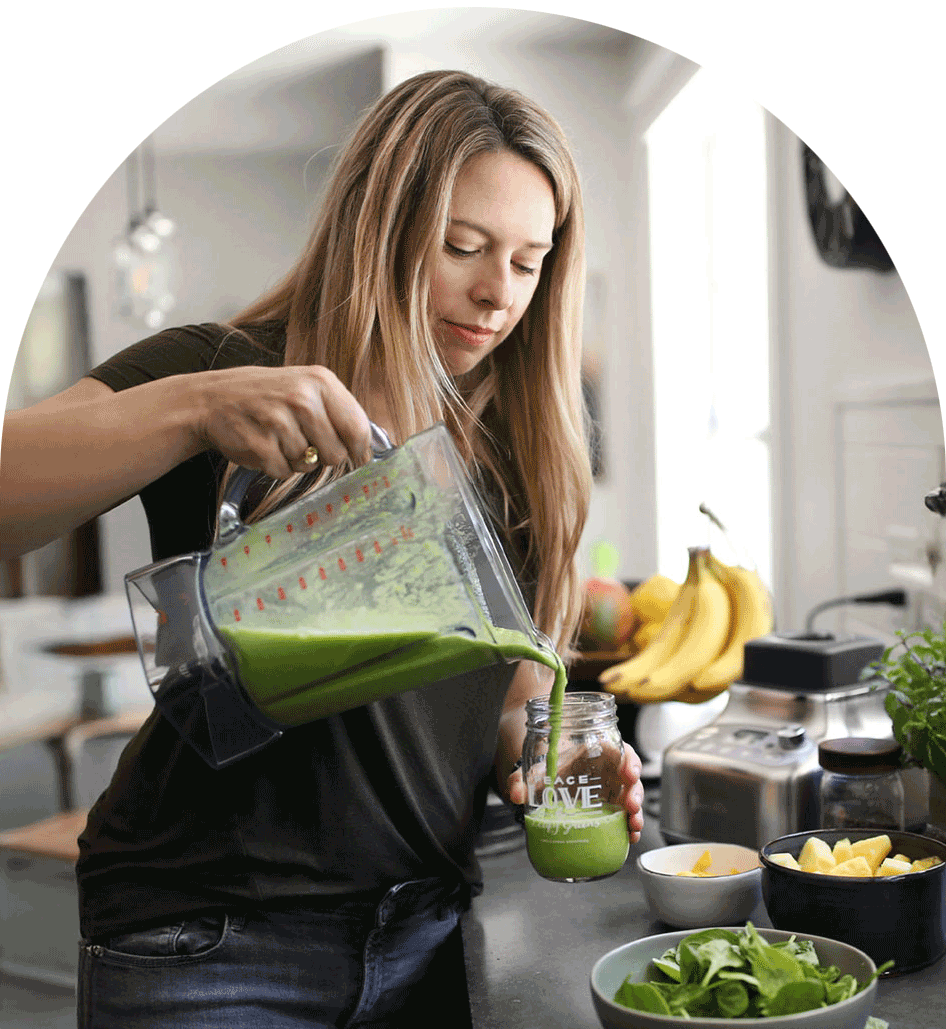
If you’re anything like me, your blender gets more action than your other kitchen appliances. When you invest in a high-quality blender for smoothies— taking care of it really does matter. I’ll teach you how to clean your blender—from quick daily cleaning to deeper resets so your trusty wellness buddy looks and feels brand new.
Table of contents
Quick Clean Blender Method
When you don’t have time for a full scrub, this three-step method keeps your blender nice and pretty.
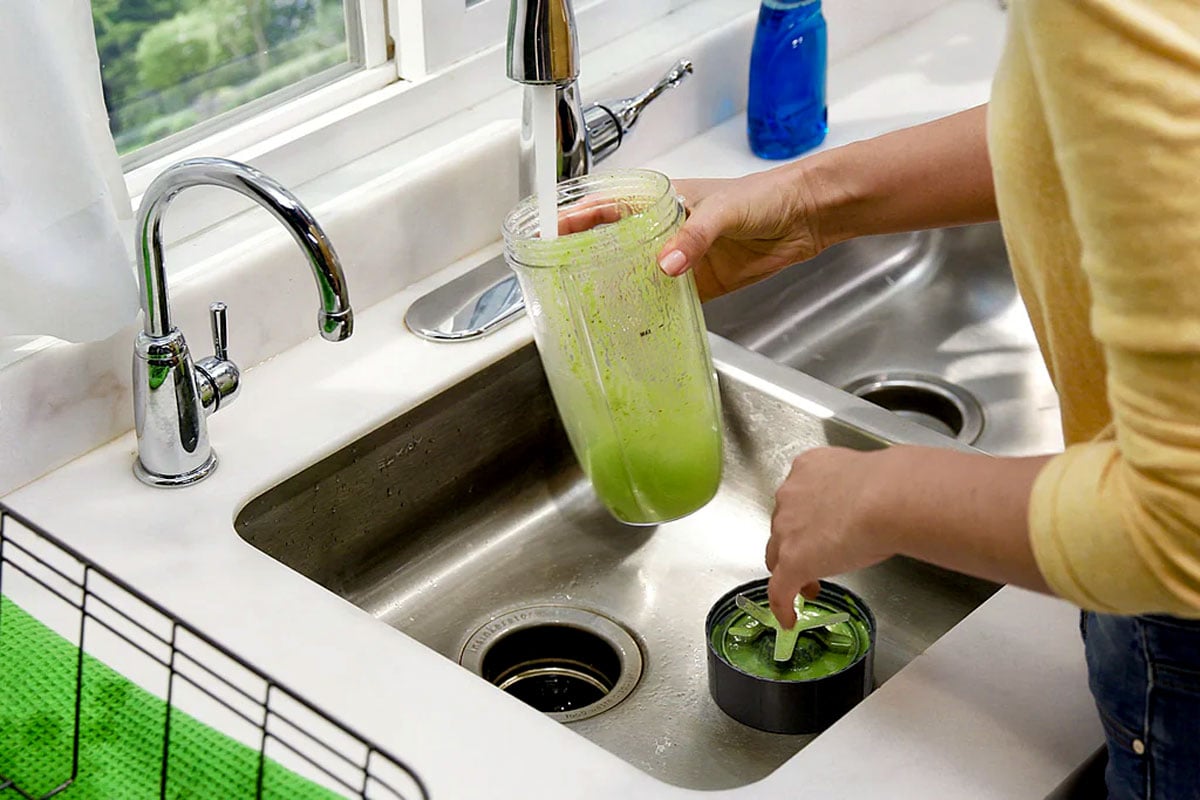
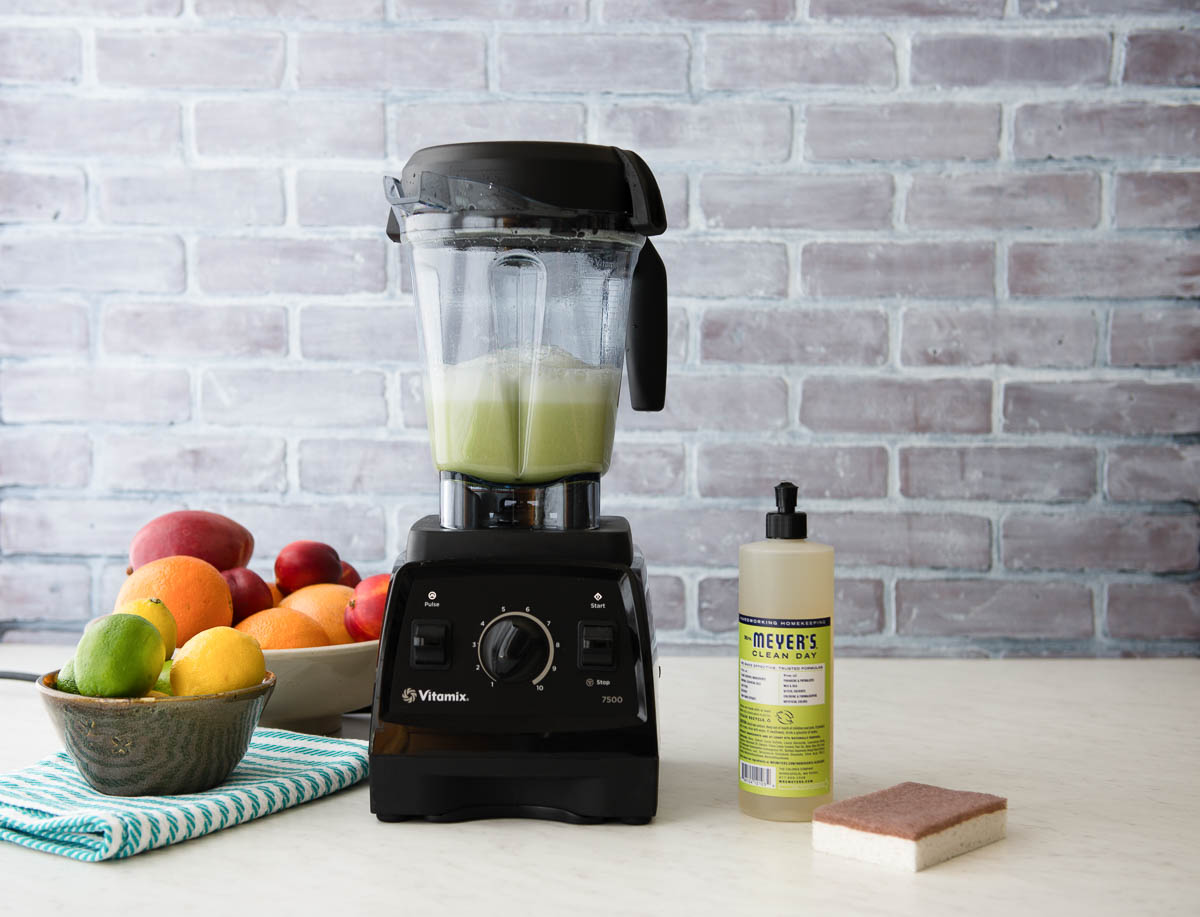
- Add soap and warm water: Fill the blender halfway with warm water and add a few drops of dish soap.
- Blend: Secure the lid (trust me on this part!) and blend on high for 20–30 seconds.
- Rinse well: Pour out the soapy water and rinse until clean.
This quick clean method works best if done right after pouring your smoothie to prevent any dried-on bits. I like to give mine a quick rinse before adding soap and water—just like pre-rinsing dishes before the dishwasher.
How to Prevent Water Spots
Use a hand towel to dry the blender container immediately after washing.
Save this Guide for Later
Enter your info below and I’ll send it straight to your inbox to save for later.
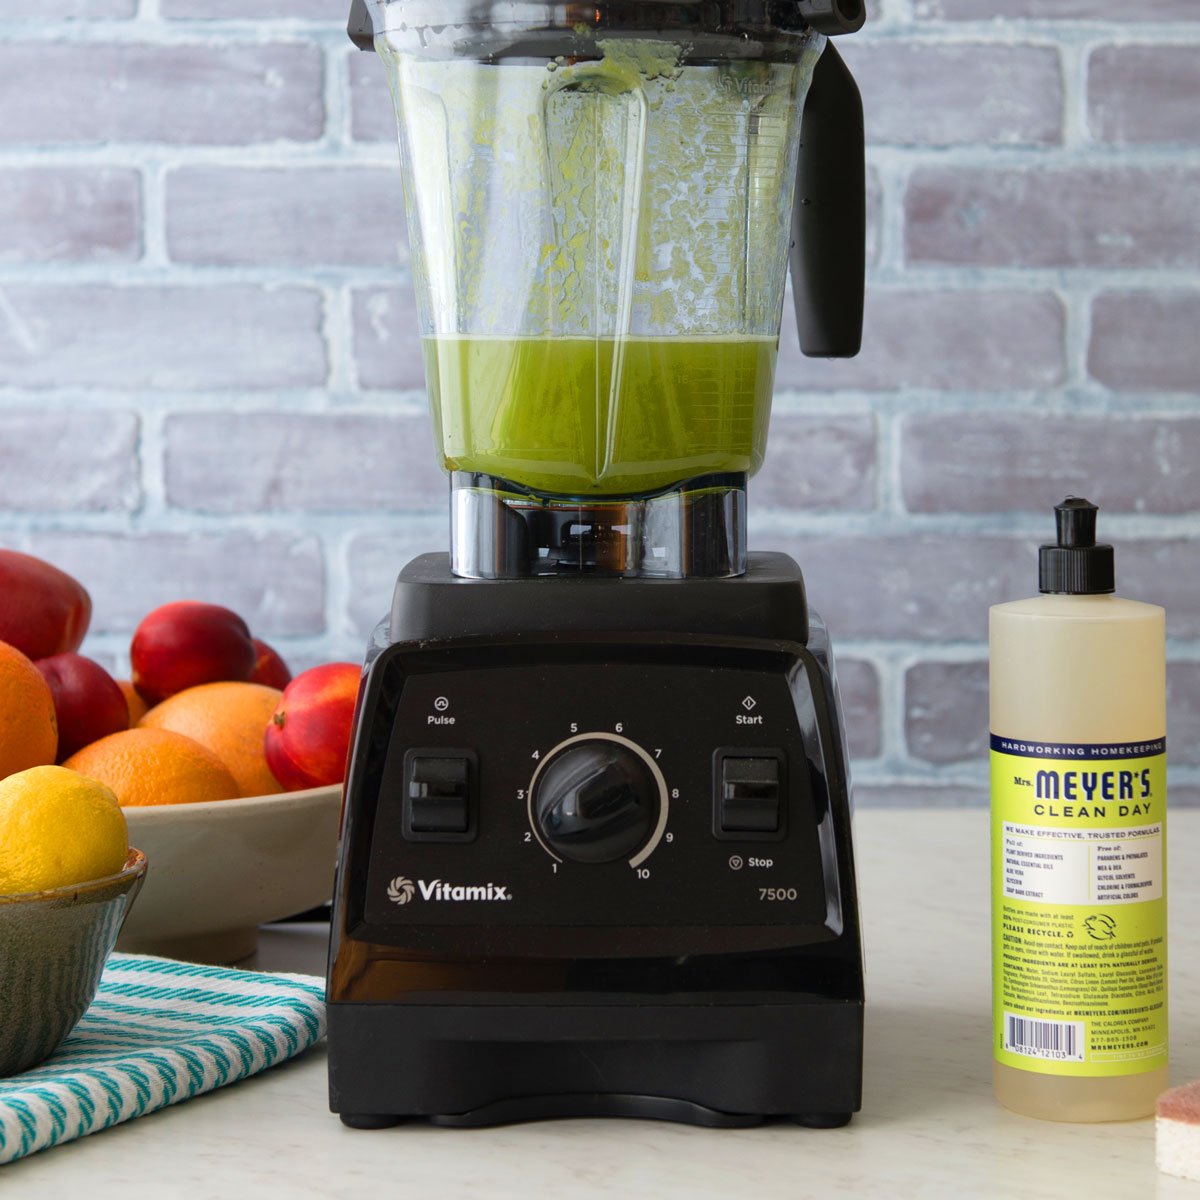
How to Clean Vitamix Blender
To clean a Vitamix blender, fill the container halfway with warm water, add a drop or two of dish soap, and blend on high for 30–60 seconds. For stubborn stains, use a baking soda paste or vinegar soak, or scrub gently with a bottle brush. Always wipe the base with a damp cloth—no soaking!
If you have a newer Vitamix model (Ascent, Alta, Venturist, Explorian series), hit the “self clean” button and it’ll run a full clean cycle on it’s own.
How to Clean Nutribullet
An easy and efficient way to clean stuck-on ingredients is to fill your Nutribullet cup with warm water and dish soap, screw on the extractor blade and run your nutribullet for 20 to 30 seconds. This will loosen stuck-on ingredients, and with a light scrub and rinse, you’ll be finished cleaning your cup and blade.
The Nutribullet cups and lids are top-rack dishwasher safe—meaning you can do a quick rinse and then toss in the dishwasher. Make sure to skip the sanitize cycle since high-heat can warp the plastic.
Want more ways to clean a Nutribullet? Head to the nutribullet blog.
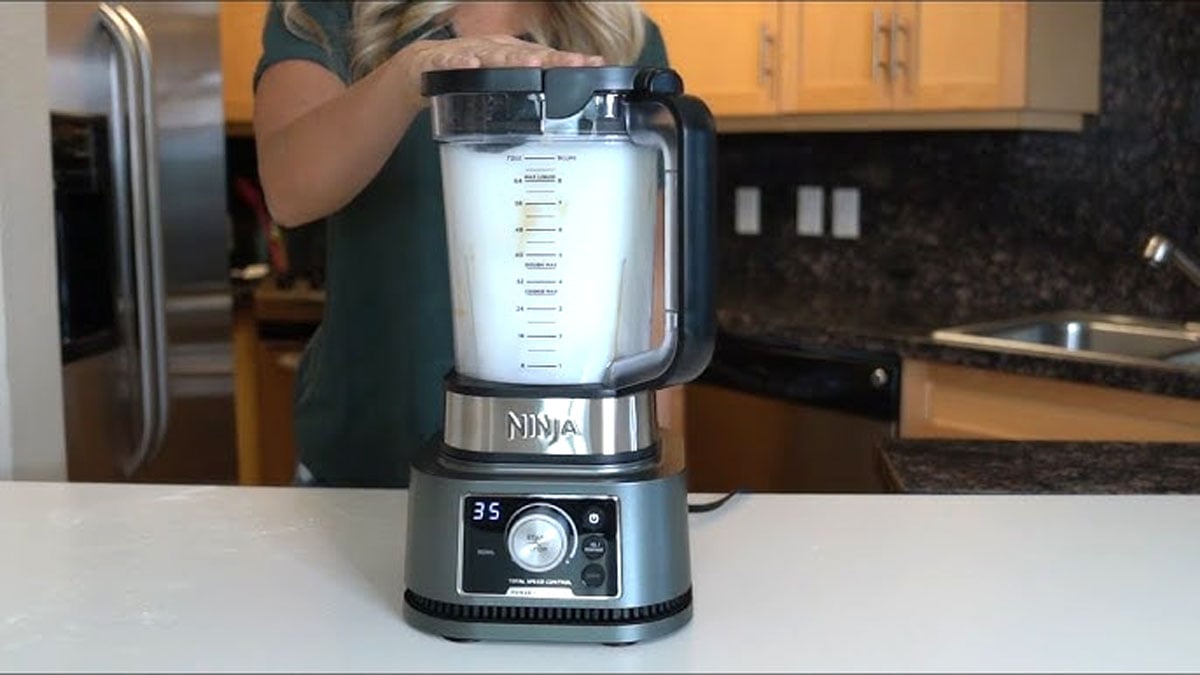
How to Clean Ninja Blender
To clean a Ninja blender, blend warm water + a drop of soap on high for a quick self-clean. Hand-wash blades carefully with a brush and soapy water (the blades are crazy sharp!). Wipe the base with a damp cloth and dry everything before storing to minimize water spots.
Most Ninja blender attachments are dishwasher-safe, which means you can also place in the top rack for a deep cleaning. Just make sure to turn off “sanitize mode” to prevent high heat from warping the lids and containers.
Want more ways to clean a Ninja blender? Watch this Youtube cleaning demo.
Deep Cleaning Blender Method
When your blender jar sat for hours after blending your smoothie– it’s gonna need a deep clean to get off the food residue. Mineral deposits, oils, and smoothie stains can leave residue behind. Here’s how to bring back the shine:
- Baking Soda: Mix baking soda with water into a paste. Spread it on tough spots and let it sit for 30 minutes, then scrub in circular pattern with a soft cloth. Baking soda’s gentle abrasiveness cuts through buildup without scratching. Rinse well.
- Vinegar: Add 1 cup white vinegar to your warm soapy water, or soak the container in a half-and-half vinegar-water mix. It’s especially great for loosening stuck chia seeds or dried smoothie bits.
- Scrub Brush: Peanut butter lovers, take note—stubborn spots under the blades need a stiff brush and soapy water. Clean them well to prevent bacteria and buildup.
Base and Blender Blades
- Blades: I like to use the self-clean mode to tackle the blades. Yet if something is till stuck, try using a small cleaning brush and warm soapy water to scrub under and around the blender blades.
- Base: Wipe the outside of the blender base with a soft, damp cloth. Add a splash of vinegar, all-purpose spray or drop of dish soap if it’s greasy.
Avoid abrasive pads—they can scratch plastic or metal surfaces. And don’t ever submerge the base in water!
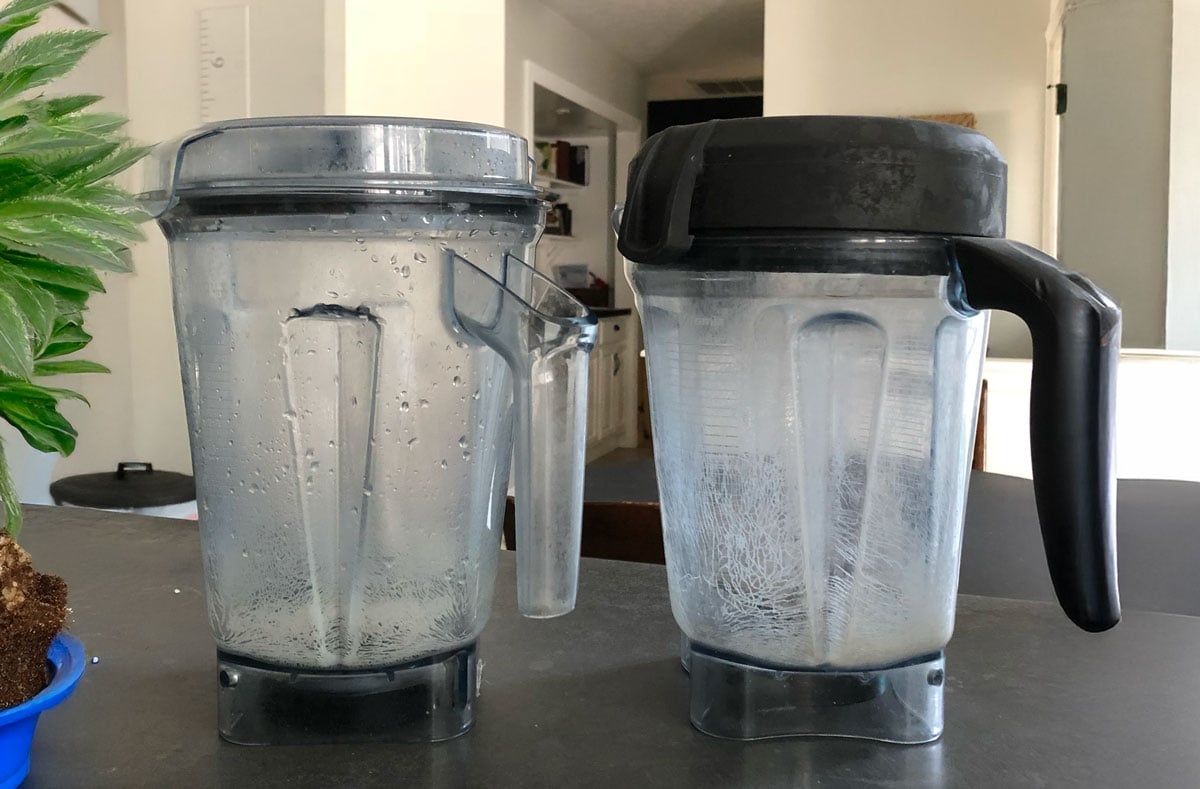
Cloudy Blender Container Cleaning Method
If your blender container has gone cloudy or streaky from blending mineral-rich produce (or having hard water). No worries—it’s not dirty! Use this two-step method to get the job done:
- Baking soda scrub: Mix baking soda and water into a paste; scrub in circular motions with a soft cloth. Elbow grease wins! Rinse well and dry thoroughly to avoid water spots.
- Vinegar soak: Add 1 cup vinegar + warm water halfway. Soak overnight, scrub gently with a soft pad. Rinse well and dry thoroughly to avoid water spots.
A combination of baking soda and vinegar works best—scrub first, soak second, rinse well, and dry thoroughly. To avoid a cloudy container, quick-clean blender container immediately after using and make a deep clean a monthly ritual.
Cloudy vs Cracked Container
I used to blend super hot coffee in my Vitamix to make my Healthy Coffee recipe—big mistake as you can see in the photo above. Plastic containers crack from thermal shock (rapid temp changes) or dishwasher heat (think “sanitation mode”). Blending liquids over 170°F stresses the plastic, causing hairline cracks or failure. Let hot stuff cool first, use warm soapy water for cleaning, and contact Vitamix or your blender company for replacements—my DIY cleaning tips won’t cut it here.
How to Clean a Blender
Ingredients
- 3 drops dish soap
- 4 cups warm water
- 1 cup white vinegar optional
- ¼ cup baking soda optional
Instructions
- Add soap and warm water: Fill the blender halfway with warm water and add a few drops of dish soap.
- Blend: Secure the lid (trust me on this part!) and blend on high for 20–30 seconds.
- Rinse well: Pour out the soapy water and rinse until clean.
- If still dirty: read notes below and use baking soda and vinegar.
Video
Helpful Tools
Notes
- Baking soda: Mix baking soda with water into a paste. Spread it on tough spots and let it sit for 30 minutes, then scrub in circular pattern with a soft cloth. Baking soda’s gentle abrasiveness cuts through buildup without scratching. Rinse well.
- Vinegar: Add 1 cup white vinegar to your warm soapy water, or soak the container in a half-and-half vinegar-water mix. For cloudy containers, soak over night. It’s especially great for loosening stuck chia seeds or dried smoothie bits.
Did you make this recipe?
Leave a review for a chance to win signed copies of my cookbooks!Common Questions
If your blender has sharp blades, don’t touch the blades directly! Use the self-clean method: blend warm soapy water on high for 30 seconds. For stuck-on bits, scrub gently with a small brush and soapy water while the container is off the base. Progress over perfection—rinse right after use to keep things easy.
Blender lids often have weird crevices that make them hard to clean. Don’t be afraid to soak that lid in warm, soapy water for 30 minutes to help lift up tough spots. Also, if your lid has a rubber gasket around it, make sure you remove and clean that often as well. That is the perfect place for mold to get trapped.
Newer Vitamix containers, lids, and tampers (Ascent, Venturist, Explorian series) are top-rack dishwasher safe. Older models like 5200 or Legacy need hand-washing to avoid damage. Stick to the blend-clean method for all—it’s gentler and keeps that sparkle longer.
For stains, make a baking soda paste, apply to spots, let sit 30 minutes, then scrub and rinse. Odors? Blend a lemon-water mix or vinegar soak overnight. Your chocolate peanut butter smoothies won’t haunt your next green one—vinegar zaps smells fast.
Quick clean daily right after use. Deep clean weekly with baking soda or vinegar if cloudy. If blending raw stuff or for picky eaters, sanitize monthly by blending a diluted bleach solution (1 tsp per quart water), then rinse well. Consistency keeps it rawkin’!
Unplug first, then wipe the base with a damp cloth and mild soap—no submerging! For greasy spots, add vinegar to the cloth. Skip abrasives—they scratch. A quick wipe after each messy blend keeps your base looking new without any drama.
Cleaning the blender this way was a MAJOR selling point for me in deciding to buy a Vitamix. It’s so quick and when the water gets hot after blending I use the water to get rid of all that gunk that sticks to the blender cap.
I use coconut oil in my smoothies everyday and my vitamix is cloudy. Thanks for the tip on cleaning it up 🙂
🙂 Happy to help. 🙂
I have a omega juicer that got cloudy , I make alot of fresh pineapple juice, when I started that, it started clouding up. (could it be the same with the Vitamix , mine is new and hasn’t clouded up yet.) I’m going to try some coconut oil with baking powder to clean it. Thanks for the great tip. Jothi
🙂 Cheers!
I use hot soap water and it works, can I ask what is with coconut oil and coffee.
I will ask Jen. 🙂 It is a popular request. 🙂
I rinse my vitamix and add the lemon rinds from my morning warm lemon water if my blender is looking foggy — clears it up right away + it’s all natural!
Truth! 🙂 Love it!
Soap and hot water are great for a daily cleaning. For a deep clean, I use vinegar, baking soda, and course salt.
My issue is that, in the past, I’ve made a smoothie with turmeric, got called away and left the smoothie in the container for a few hours, and now the container is stained greenish yellow. I can get the container completely clean, but that stain still remains.
Hey Wendy,
I think you just gave Vitamix a great new product idea, tinted jars. 🙂
I have tried baking soda, vinegar and others. I still have the foggy film on them. No luck here. 🙁
Do you have a Vitamix, Joy? Have you tried calling them?
What Brooke said!
🙂
So simple, so genius! Thanks 🙂
We love simple!
Wow; I don’t know what I’m doing wrong. I’ve tried all these things and nothing works for me.
Do you have a Vitamix?
I’m with Brooke – life changer! I used to rinse it really well, but I put ground flax in my smoothies and that sticks to the sides, making so I need to actually scrub. With this method, the blending does the scrubbing for me! 🙂
Thanks a bunch!
Cheers, April!
Sometimes a put a little baking soda in the blender with the soap – works like a CHARM!!
Great. 🙂
my blender has an auto cleaner option, i fill it up half way like showed but usually without soap (i only make smoothies anyway) so easy
🙂 That’s awesome!
That is just how I clean the vitamix. Sometimes in addition I use a little brush or sponge.
🙂
I always do this, I can’t imagine not cleaning my blender after each use, it’s so quick. No foggy film either 🙂
🙂 We love having a foggy free blender. 🙂
I am with Eleanor i want to know more about your coffee with butter and coconut oil 🙂
🙂
This is great! Yes my blender cups get a foggy film on them even after washing and I blame the coconut oil in my morning coffee as well! It’s worth it though, can’t have my coffee any other way now!
Cheers!
OMG- Life changer! Why didn’t I think of that?! Thank you for the tip. My blender thanks you too 😉
Awesome! Happy to help!
The video is the way I clean my blender…but once in a while if there is a stubborn flake of something left, I gently use my son’s old bottle brush to get to it.
Hey Traci, Great tip! Bottle brushes work too. 🙂
The Vitamix demo guy suggested throwing in a little orange peel and/or vinegar to help cut the grease when cleaning.
Great tip!