
This post may contain affiliate links. Please read my affiliate policy.
Making homemade coconut milk is easy and only needs two ingredients, simple kitchen tools, and about 20 minutes of your time. As a result, you’ll find the end result to be a creamy, dairy-free milk with no gums, artificial flavors or sweeteners. Let’s learn how to make coconut milk and my fav ways to use it.
Knowing how to make my own plant-based milk helps me even when buying store-bought milk! If I’m in a pinch and need to get milk from the store, I know to look for limited ingredients as well as no fillers or sweeteners. Let’s be honest though… once you make your own coconut milk, you’ll never wanna buy it from the store again!
Table of Contents
Making Homemade Coconut Milk
Once again, it can be difficult to find milk that’s free of additives, stabilizers, and gums (I’m looking at you carrageenan!) to use in recipes that call for coconut milk. Yet, never fear! Your blender’s here! All you need to make this homemade version is:
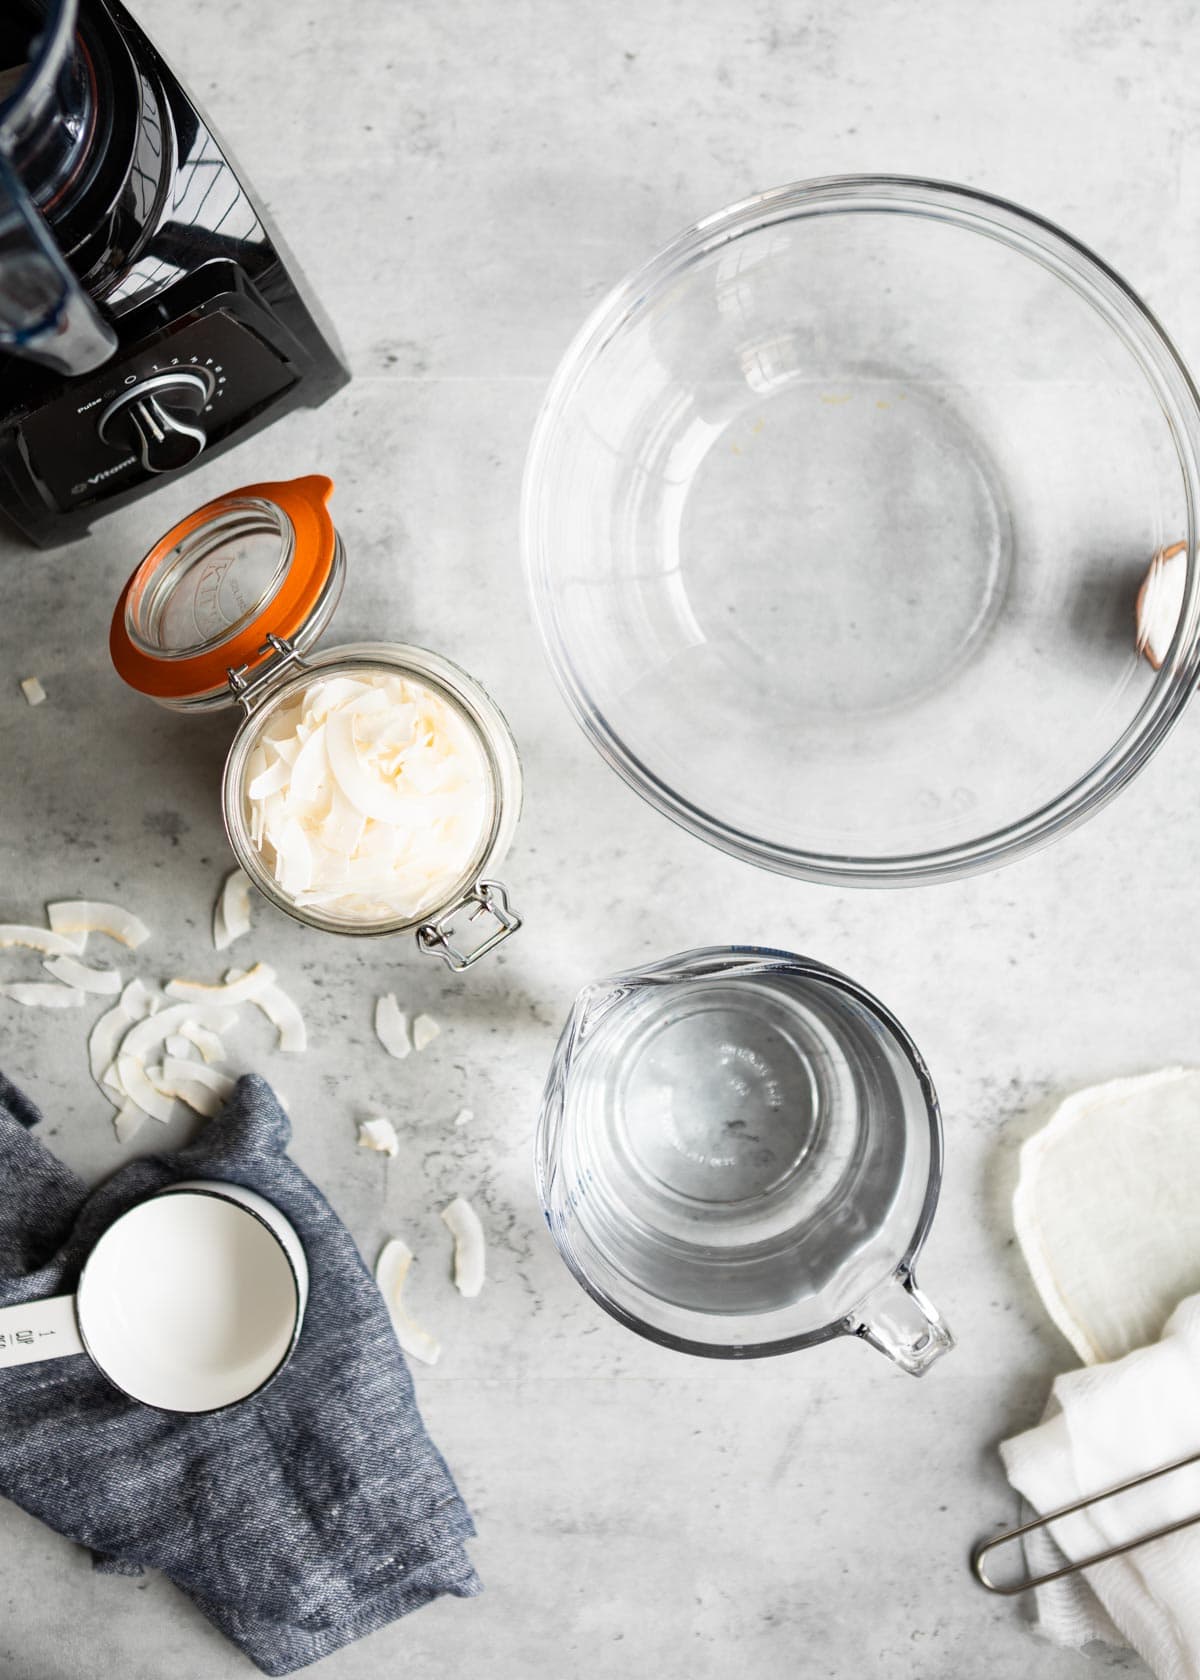
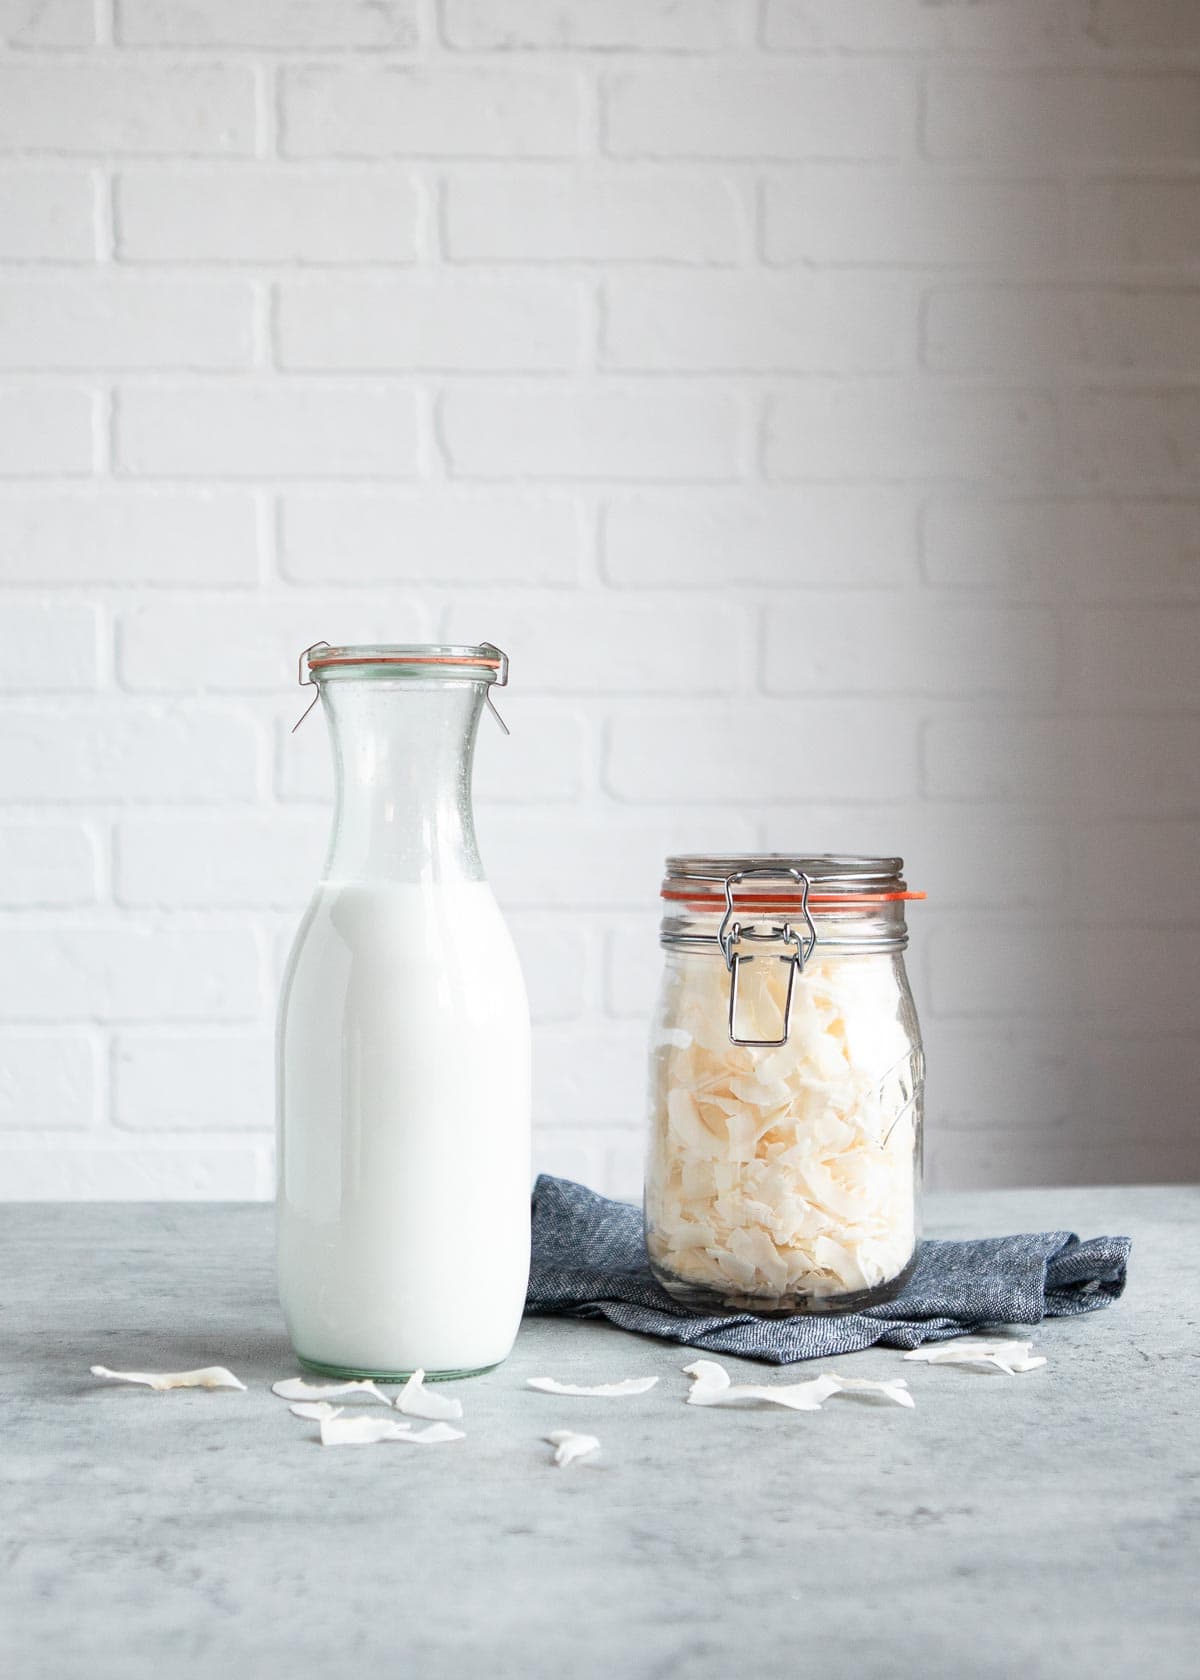
- 1 cup dried, unsweetened coconut
- 3 cups boiling filtered water
- Pinch of sea salt (optional!)
- High speed blender
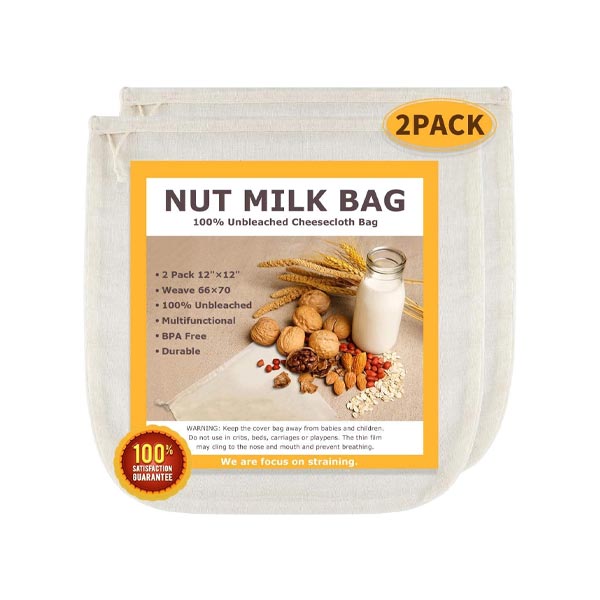
- Cheesecloth, tea towel, or nut milk bag
- Mesh strainer
Now let’s get milking!
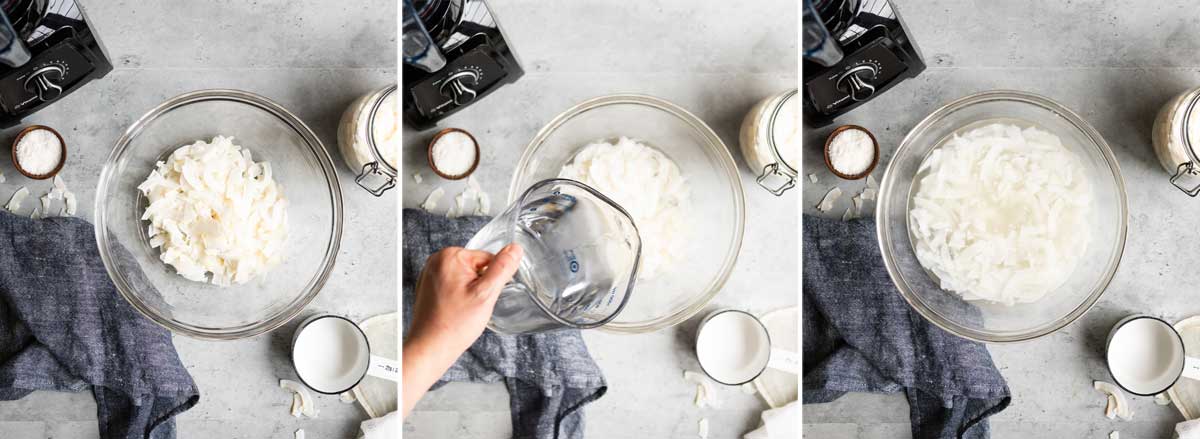
- Place the shredded coconut in a bowl of boiling water. Stir to encourage the flakes to stay submerged. They will naturally absorb some of the hot water during soaking, which will break down the flakes to a creamy goodness.
Cream is the best sort of homemade coconut milk, don’t you agree?
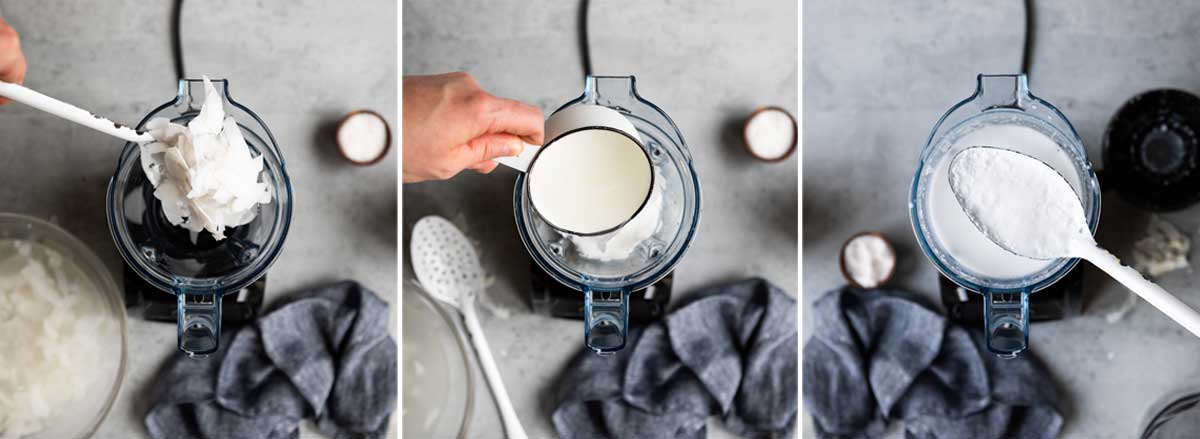
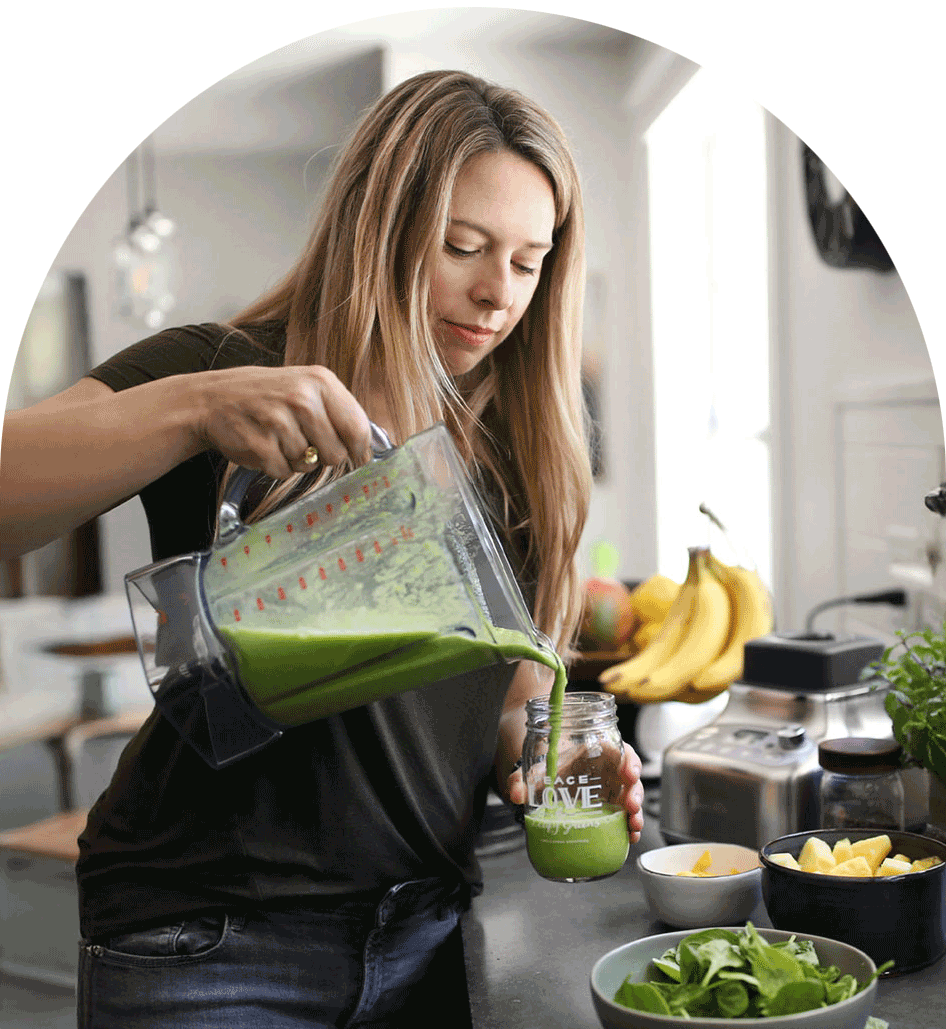
2. Blend. The #1 appliance in my kitchen is my blender. In addition to using it for my daily green smoothie, I use it for homemade hummus, pancakes and yep, even milk from plants.
A high speed blender will break apart coconut flakes the best, and gets you as many nutrients possible. I recommend checking out my blender guide if your blender isn’t up to the challenge.
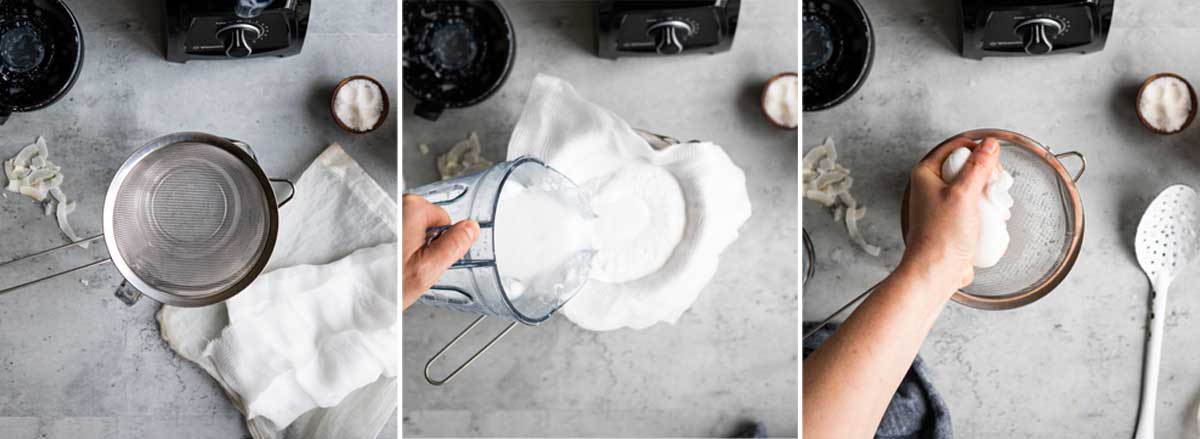
3. Strain your milk like a pro…Having a two-layered strainer will get you the creamiest results. To do this, I use a mesh strainer and a nut milk bag. Just place a strainer over a bowl and line with cheesecloth or a nut milk bag. Gather the cloth at the top, twist and gently squeeze as much milk from the solids as possible. The remaining coconut pulp should be fairly dry.
Pro tip: if you want a thicker milk, just use a cheese cloth. You may get a bit of ‘pulp’ from the coconut yet you’ll also get a creamier finished product.
How to Store Plant Milk
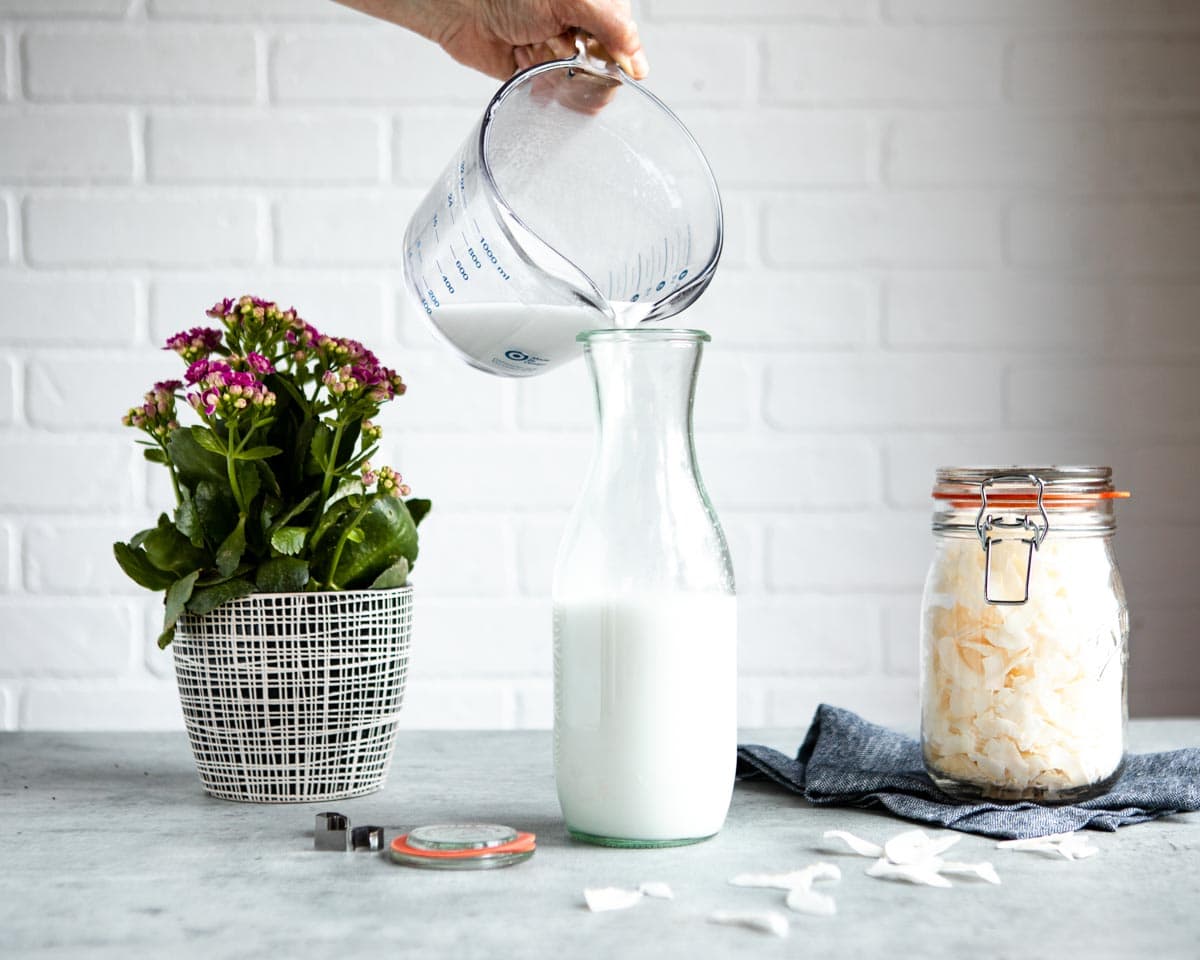
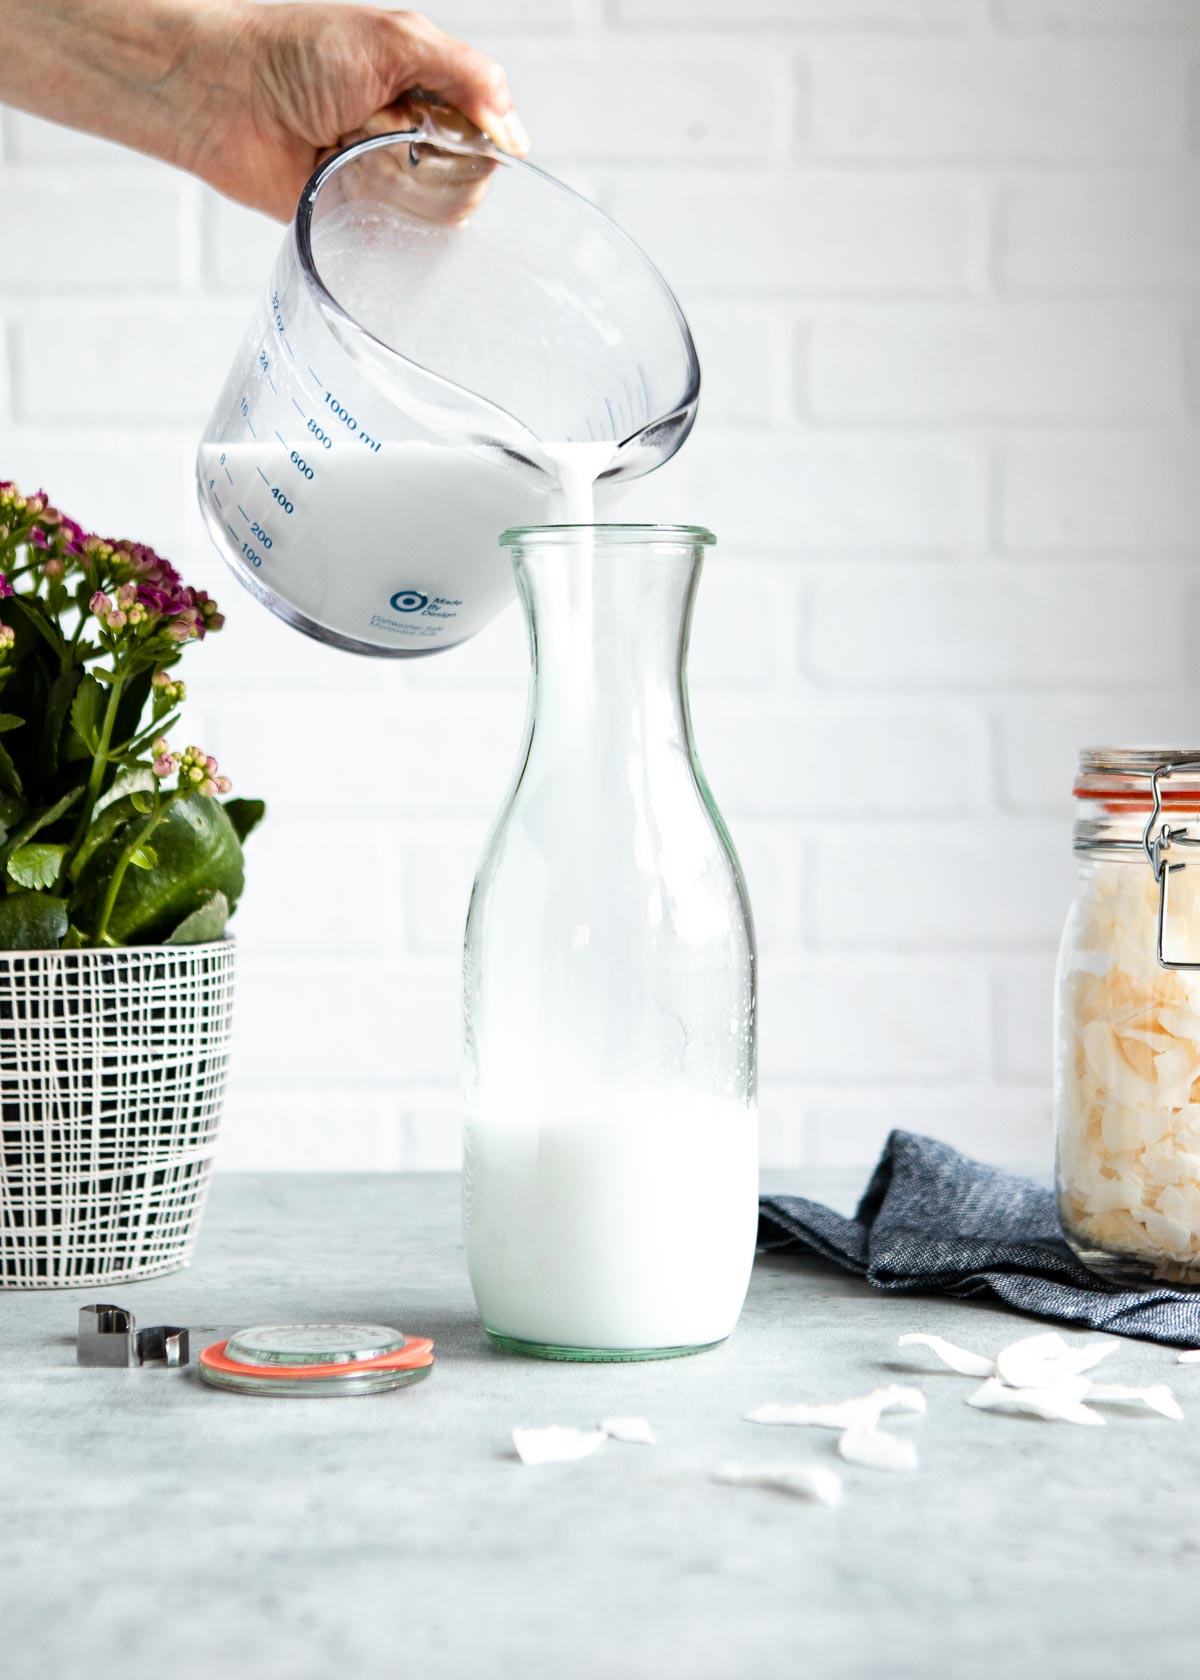
Transfer your freshly made beverage to an airtight jar or bottle and refrigerate until ready to use. The milk will keep 3-4 days, maybe a little longer. As a result of the (healthy!) fat content, the milk will separate into layers, so be sure to shake before using.
The top most layer is the coconut cream. In addition to other uses, it can be spooned off for recipes calling for the full-fat version.
Where Does Coconut Milk Come From?
After all, former FDA commissioner Scott Gottlieb said, “almonds don’t lactate“. Of course we’re talking about coconut here, yet the same confusion applies. Actually, according to the Smithsonian Magazine, the word lactate actually comes from the Latin root word of lettuce – meaning the milky white juice that comes out of certain plants.
In addition, various types of non-dairy milk, have been staples in Southeast Asian, African and Indian cuisines for ages.
Homemade vs. Store Bought
Meanwhile which is better? Recently we tested as many store bought almond milk, oat milk, and coconut milk brands as we could find in Central Florida to see which were best. When it comes to buying from the store, we’d def avoid brands that contain additional sugar, gums, fillers or those always mysterious ‘natural flavors’.
While there are always decently healthy options out there, if you want to know for sure what’s in your milk and going into your body – I’d opt for homemade when possible.
How to Use Coconut Milk
And speaking of recipes that use coconut milk, can I share a few? This particular kind of plant based milk is one of my favs to use, especially in dessert leaning recipes because it has a natural touch of sweetness. Now that you’ve made some of your own, give these a try:
- Veggie bowl with coconut sriracha sauce – the secret’s in the sauce here
- Turmeric golden milk – a warm + comforting bedtime drink
- Coconut joy vegan smoothie bowl – a plant based option to your candy bar addiction
- Blackberry coconut sorbet – refreshing on a warm spring or summer day
- Healthy peach smoothie – quick, easy and oh so delicious
- Coconut milk smoothie cubes – boosting your smoothie with healthy fat + a touch of protein
Don’t forget to rate + review this recipe once you’ve tried it. I wanna know how yours turns out!

How to Make Coconut Milk
Ingredients
- 1 cup raw coconut flakes
- 3 cup water boiling
- pinch sea salt, unrefined
Instructions
- Place coconut in a pot of boiling water and allow coconut to soak for a minimum of 10 minutes.
- Add to blender and carefully blend until smooth.
- Place a strainer over a bowl and line with cheesecloth, tea towel or pour into a nut milk bag, and allow the coconut milk to drop down into the bowl.
- Gather the cloth at the top, twist and gently squeeze as much coconut milk from the solids as possible. The remaining coconut pulp should be fairly dry. (The pulp can be added to baked goods and smoothies for extra fiber.)
- Transfer to an airtight jar or bottle and refrigerate until ready to use.
Helpful Tools
Notes
- Less water can be used for thicker, creamier coconut milk.
- The coconut milk will keep 3-4 days, maybe a little longer.
- Shake well before using. The milk will separate into layers. The topmost layer is coconut cream. It can be spooned off for recipes calling for full-fat coconut milk.
- This coconut milk recipe makes a similar product to refrigerated carton coconut milk from the store. It doesn’t have the fat content in canned coconut milk.
I love coconut milk.
I will do it today!
Cheers
Rawesome!!
I love coconut milk, thanks for the recipe
Hi Jimmy,
We do too!! Have you made your own coconut milk before? If not, make sure and let us know what you think after trying this recipe!
Thanks Carol!
Thanks! Love the recipe
Rawesome! Thanks for blendin’ with us!
Wow!!! very cool , I live in Brazil here has much firmer now will delight me with this totally natural recipe! thank you so much.
You’re so welcome! Thanks for blendin’ with us! <3
I made this recipe last week, but i Don t like the results…. I will try one more time. Tx SGS
Hi Gabriela!
Thanks for reaching out! We know one recipe won’t please everyone, but definitely feel free to experiment with this recipe to have it suit your personal taste :). A couple options are adding less water for a creamier consistency, or adding a little vanilla extract for extra flavor!
Hope that helps! Thanks for being a part of our community :).
Hello loved learning how to make coconut milk, I live in Brazil and have a lot of coconut here. I loved the blog, has many healthy recipes that can do at home.
Thank you
Hi!
Thanks so much for reaching out + for your kind words :). I’m so envious of your abundance of fresh coconut! What a treat!
Thanks for being a part of our community :). Cheers!
If you are going to use the coconut milk only for making smoothies, can’t you just skip the straining process and leave any remaining pulp in it for extra fiber in your smoothies?
Hi Lauren,
Of course! Plenty members of our community have shared that they keep the pulp in their coconut milk. It’s all about your preference!
Cheers 🙂
Hi team, I usually buy whole coconut, I use the water and meat for my smoothie. But I have also some left over coconut meat which I have frozen. Can I use the left over coconut meat to make the milk? If yes please advise will it be the same process?
Thanks
Hi Pascal,
Great question! You definitely can use the remaining coconut meat to make your own coconut milk! Simply skip boiling + blend filtered water with the fresh coconut meat!
It looks easy, but I am no cook
No cooking necessary, Taishan! Just boil water + blend. You’ve got this!!
Hi!
I´m new, from Argentina, absolutely in love with your site!
Here´s my question, do you recomend freezing this home made milk in ice cubes? Could I use it frozen in smoothies? Thank you
Hi Eri,
Yes! Freezing coconut milk is a great way to store your homemade milk and is perfect for green smoothies!
I love seeing this! It brings back memories of when my teenager was a baby and I made homemade Almond milk for her since she was allergic to milk and soy. Almost the same process. So much less expensive to do it yourself and you definitely know whats in it! Love this website!
Hi Katie,
We love making our own plant-based milk options!! Have you seen our DIY almond milk recipe? Is it the same method you’ve used?
https://simplegreensmoothies.com/diy-almond-milk
Hi Katie,
We’re right there with you! We love making our own plant-base milks and knowing exactly what we’re putting in our bodies.
Cheers to health + happiness!
Hi,
Can I use a fresh coconut? In my country we use a fresh one and I can easily buy it at traditional market. Thanks
Hi Dyah,
Of course you can! You will just need to adjust the amount of water you add, to take into consideration the water naturally occurring in the fresh coconut meat.
Cheers 🙂
Hi! Can I use desiccated coconut? It is quite dry… Thanks! Love the recipe.
Hi Marina,
Thanks for reaching out! Desiccated coconut is perfect for this recipe, just make sure it’s unsweetened!
Happy Blendin’!
I love coconut milk, thanks for the recipe, much better do at home than buy.
Hi Anna,
You’re so welcome! It can be so difficult to find coconut milk that is free of additives, stabilizers, and gums. Making it at home is as easy as can be and we love that it only contains two ingredients!
Has anyone tried cashew milk as a base for smoothies?
Hi Anita,
Cashew milk is a great substitute for almond milk!
Hi Simple Green Smoothiess! Just wanna ask if i can use fresh grated coconut to make coconut milk? Thanks.
Hi Jen, that’s even better! If you find the coconut milk to be too watery because it wasn’t dried previously, you might just need to adjust the amount of water you’re adding. Enjoy!
My apologies if I end up with a double post, but I tried to ask a couple of questions and do not see them.
First, when I place the coconut into the boiling water, do I keep boiling it for 10 minutes? If so, do I then let it cool before blending?
Also, when do I add the salt.
These questions may seem obvious to a pro in the kitchen, but I’m learning and want to do things properly.
Thank you in advance for your reply…..
Hi Matt,
My apologizes if you didn’t see our response…
To help answer some of your questions, boil the water separately, remove from heat, and then add coconut. After waiting 10 minutes, which will give the mixture plenty of time to cool, blend for about 2 minutes, or until smooth.
I like to add salt once I’ve added the coconut-water mixture to the blender, prior to blending.
I hope that helps! Please let us know if you have any other questions!
Hi….. I wanted to make sure I understand the recipe before starting. When I put the coconut into the boiling water, do I continue boiling for the 10 minutes and then put the coconut and boiling water into the mixer? I have a VitaMix 5200 with the tall jar and am concerned about putting boiling water in it without causing damage or leeching some awful chemicals out from the high heat.
Or…. do I turn off the heat when I put the coconut into the water let it sit 10 min and then put it into the blender.
Sorry for the lengthy question but I do not want to damage my pretty new blender….
At what point to I add the salt?
Thanking you in advance for your help.
Hi Matt,
To help answer some of your questions, boil the water separately, remove from heat, and then add coconut. After waiting 10 minutes, which will give the mixture plenty of time to cool, blend for about 2 minutes, or until smooth.
I like to add salt once I’ve added the coconut-water mixture to the blender, prior to blending.
I hope that helps! Please let us know if you have any other questions!
I made a mango, banana and mixed salad greens smoothie with a large spoonful of coconut flour this morning. It tasted delicious, but was quite chewy. I suspect that you could use the flour to make coconut milk, with boiling water to soften it.
Awesome! Sounds great!