

This post may contain affiliate links.
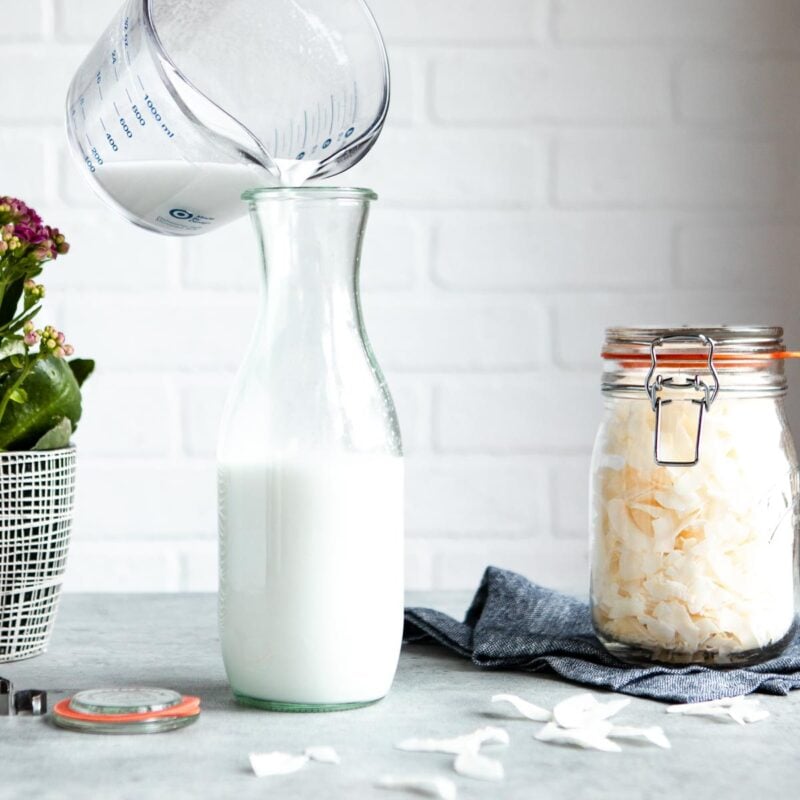
Here’s how to make coconut milk that’s silky and low-pulp, with only three ingredients. A hot soak softens the flakes, and a double strain catches the pulp. The result is a creamy non-dairy milk with no gums, artificial flavors or sweeteners.
If you’ve ever pulled a gritty jar of homemade plant milk from the fridge, this method is for you. Making my own also changed how I shop for cartons. When I buy one now, I look for a short ingredient list without fillers or sweeteners.
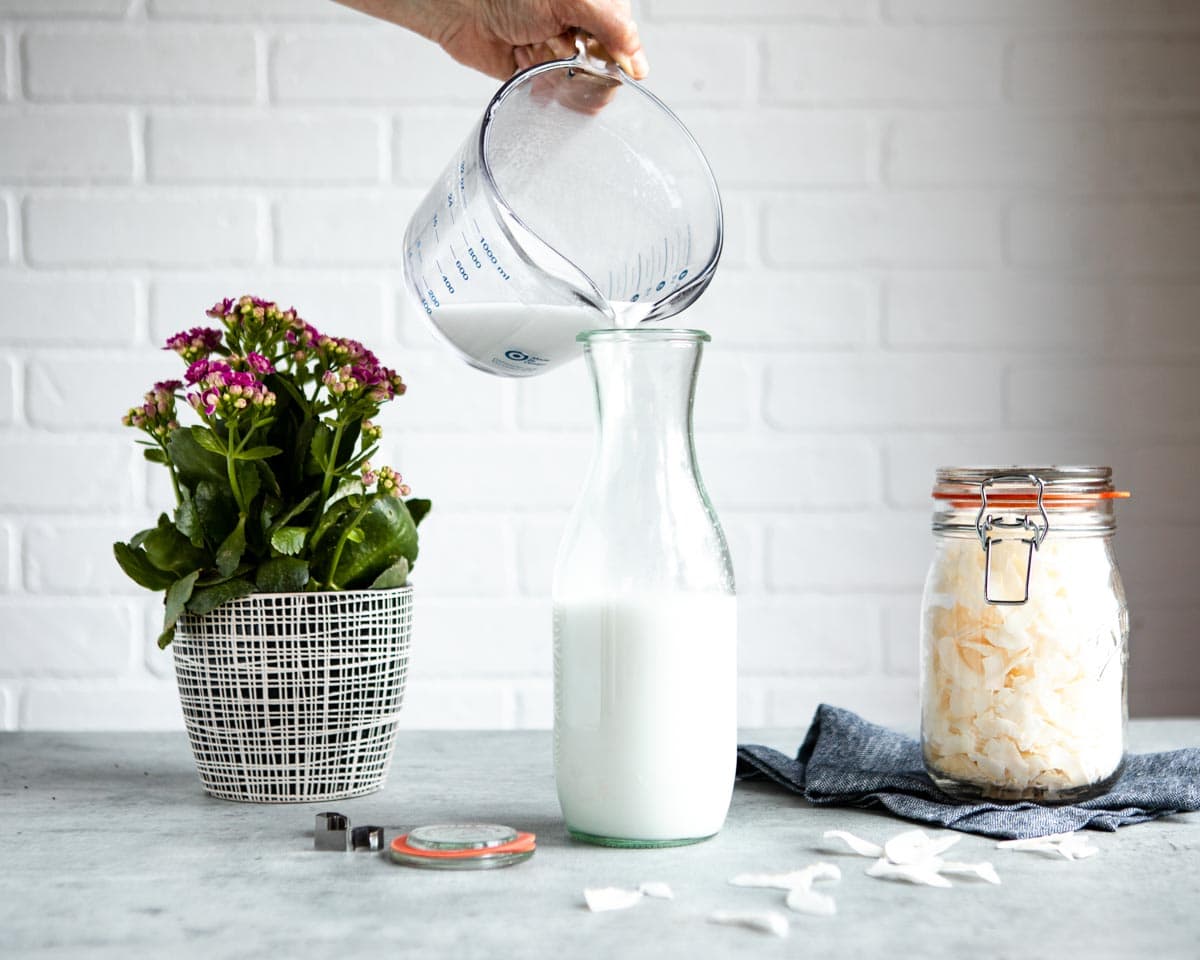
Table of Contents
Why This Method Works
Many recipes blend the flakes straight into the water. This one adds two small steps, and both change the texture.
- A hot soak. Boiling water softens the flakes before they reach the blender. In my kitchen, that means a smoother blend with less pulp.
- A double strain. A nut milk bag or cheesecloth lines a mesh strainer, so two layers catch the fine pulp.
- Three simple ingredients. You need coconut, boiling water and a pinch of salt. Nothing else goes in.
- Fifteen minutes. Prep takes 5 minutes, and the soak takes 10.
Homemade Coconut Milk Ingredients
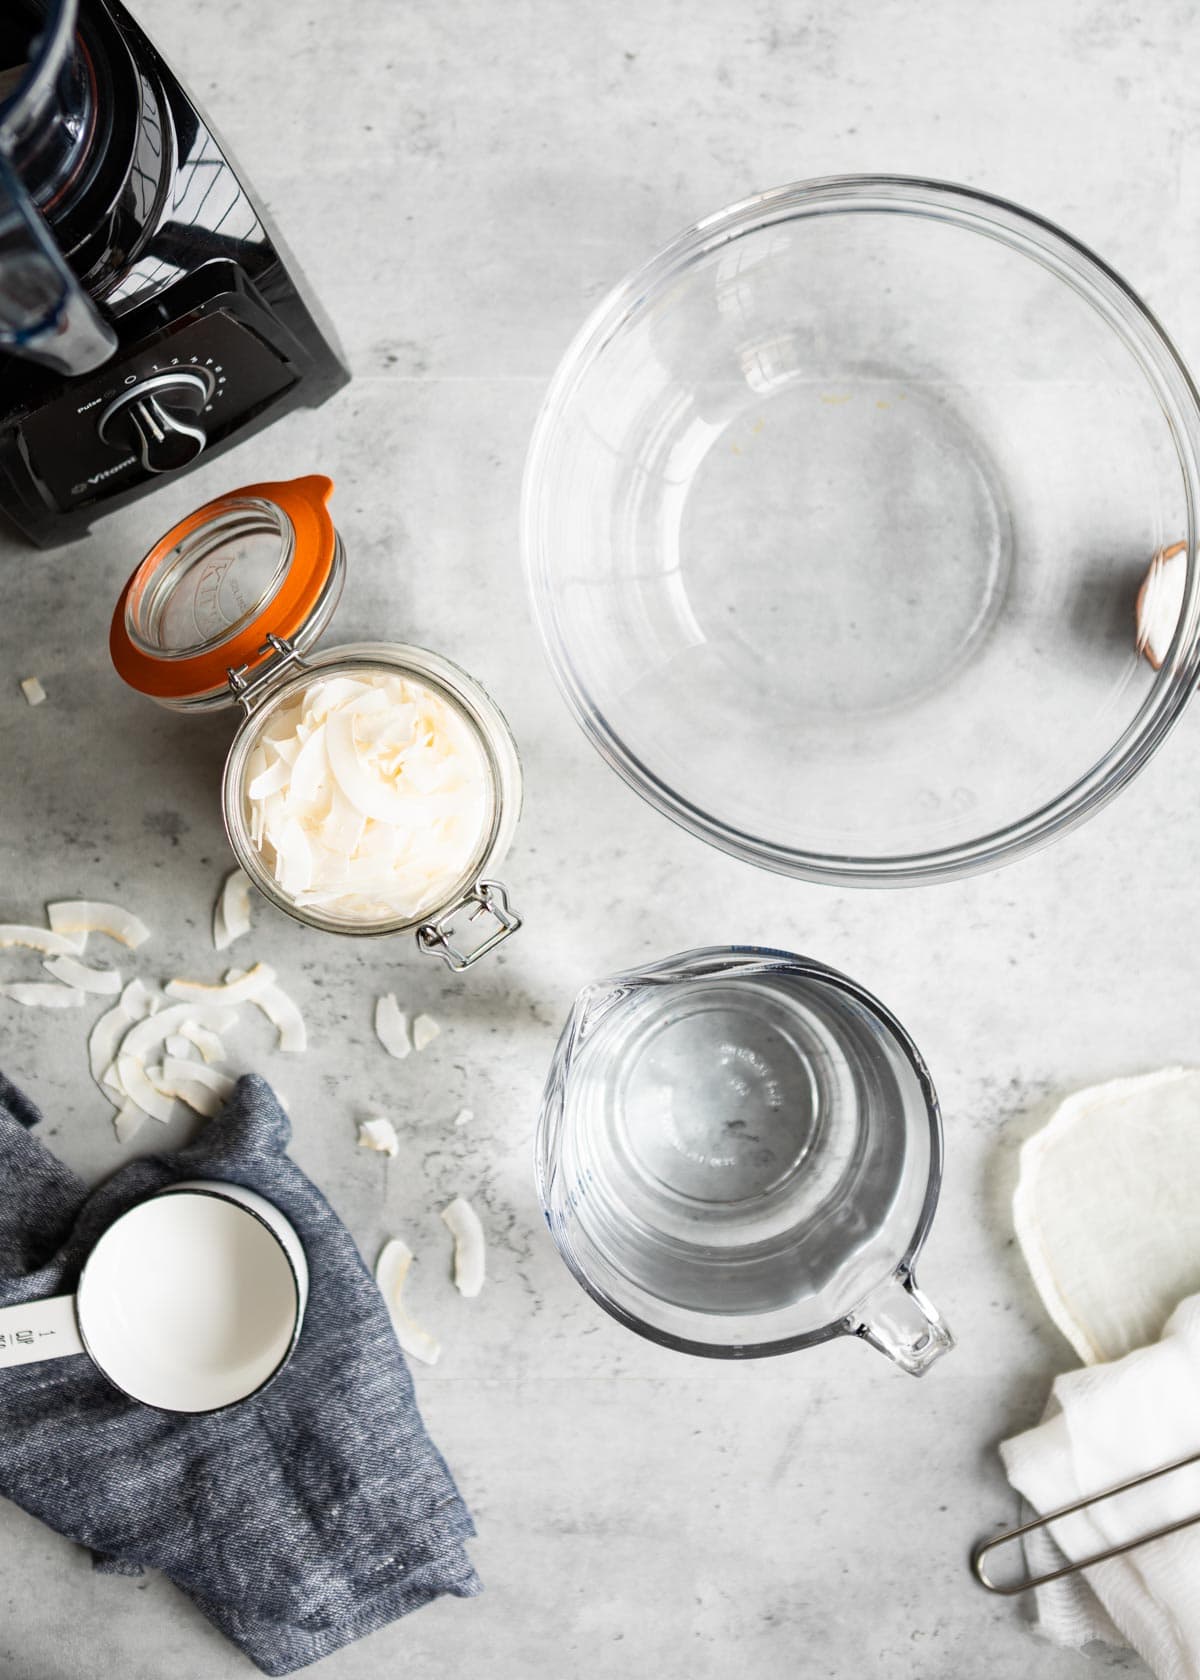
- Unsweetened shredded coconut: Choose the unsweetened kind. Sweetened flakes add sugar and make the milk taste candied.
- Boiling filtered water: The heat softens the coconut so it blends smooth. Water just off the boil works too, though the milk may turn out a little more pulpy.
- Sea salt: A pinch rounds out the coconut’s natural sweetness. You can skip it.
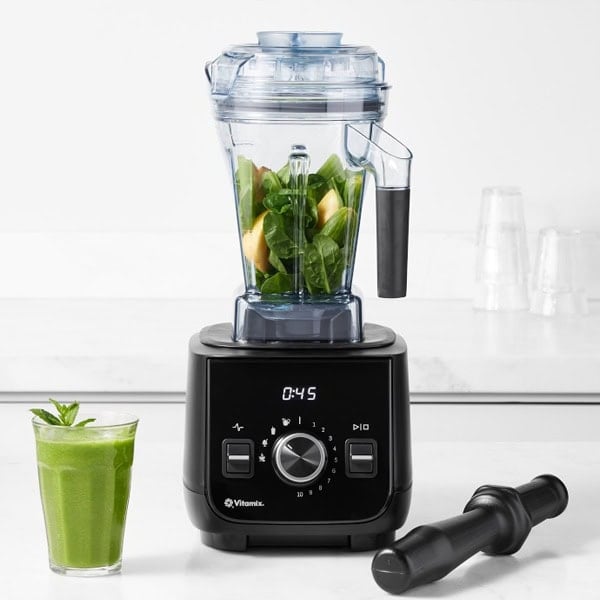
- High-speed blender: A powerful blender breaks the soaked flakes down fully. If yours struggles, my blender guide walks through the options.
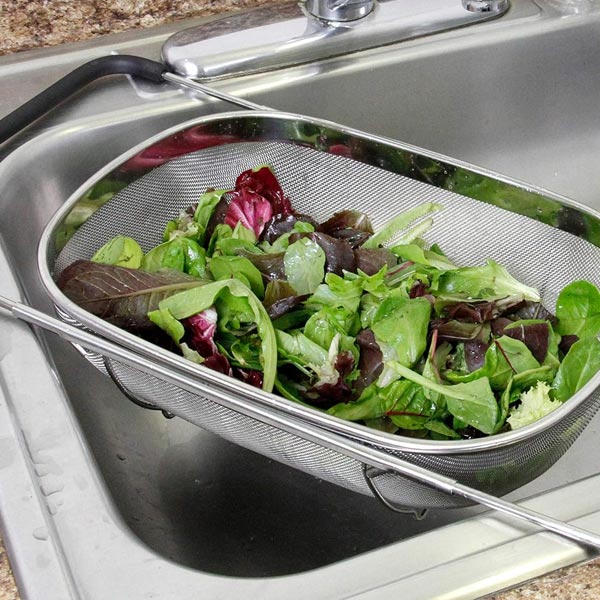
- Mesh strainer and nut milk bag: Together they make the double strain. A mesh strainer holds the bag, and cheesecloth or a thin tea towel works in its place.
Free 5-Day Soup Challenge
To celebrate this cozy season, we’re cooking up a fall-inspired soup each day—packed with veggies, perfect for busy nights, and every bowl you make is a chance to win $750 in prizes!
How to Make Coconut Milk
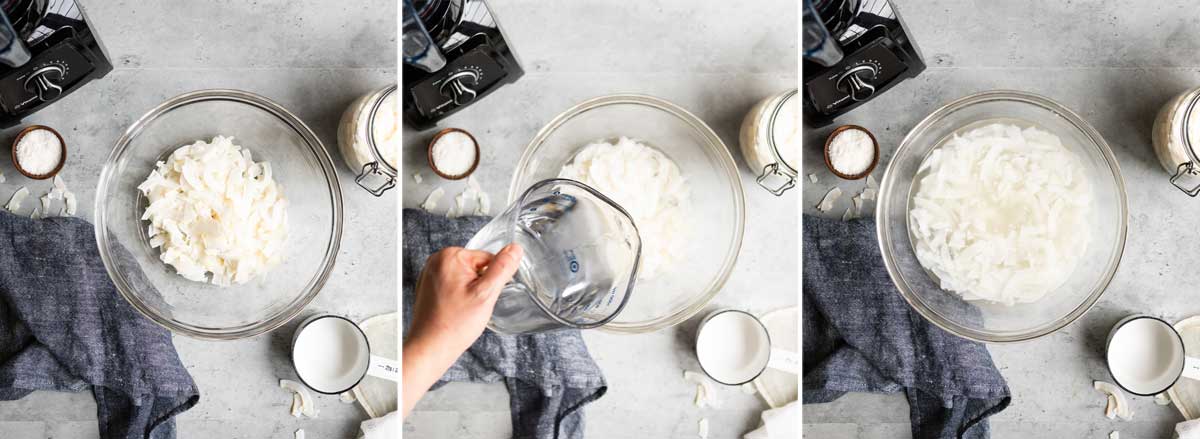
- Soak the coconut. Place the coconut in a heatproof bowl and pour in the boiling water. Stir so every flake stays submerged. Then let it sit at least 10 minutes, until the flakes turn soft.
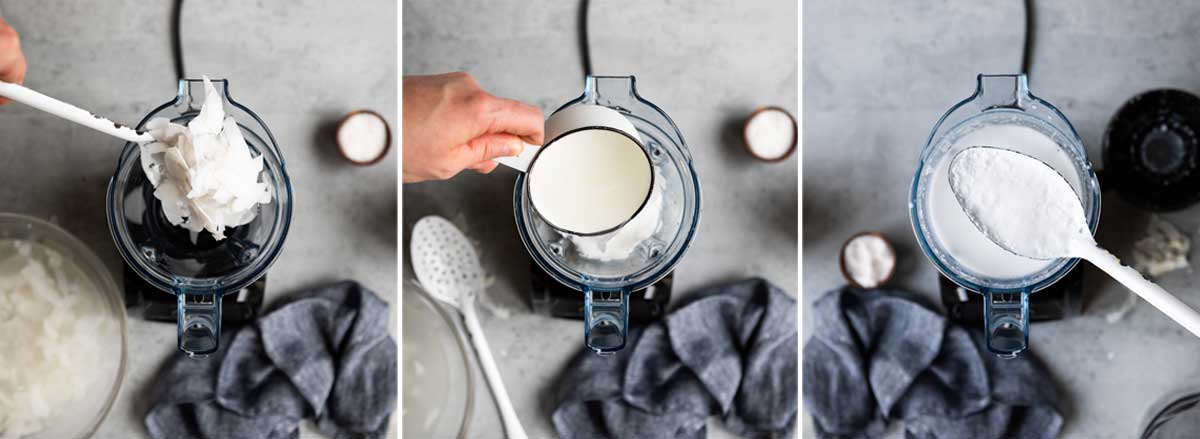
- Blend. Pour the coconut and all of the soaking water into a high-speed blender. Start on low and vent the lid, since hot liquid expands. Then blend until thick and creamy.
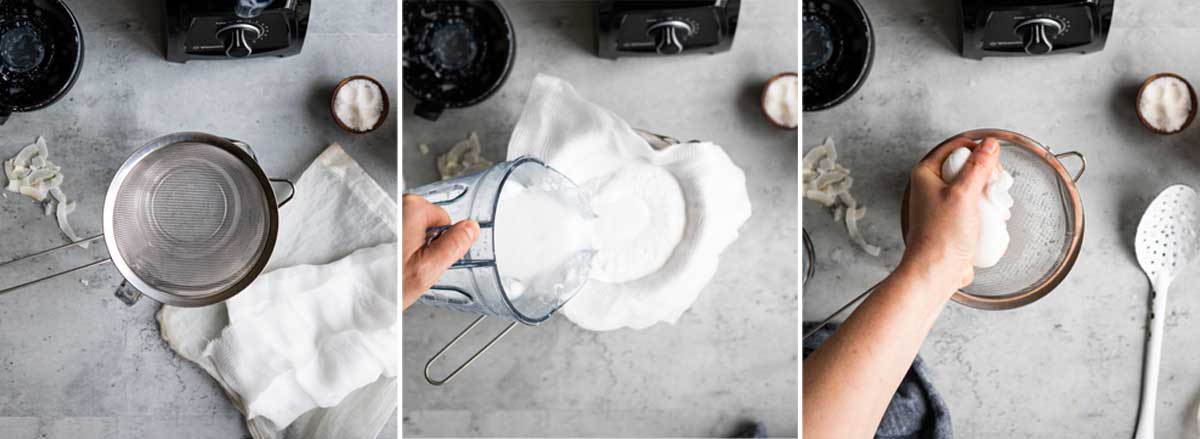
- Strain through two layers. Set a mesh strainer over a bowl and line it with a nut milk bag, cheesecloth or thin tea towel. Pour in the blend slowly.
- Squeeze. Gather the cloth, twist and press gently. Keep going until the pulp feels fairly dry.
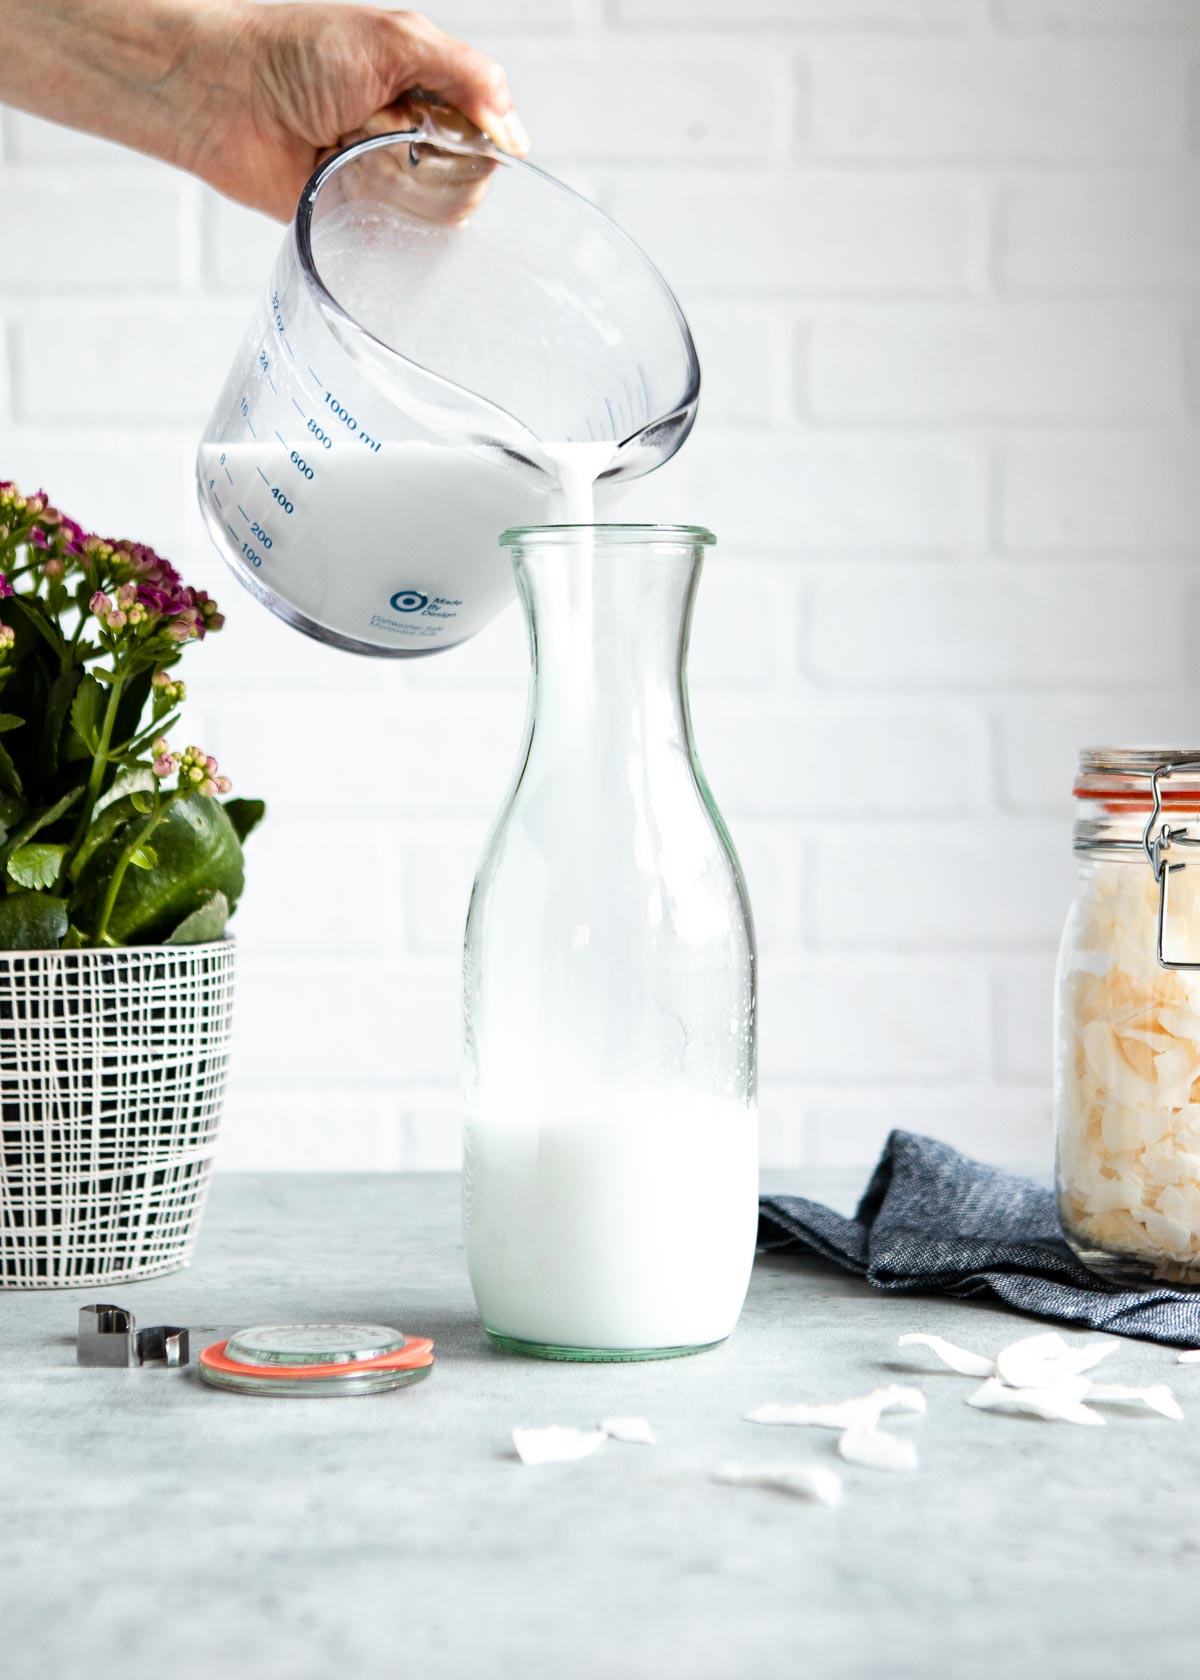
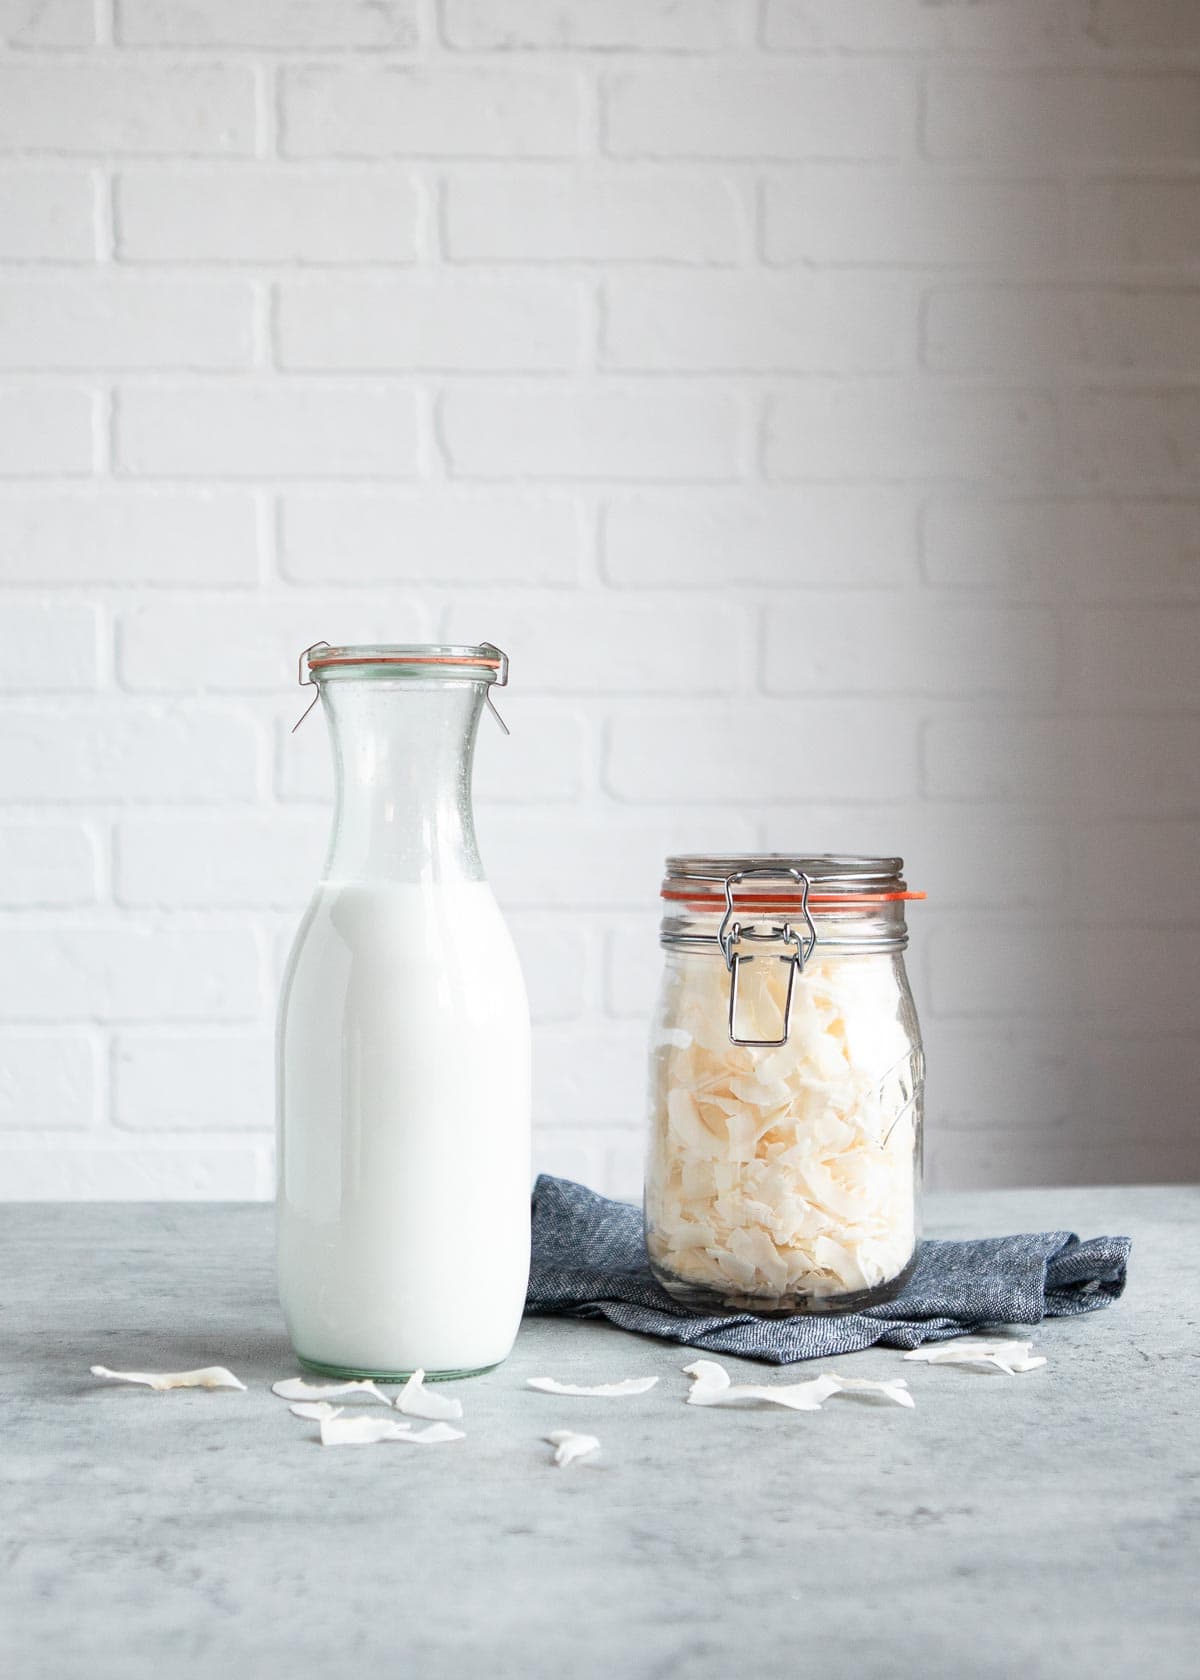
- Store. Pour the milk into an airtight jar and refrigerate it until you’re ready to use it.
Save the pulp. It adds fiber to baked goods and smoothies.
Substitutions and Variations
- Water temperature: Water just off the boil works. Expect a little more pulp than you’d get from a full boil.
- Thicker milk: Use less water for a creamier result. A single layer of cheesecloth also gives a thicker pour with a bit more pulp.
- Strainer swap: Cheesecloth or a thin tea towel replaces the nut milk bag.
- Extra smooth: If you spot any grit, pour the milk through the strainer one more time.
- Flavor: Stir in a splash of vanilla or a teaspoon of maple syrup for a sweeter milk.
How to Store Homemade Coconut Milk
- Refrigerator: Keep it in an airtight glass jar, like a wide-mouth quart jar, for 3 to 4 days.
- Separation: The fat rises as the milk chills. Give the jar a good shake before every pour.
- Coconut cream: The top layer is coconut cream. Spoon it off for recipes that call for a richer milk.
- Freezer: Freeze the milk in an ice cube tray for up to 2 months. Then thaw it in the fridge and shake or re-blend.
Nutrition at a Glance
Each 1-cup serving has 1 g protein, 3 g fiber and 2 g sugar, based on the recipe card. The recipe has no added sugar.
How to Use Coconut Milk
Next, use your milk anywhere a carton of coconut milk works. It tastes naturally sweet, so desserts and smoothies make an easy start. That said, it has less fat than canned coconut milk, so save the canned kind for curries. Try it in these:
- Spiced Golden Milk: a warm, comforting drink for the end of the day.
- Creamy Blackberry Coconut Sorbet: cold, fruity and refreshing on a warm day.
- Peach Coconut Milk Smoothie: quick, easy and silky.
How to Make Coconut Milk
Jen HansardIngredients
- 1 cup raw coconut flakes
- 3 cup water boiling
- pinch sea salt, unrefined
Instructions
- Soak the coconut flakes in the boiling water for at least 10 minutes.
- Transfer the coconut and water to a blender and carefully blend until smooth.
- Set a strainer lined with cheesecloth or a tea towel over a bowl, or use a nut milk bag, and pour in the mixture. Let the coconut milk drip into the bowl.
- Gather the cloth at the top, twist and gently squeeze out as much coconut milk as possible; the remaining pulp should be fairly dry. Stir the salt into the coconut milk.
- Transfer to an airtight jar or bottle and refrigerate until ready to use.
Recipe Notes
- Blender Tip: The water is hot, so blend with the center cap removed and a towel over the opening to let steam escape.
- Texture Tip: This makes a milk similar to refrigerated carton coconut milk, not the richer canned kind. Use less water for a thicker, creamier result.
- Coconut Cream: The layer that rises to the top is coconut cream. Spoon it off for recipes that call for full-fat coconut milk.
- Storing: It keeps in a sealed jar in the fridge for 3 to 4 days. It separates as it sits, so shake well before using.
Nutrition
Common Questions
Soak unsweetened shredded coconut in boiling water for at least 10 minutes. Then blend it with the soaking water until creamy. Finally, squeeze the blend through a nut milk bag.
Soak the coconut in boiling water first so the flakes soften. Next, blend until the mixture turns thick and creamy. Then pour it through two layers, a mesh strainer and a nut milk bag. Squeeze until the pulp feels dry.
No, water just off the boil also works. However, a full boil softens the flakes more. In my kitchen, that means less pulp after blending.
Homemade coconut milk keeps for 3 to 4 days in an airtight jar in the refrigerator. Because it has no stabilizers, the layers separate as it sits, so stir or shake it before pouring.
No. This recipe makes a milk similar to refrigerated carton coconut milk. It has less fat than canned coconut milk, so use the canned kind for rich curries.
Add the leftover pulp to baked goods or smoothies for extra fiber.
Love my recipes?
Let me plan your week!
Dinner decided, grocery list done. 750+ ad-free recipe library and live coaching calls included.
7 days free. Cancel anytime.














Has anyone tried cashew milk as a base for smoothies?
Hi Anita,
Cashew milk is a great substitute for almond milk!
Hi Simple Green Smoothiess! Just wanna ask if i can use fresh grated coconut to make coconut milk? Thanks.
Hi Jen, that’s even better! If you find the coconut milk to be too watery because it wasn’t dried previously, you might just need to adjust the amount of water you’re adding. Enjoy!
My apologies if I end up with a double post, but I tried to ask a couple of questions and do not see them.
First, when I place the coconut into the boiling water, do I keep boiling it for 10 minutes? If so, do I then let it cool before blending?
Also, when do I add the salt.
These questions may seem obvious to a pro in the kitchen, but I’m learning and want to do things properly.
Thank you in advance for your reply…..
Hi Matt,
My apologizes if you didn’t see our response…
To help answer some of your questions, boil the water separately, remove from heat, and then add coconut. After waiting 10 minutes, which will give the mixture plenty of time to cool, blend for about 2 minutes, or until smooth.
I like to add salt once I’ve added the coconut-water mixture to the blender, prior to blending.
I hope that helps! Please let us know if you have any other questions!
Hi….. I wanted to make sure I understand the recipe before starting. When I put the coconut into the boiling water, do I continue boiling for the 10 minutes and then put the coconut and boiling water into the mixer? I have a VitaMix 5200 with the tall jar and am concerned about putting boiling water in it without causing damage or leeching some awful chemicals out from the high heat.
Or…. do I turn off the heat when I put the coconut into the water let it sit 10 min and then put it into the blender.
Sorry for the lengthy question but I do not want to damage my pretty new blender….
At what point to I add the salt?
Thanking you in advance for your help.
Hi Matt,
To help answer some of your questions, boil the water separately, remove from heat, and then add coconut. After waiting 10 minutes, which will give the mixture plenty of time to cool, blend for about 2 minutes, or until smooth.
I like to add salt once I’ve added the coconut-water mixture to the blender, prior to blending.
I hope that helps! Please let us know if you have any other questions!
I made a mango, banana and mixed salad greens smoothie with a large spoonful of coconut flour this morning. It tasted delicious, but was quite chewy. I suspect that you could use the flour to make coconut milk, with boiling water to soften it.
Awesome! Sounds great!